Whether you’re a seasoned pro or just dipping your toes in the water, understanding how to add weight to the fishing line is a crucial part of the whole process. It’s more than just letting your hook sink or swim. It’s a finesse game of depth, distance, and ensuring your bait is exactly where those fish are lurking. So, let’s unravel this angling art and help you make every cast count.
How to Add Weight to a Fishing Line for Optimal Results
Adding weights to a fishing line is not a one-size-fits-all type of deal. There are as many attachment methods as there are types of sinkers. However, the process usually involves sliding the chosen sinker onto your line and tying it on a swivel to prevent it from sliding down to the fresh bait or artificial lure.
A Beginner’s Guide to the Different Types of Fishing Sinkers
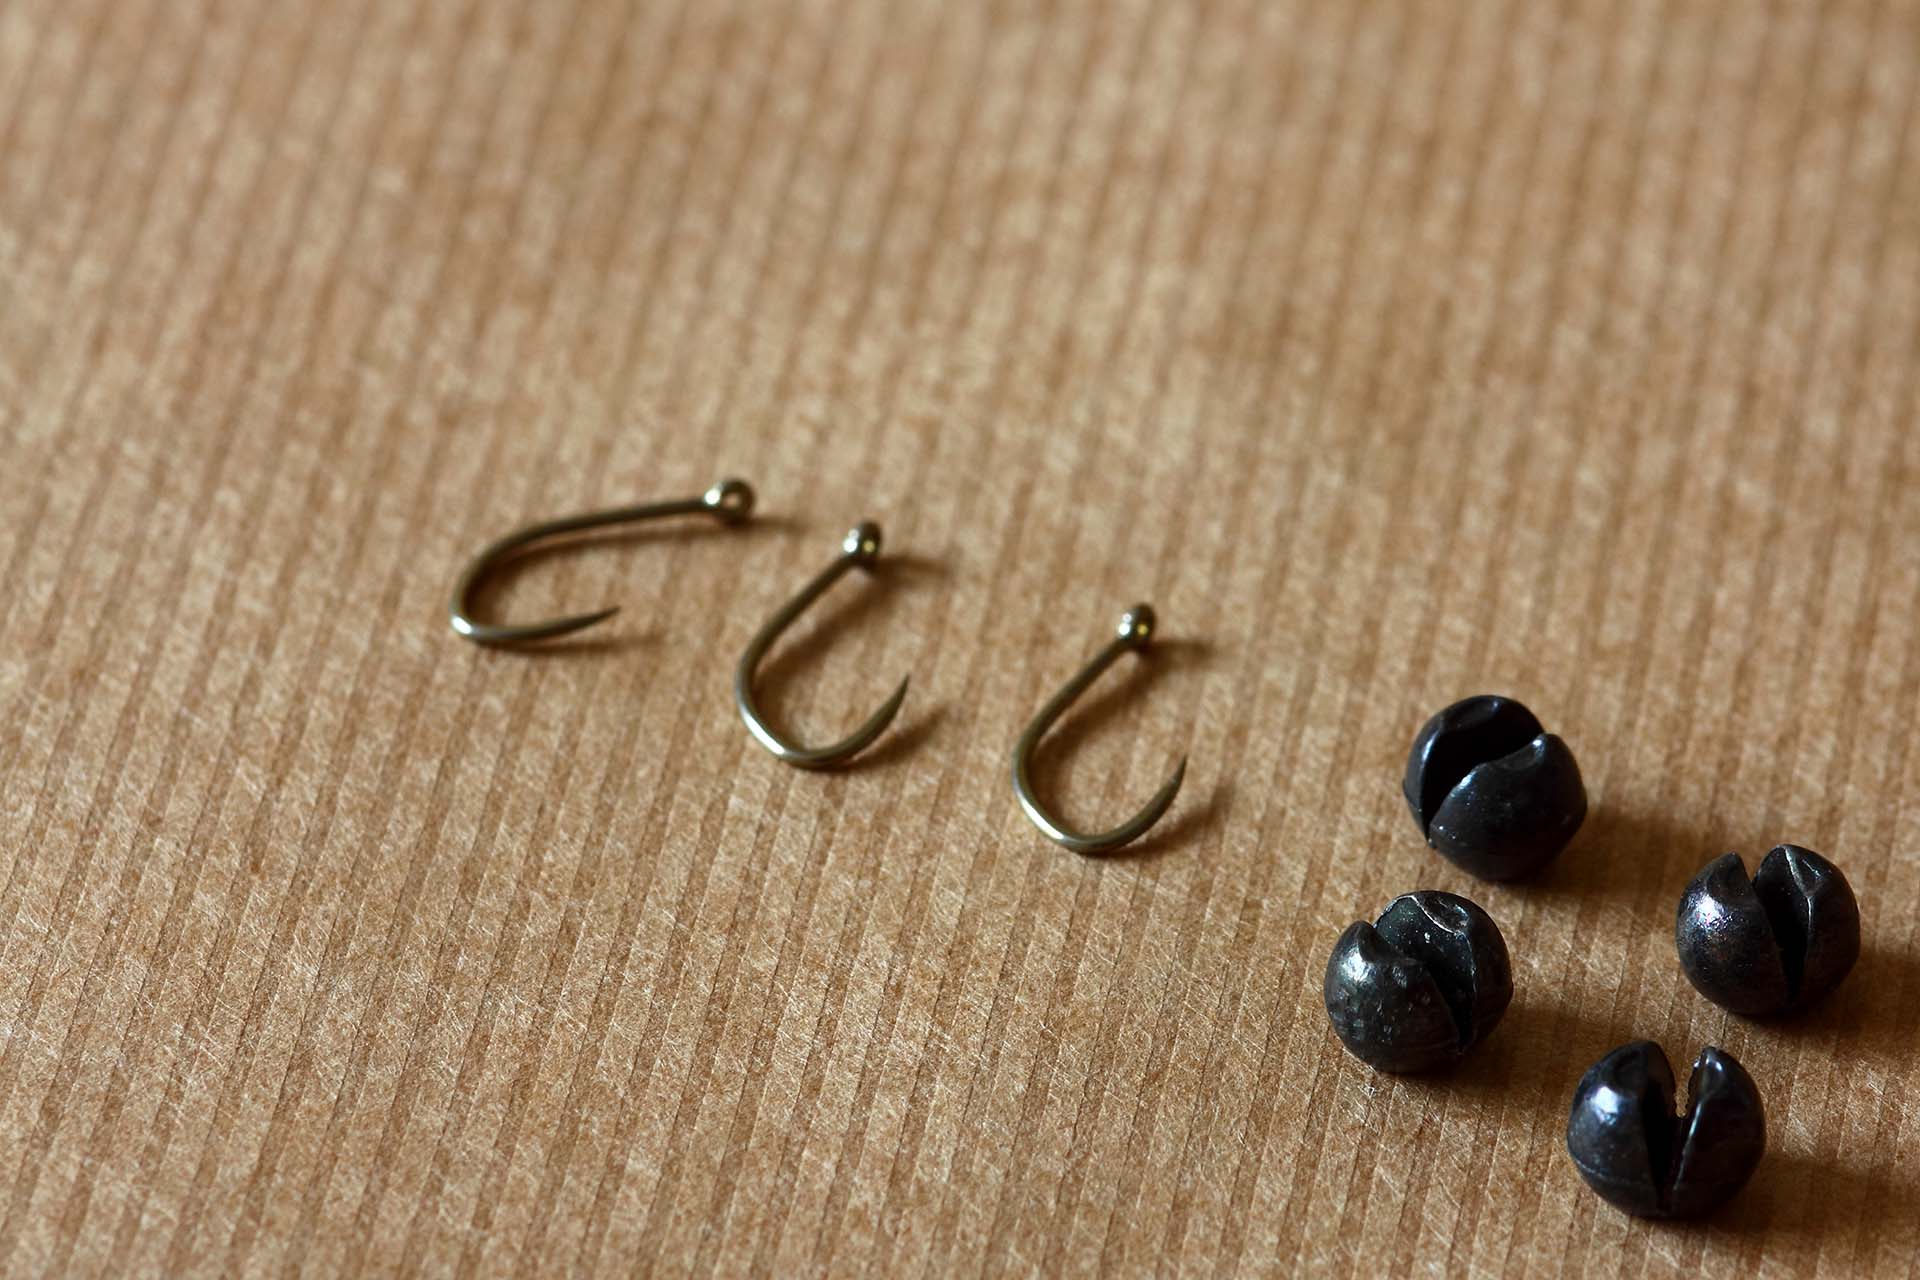
For beginner anglers, the array of fishing line weights can get overwhelming pretty quickly. The good news is that starting this journey doesn’t have to be complicated. There are a few sinker types that are particularly beginner-friendly, with split-shot rigging being a classic example.
The key is to start with the basics and gradually explore more specialized types as you gain experience and confidence on the water. But before we dive into different ways of attaching sinkers to a line, here’s an overview of some of the most common types:
| Type of Sinker | Design and Intended Use |
| Split-Shot | Small, round, and easily clamped onto the line |
| Egg Sinker | Oval-shaped with a hole through the middle |
| Bullet Sinker | Cone-shaped and slides easily over vegetation |
| Pyramid Sinker | A well-balanced pyramid shape for strong currents |
| Bank Sinker | Versatile for various freshwater and saltwater applications |
| Drop-Shot Sinker | A cylindrical piece specifically designed for drop-shot rigging |
| Sputnik Sinker | Star-shaped with protruding wires, excellent for strong currents |
| Disk Weight | Flat and circular, used to hold bait stationary in currents |
| Pencil Sinker | Long and slim, which is ideal for streams with rocky bottoms |
Lead vs. Alternative Sinker Materials – What Are Your Options?
Lead weights for fishing have long been a standard due to density, ease of molding, and affordability. However, environmental concerns regarding lead toxicity, particularly its impact on wildlife and water systems, have raised significant concerns.
As this awareness grows, many anglers are turning to alternative materials for their sinkers. Here are the most common options, along with the distinct advantages of each one:
- Tungsten – higher density than lead, allowing for smaller, more compact weights,
- Brass – non-toxic and much more environmentally friendly than lead,
- Steel – rust-resistant, making it durable and long-lasting.
Finding the Perfect Balance – Considerations for Choosing the Right Weight for Your Line
Selecting the perfect fishing weight setup is a critical decision that can greatly influence your success on the water. The perfect weight creates harmony between your fishing line, lure, and the conditions you’re casting in. To avoid spending the day wondering why fish aren’t biting, let’s explore the key considerations that will guide you in choosing the ideal weight:
Technique Matters
Naturally, different angling techniques require different weight setups. For example, fly fishing often necessitates lighter, more discreet weights to maintain a natural bait presentation. On the flip side, bottom fishing in deep water might call for heavier weights to anchor your bait in place.
Know Your Fish
Different fish species respond to different presentations. A weight that works for bottom-dwelling catfish might not be ideal for targeting surface-feeding largemouth bass. Having a thorough understanding of the habits and preferences of your target is crucial when choosing fishing sinkers.
Current and Water Conditions
The strength of the current and the overall water conditions play a significant role when it comes to weight distribution in fishing. In strong currents or rough waters, heavier sinkers might be necessary to provide secure weight attachment while fishing. This kind of rig setup will keep your bait stable and in the desired location. In calmer, still waters, lighter weights might suffice.
Bait or Lure Weights
The weight of your bait or lure should also influence your choice. Heavier lures may require less weight, while lighter baits might need a bit more to reach the desired depth. The goal is to achieve a natural movement that entices fish without being hindered by the setup.
Depth and Distance
Finally, consider the depth and the distance you need to cast to narrow down the fishing weight sizes. Deeper waters often require heavier weights to get your bait down to the right depth. Similarly, if you need to cast long distances, a heavier weight might be necessary to achieve the required range. However, it’s important to balance this with the need for a natural bait presentation.
How to Add a Weight to a Fishing Line – The Ultimate Guide to a Few Commonly Used Methods
With the vast array of sinkers available, covering the usage of each one comprehensively could easily fill an entire book. So, let’s focus on a few important techniques that are widely used. These methods will give you a solid foundation for figuring out how much weight to add to a fishing line, enhancing your game in a variety of situations.
Split-Shot Weights Are the Simplest Type of a Fishing Rig Setup
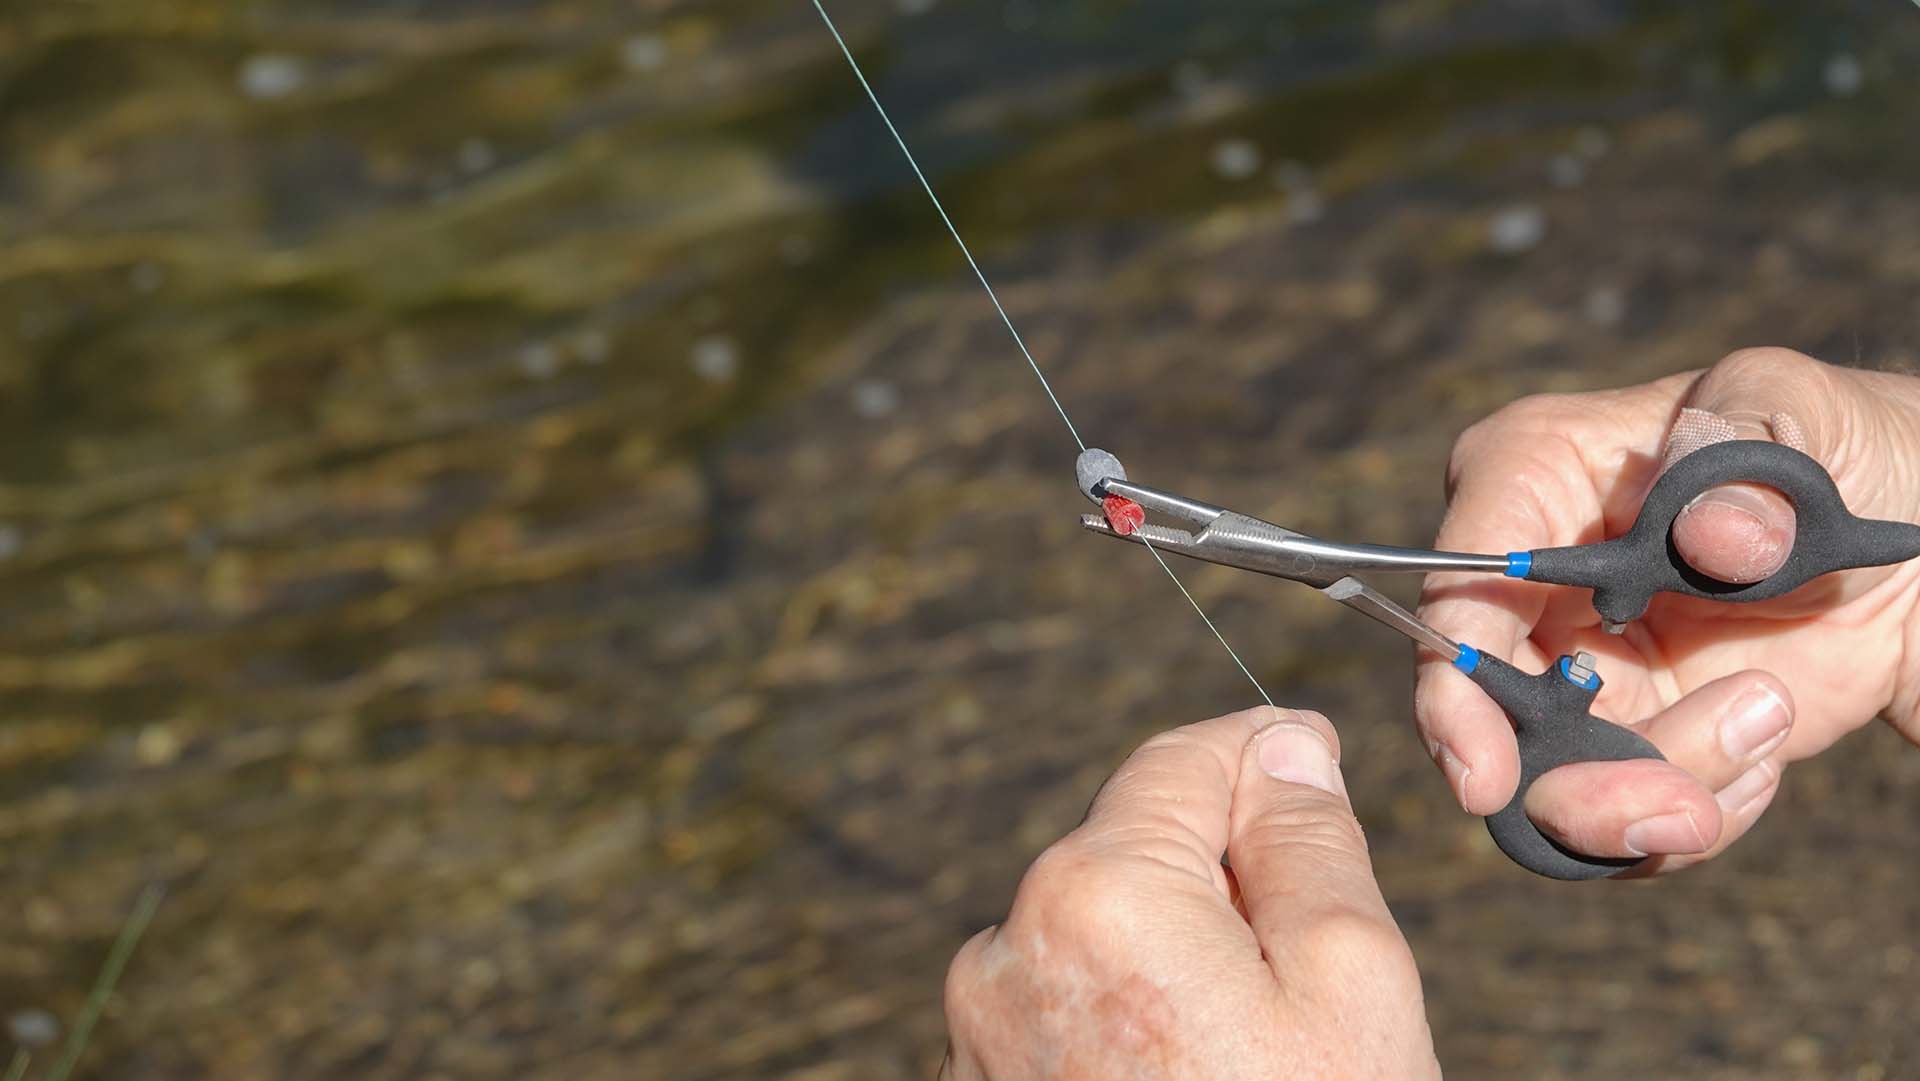
Split-shot weights are a go-to for many anglers due to their simplicity and effectiveness. They’re particularly useful for quick adjustments and fine-tuning your bait’s depth. Here’s how to set up a split-shot rig:
- Place the weight 12-30 inches above the fish hook, depending on the desired depth,
- Use pliers to clamp the split shot onto your line securely,
- Adjust as needed by moving the piece up and down.
Bullet Weights for Fishing Are Best for Navigating Heavy Vegetation
Bullet sinkers are a favorite when it comes to bass fishing weights, especially in areas with heavy vegetation. Their streamlined shape allows them to glide through weeds and cover, reducing the chances of snagging. This is sure to save you from plenty of headaches while you’re out there on the water. Here’s how to set it up:
- Place the bullet weight on the line, pointed end facing the angling rod,
- Place a bead after the weight to protect the know,
- Tie your hook to the end of the line,
- Rig your soft plastic bait on the hook,
- Cast your line into the desired position.
Here Are Some Common Bank Sinker Techniques to Experiment With
Bank sinkers are versatile and commonly used for their stable performance, especially in strong currents. Their teardrop shape makes them ideal for a variety of angling styles and conditions, from rivers to saltwater environments. Here’s how to use a bank sinker effectively:
- If you’re dealing with strong currents, opt for a heavier piece,
- Place the bank sinker above a swivel to prevent line twists,
- Attach a leader line to the swivel,
- Tie your fish hook to the line,
- Vary the leader length based on the depth and the fish species you’re targeting.

Weighing In – Mastering the Art of Perfect Sinker Placement
Sure, we’re using weights, but this game is still a delicate dance. Here, the position of your sinker on the line can be as crucial as the choice of the bait itself. No matter what setup you’re employing, adjusting this distance is a key factor in how well your bait presents itself to the fish.
A sinker placed too close to the hook may hinder the natural movement of the bait, making it less enticing to fish. Conversely, a sinker placed too far from the hook might not allow the bait to reach the desired depth or stay in the right spot. The trick is to find a sweet spot where the sinker aids in presenting the bait in the most natural and appealing way possible.
Floating vs. Sinking Baits – What’s the Reel Deal?
Floating baits need a carefully positioned weight to ensure they hover enticingly in the water at the right depth. The weight shouldn’t pull them down too much, but just enough to keep them in the strike zone.
For sinking baits, the weight needs to complement the bait’s natural sinking speed and depth. It’s about enhancing the bait’s inherent properties, not overpowering them. All in all, the setup should help maintain the bait at a depth where the fish are most active.
Missteps in the Deep – A Few Common Weight Placement Mistakes to Dodge
This journey is filled with subtleties, so it’s easy to make mistakes that can affect your catch rate. These missteps, while common, can be crucial in determining whether your day on the water is fruitful or not. Let’s take a look at some of the typical mistakes that anglers, especially those new to the sport, might want to avoid:
- Overweighting your line – using a sinker that’s too heavy can make casting difficult and disturb the natural movement of your bait,
- Underweighting in strong currents – similarly, a sinker that’s too light in strong currents can lead to inadequate depth control and drift,
- Ignoring water depth – not adjusting the weight according to the depth of the water can result in the bait not reaching the right zone,
- Placing the weight too close to the bait – this can restrict the natural movement of the bait, making it less attractive to fish,
- Neglecting the impact of wind and current – failing to consider how wind and current affect where your bait ends up and how it moves.
Keep Your Tackle Box Organized and Ready
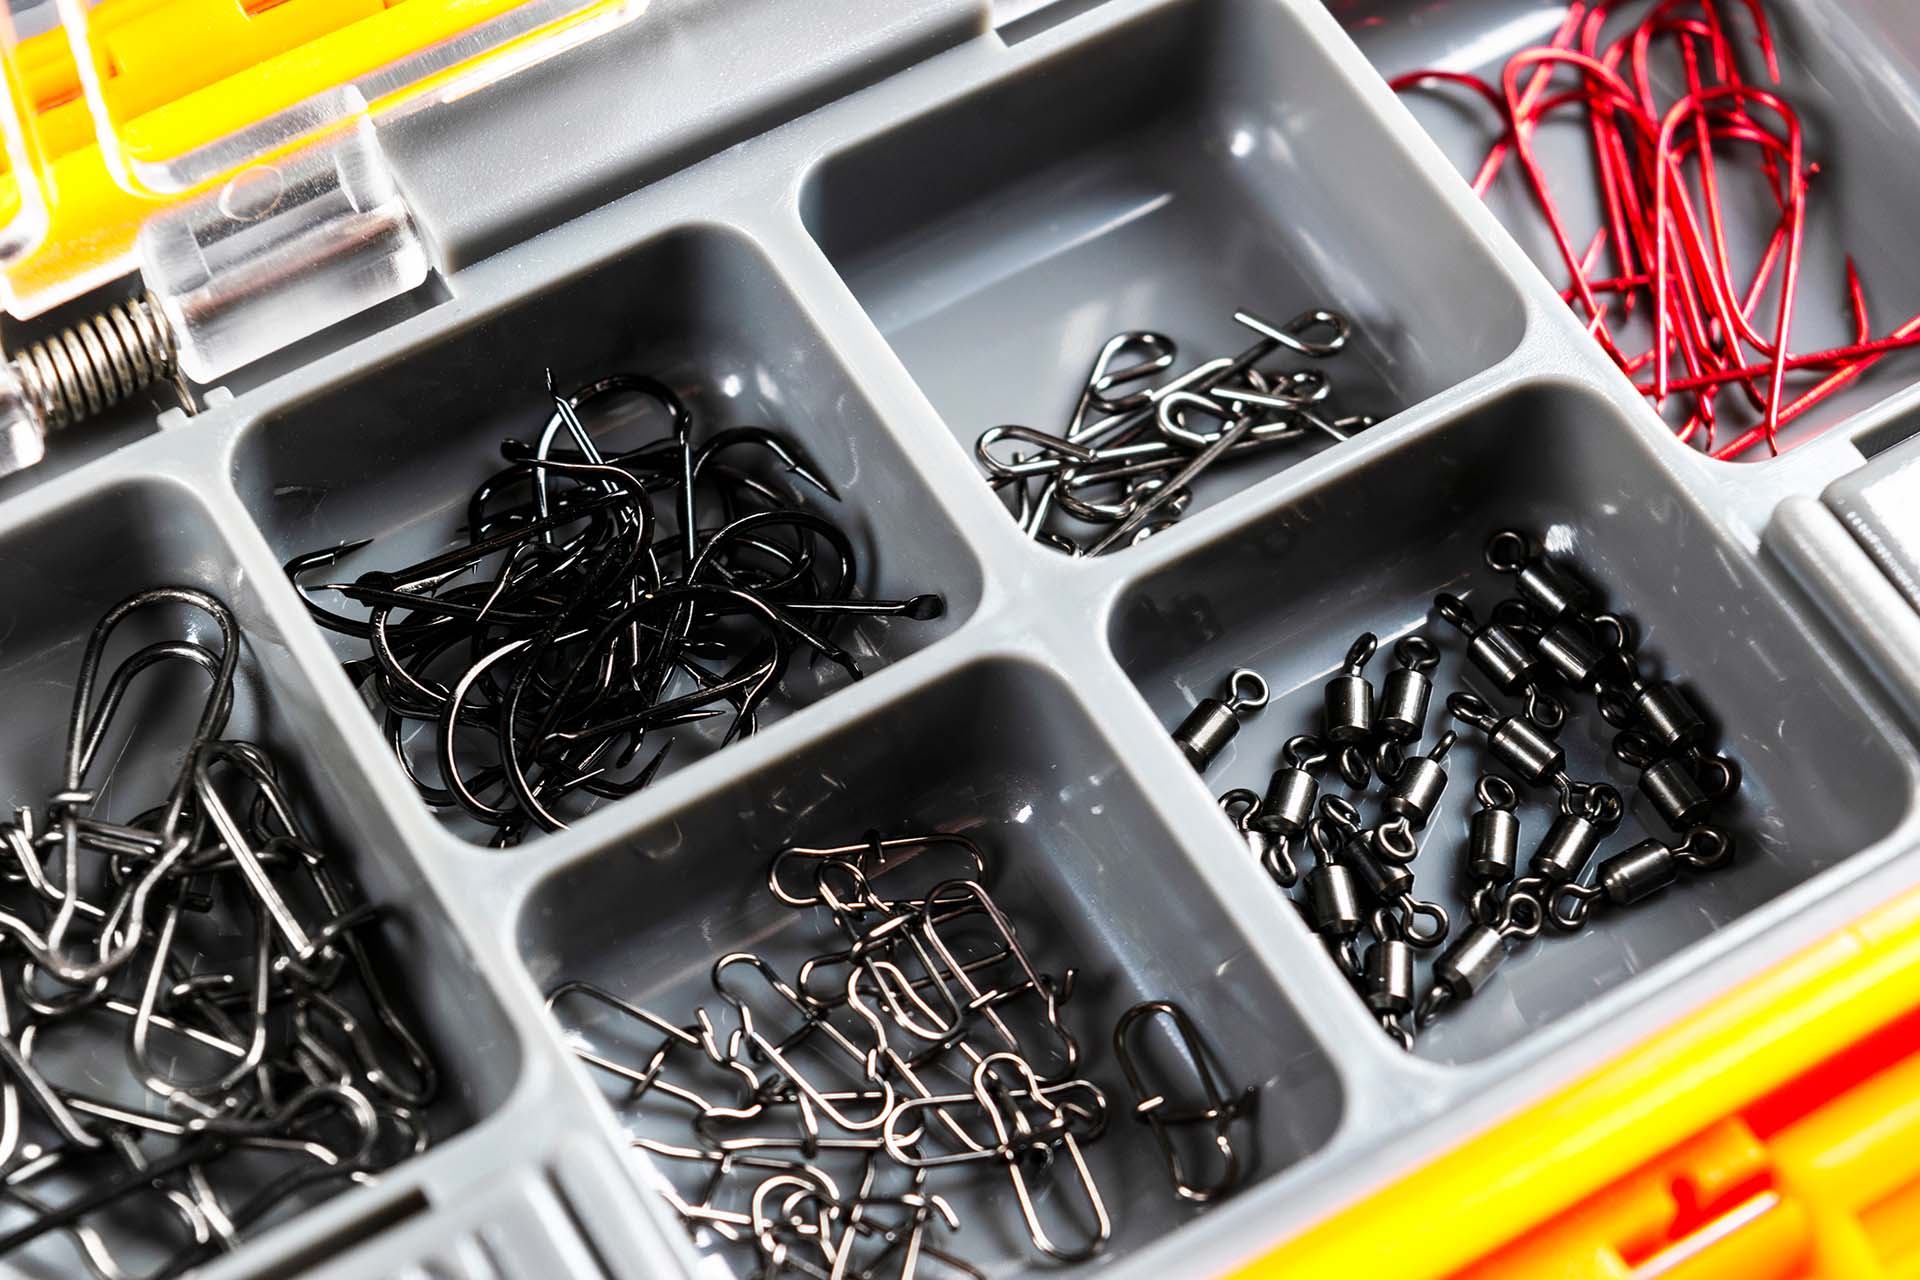
Keeping your sinkers well-organized not only saves time during your trips but also prevents the loss or damage of these essential items. Use dividers or small containers within your tackle box to separate different types, and even label these compartments if you’ve got plenty to work with.
Moreover, good organization extends the life of your gear. Sinkers benefit from being stored in moisture-resistant and well-ventilated compartments. For anglers with extensive collections, consider investing in a larger, more specialized tackle storage system.
The Weight Is Over and Now You Can Cast Your Line With Confidence
Like any other art form, perfecting how to add weights takes practice, patience, and a bit of experimentation. Each cast is an opportunity to learn and adapt, whether you’re adjusting the distance or working with the current conditions. With your newly polished knowledge and an organized tackle box, you’re all set for your next trip. Here’s to many successful catches and stories to share at the end of the day!

