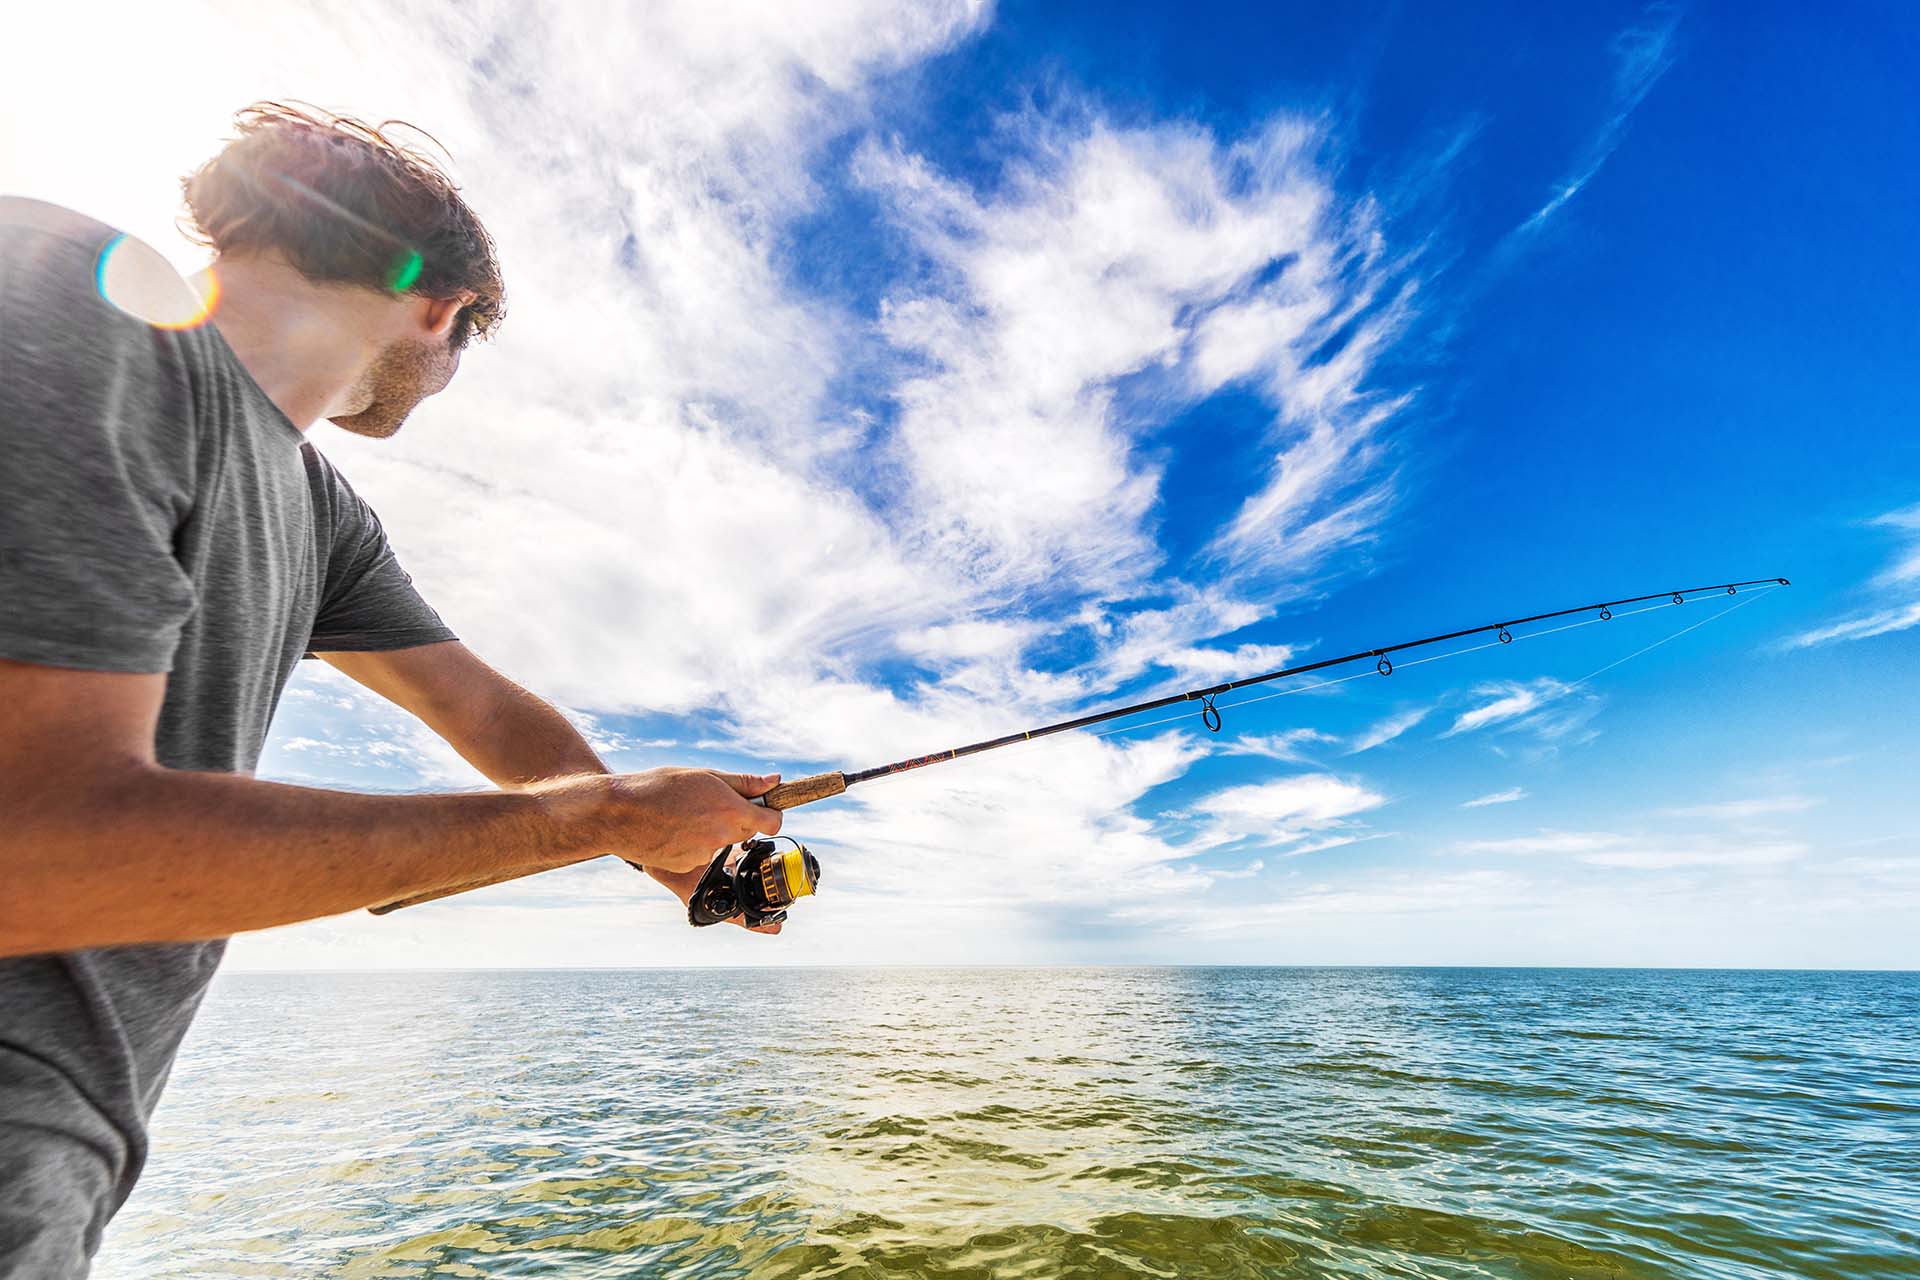
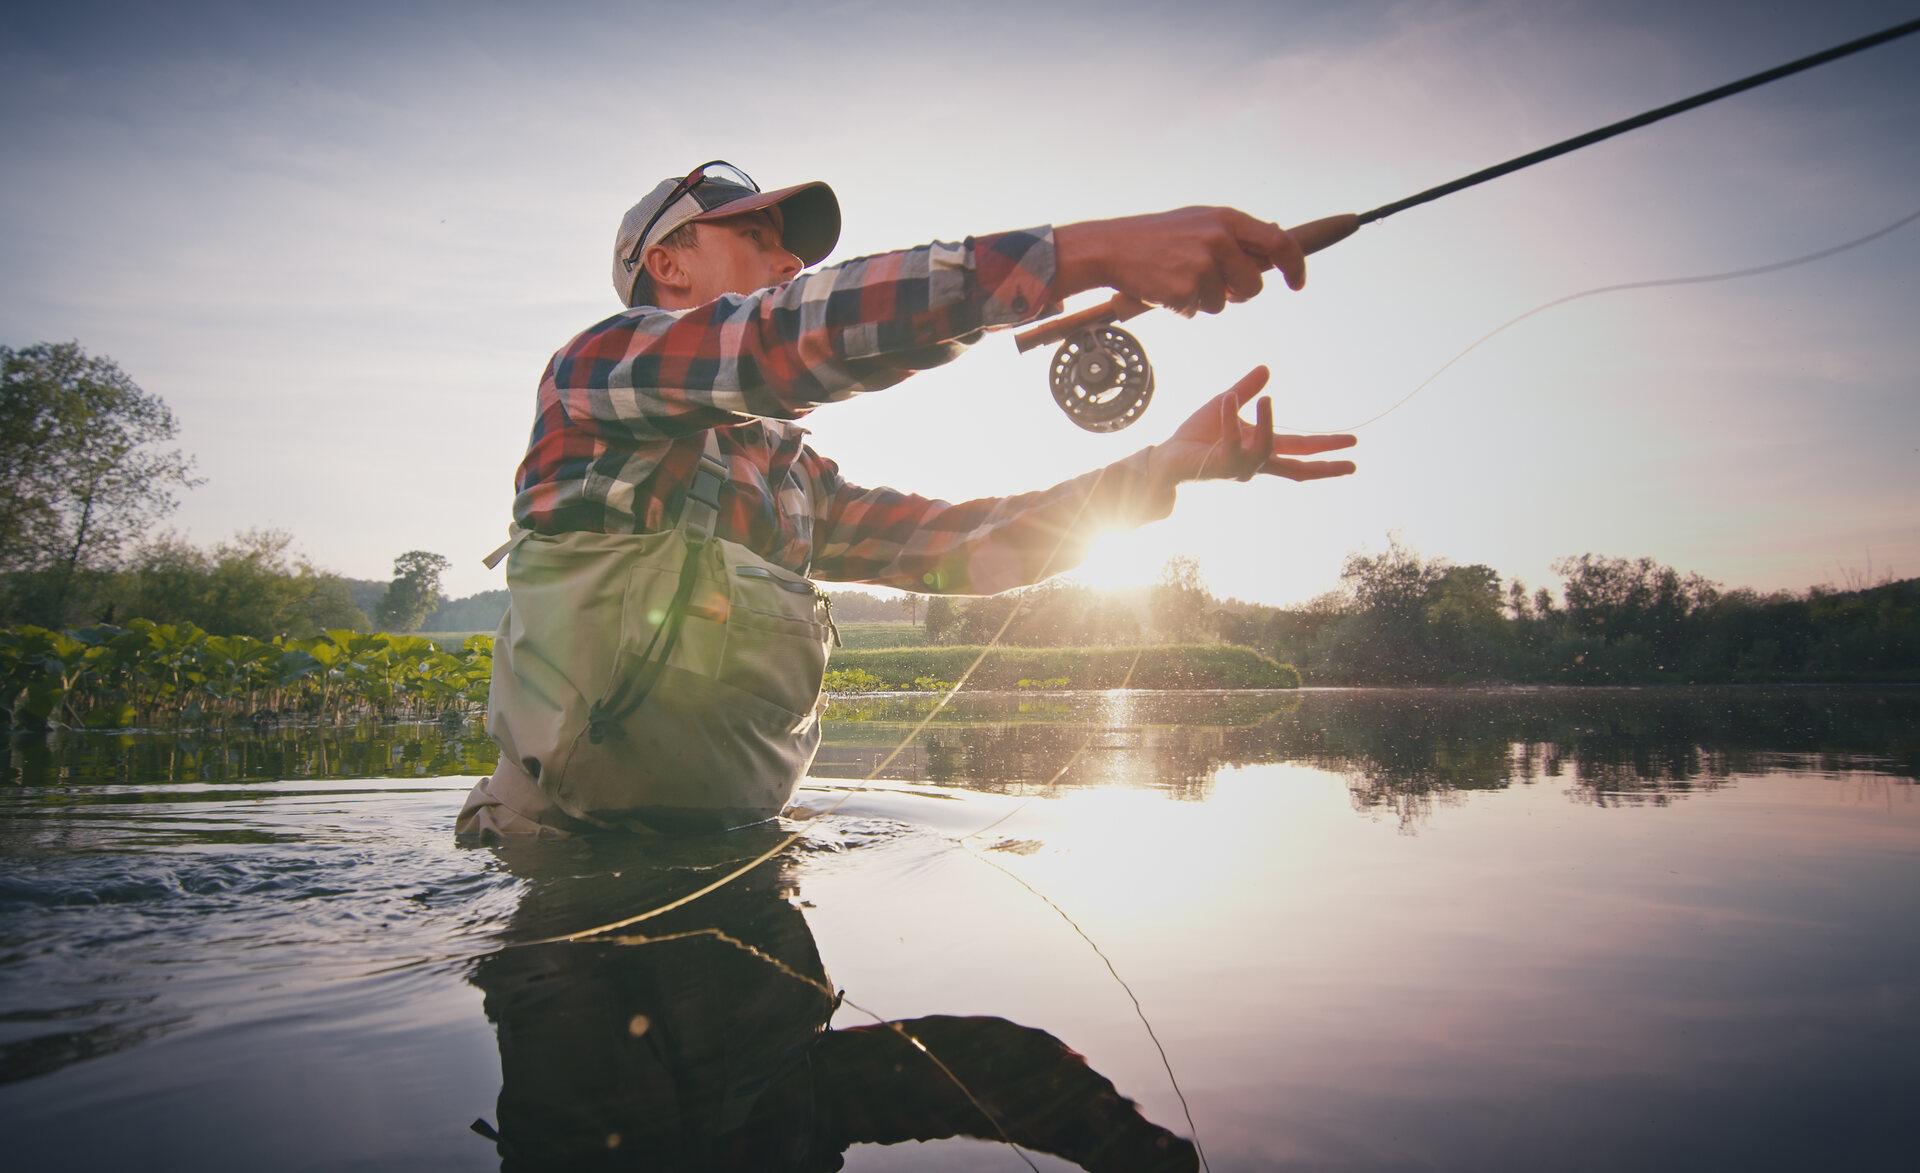
Once you know how to attach a bobber to a fishing line, it’s smooth sailing (or should I say – catching). Whether you’re an experienced angler looking for a refresher or just starting and trying to find your footing in the world of fishing, this guide will provide you with all the essentials of attaching bobbers like a pro! Read on and learn how easy it can be – let’s get started!
To attach a bobber to your fishing line, first, slide the bobber onto your line. Then, tie a small knot, such as a clinch knot or an improved clinch knot, about 6-12 inches above your hook. Make sure the knot is secure. Finally, trim any excess lines. Now your bobber is securely attached, ready to help you detect bites and keep your bait at the desired depth.
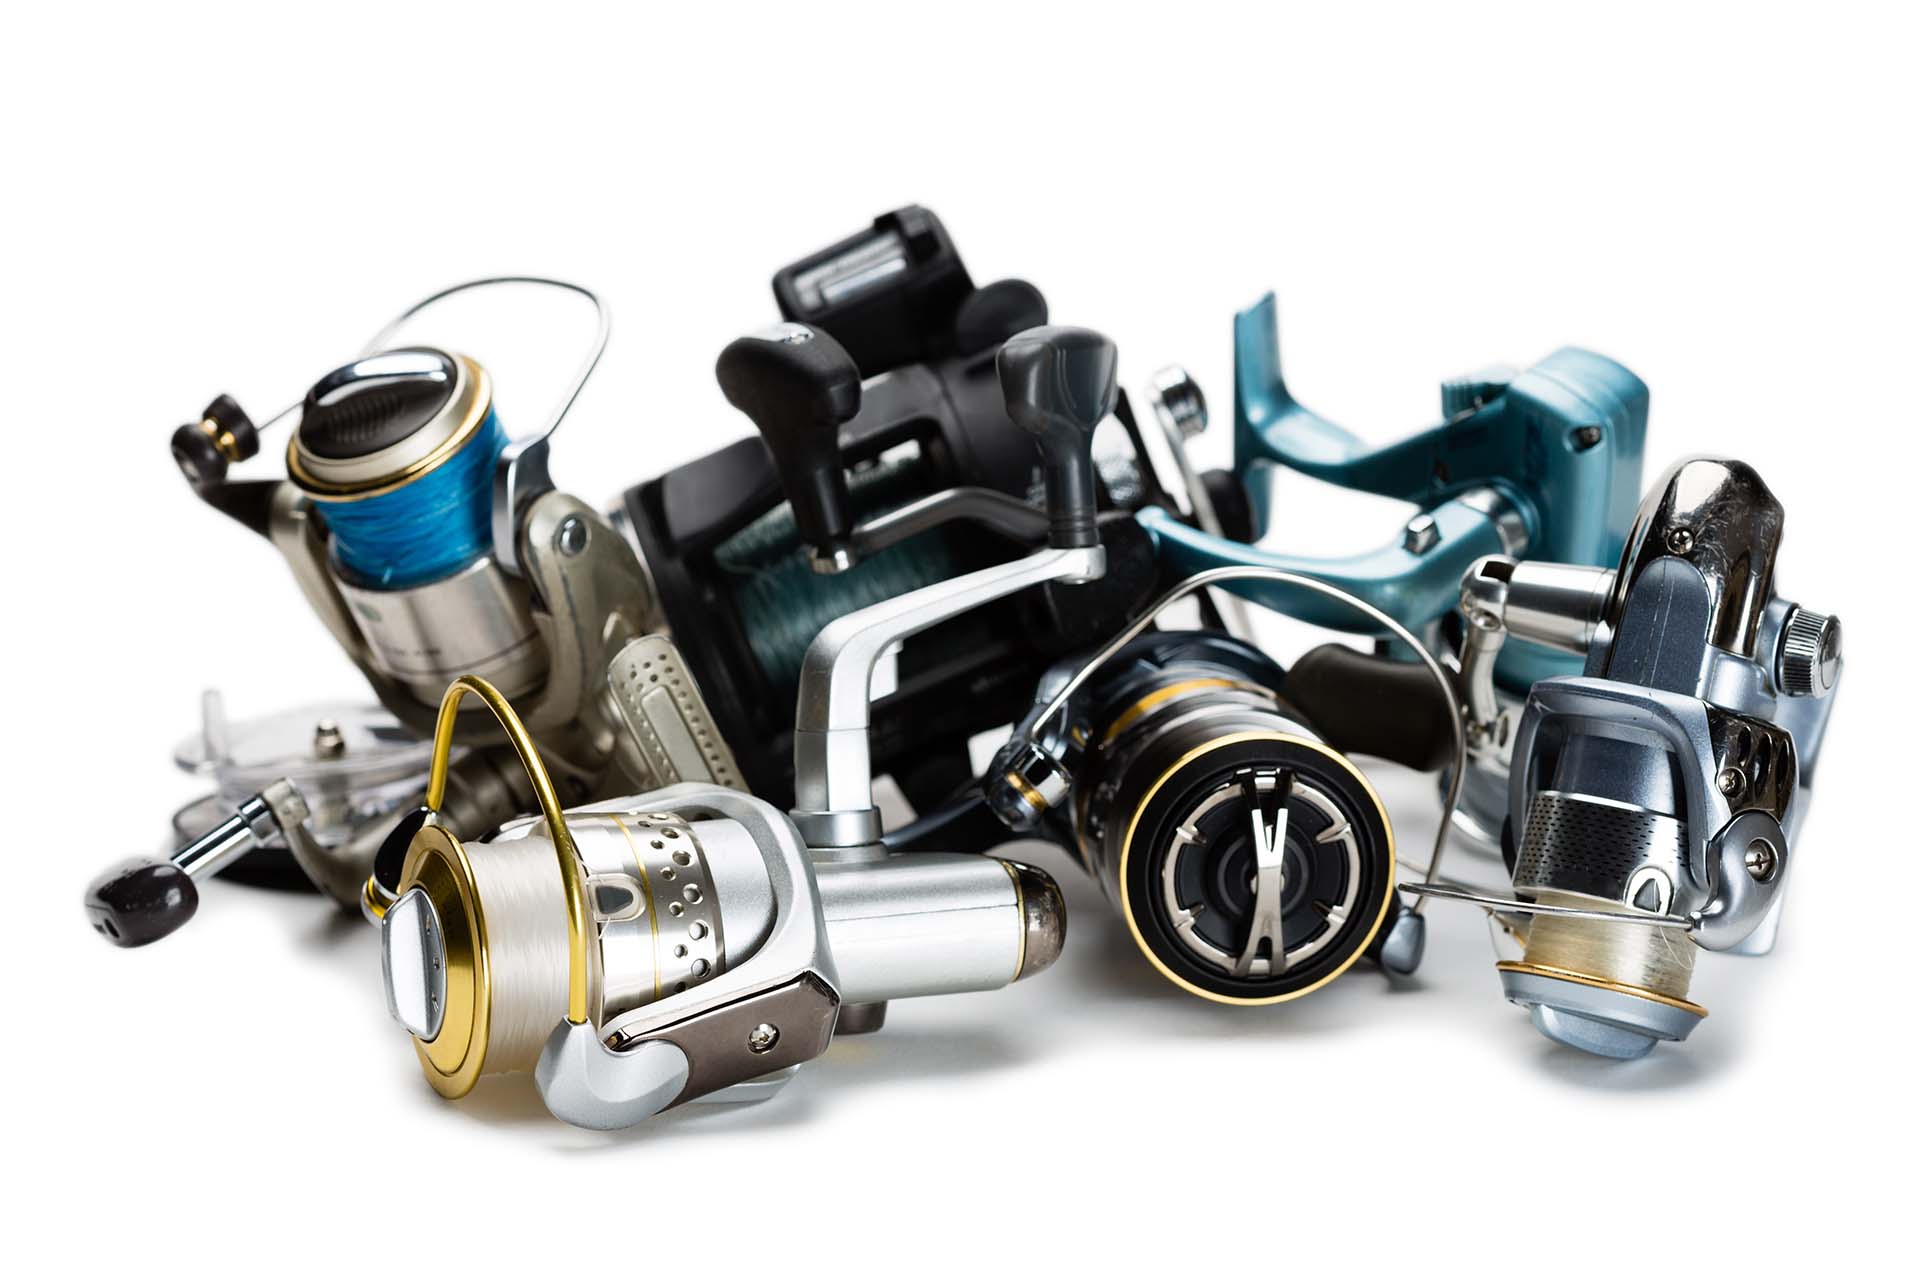
What Is a Bobber?
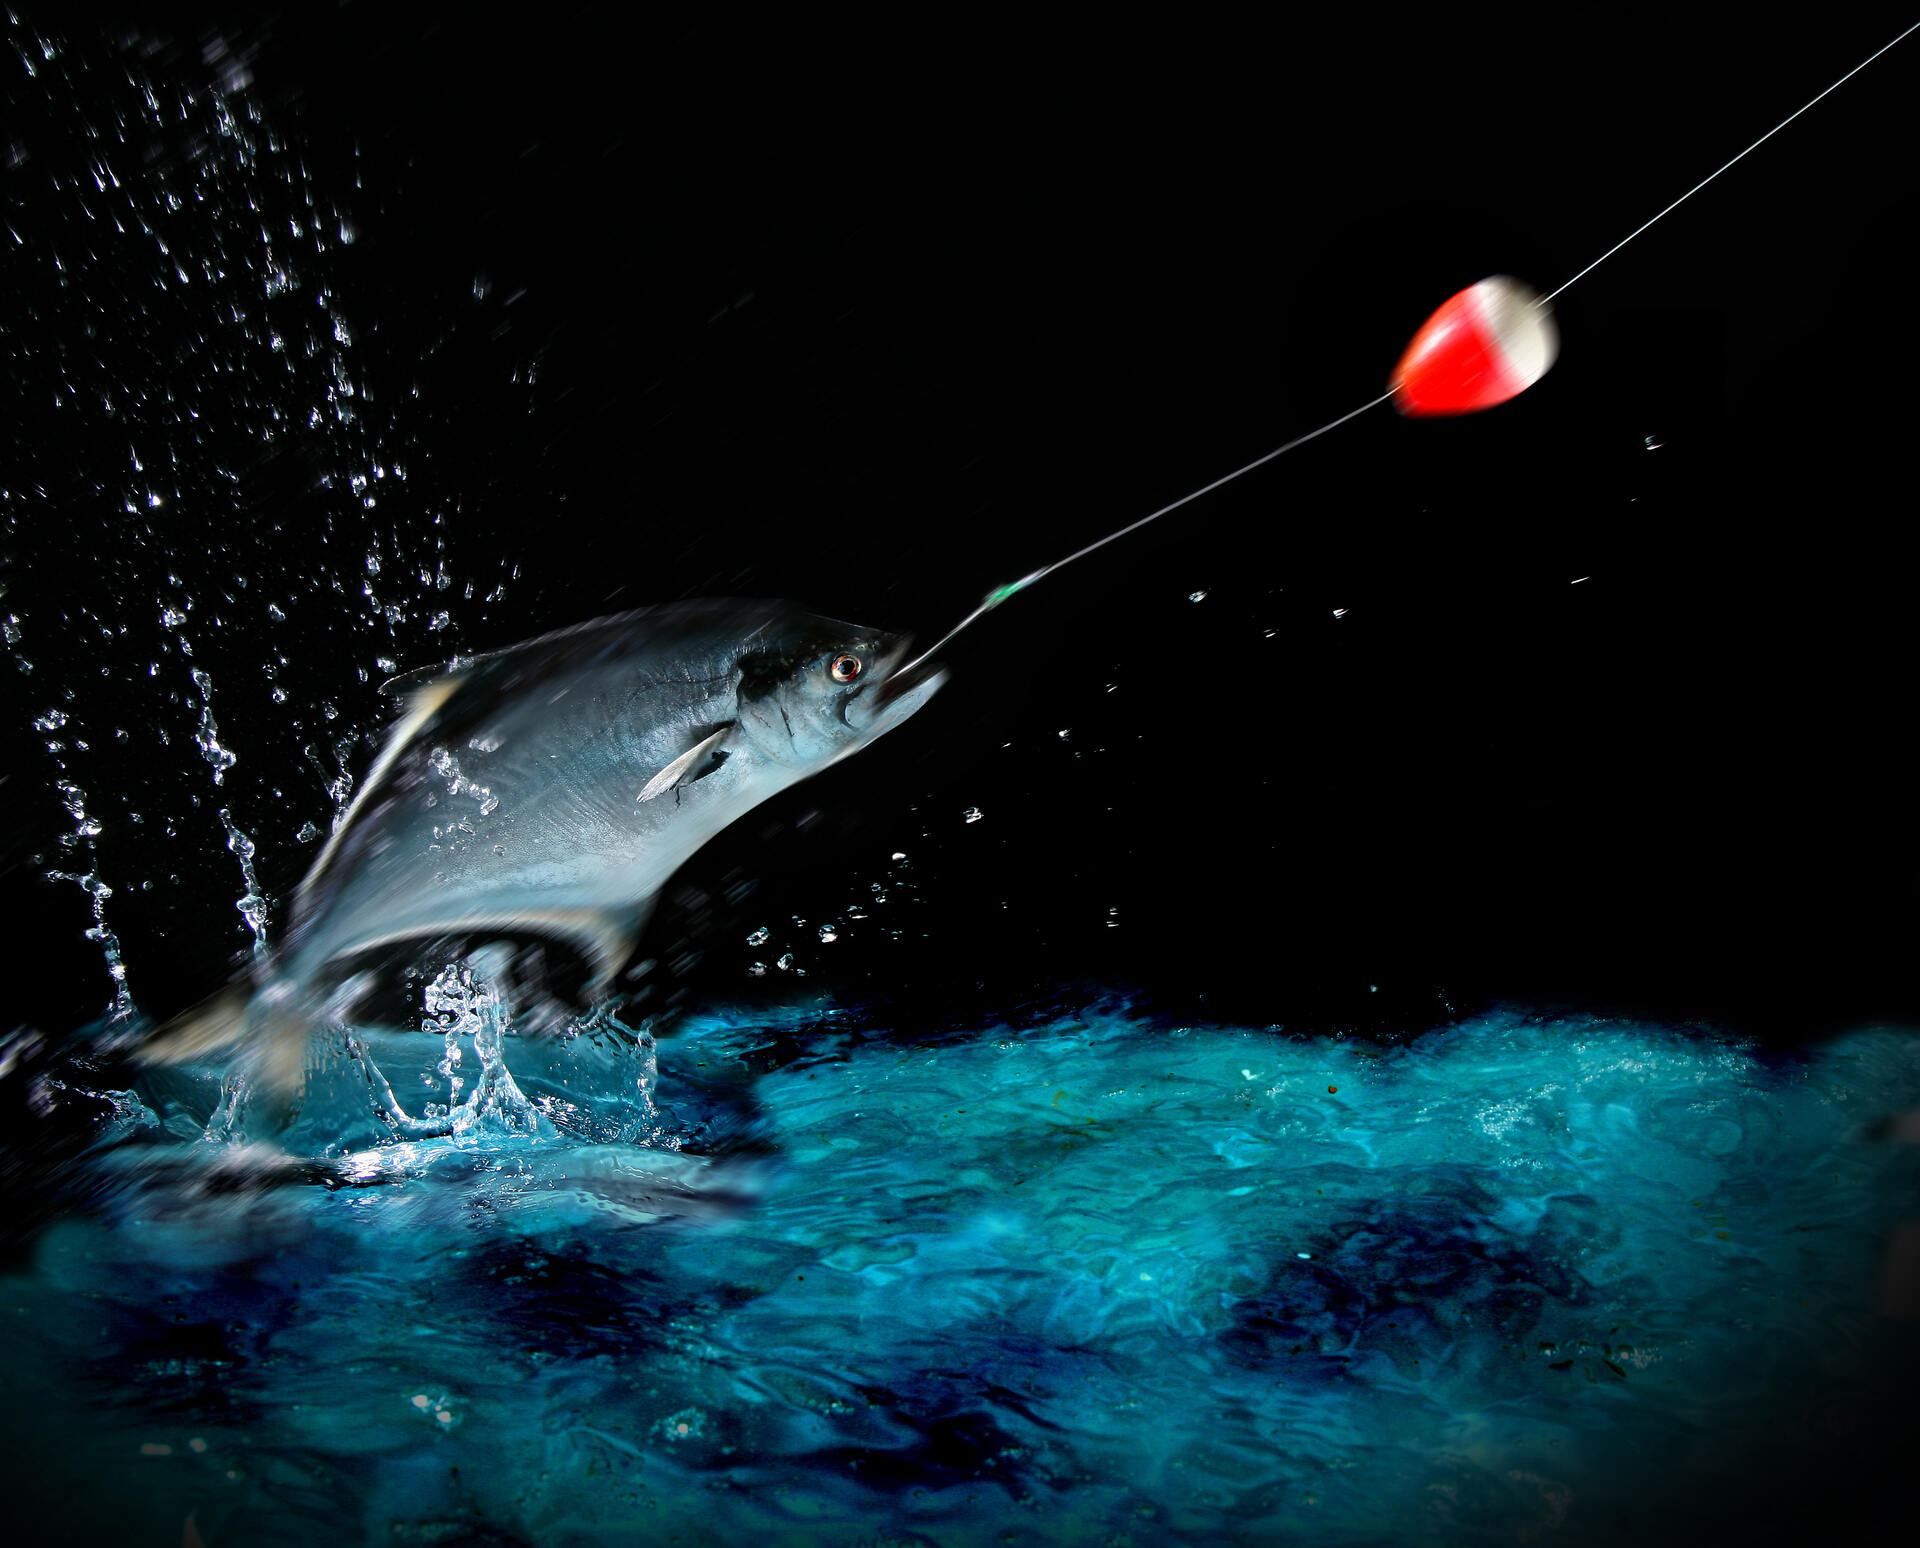
A bobber, also known as a float or cork, is a small buoyant device used in fishing. It plays a crucial role in angling by serving as an indicator when a fish takes the bait. They are typically made of materials like plastic, foam, or cork and come in various shapes and sizes.
Why Do Fishermen Use Bobber?
The main purpose is to suspend the bait at a specific depth in the water, allowing the angler to easily monitor any fish activity. When a fish bites, the bobber will submerge or move in a distinct manner, signaling a potential catch. That way, you can react quickly and set the type of hook you’ve chosen. This makes it easier to detect even subtle bites, especially when fishing for species with delicate nibbling tendencies.
Furthermore, using it can help beginners learn the basics of fishing. It provides a visual reference point, making it easier to understand the concept of tension on the line and the mechanics of a fish biting. Novice anglers can develop their skills and gain confidence by observing the movements of the bobber.
Step 1: Choose the Right Bobber
When embarking on a fishing adventure, be sure not to underestimate the power of choosing the right bobber. These small yet mighty fishing companions can make all the difference between a lackluster outing and a thrilling catch-filled experience.
With a plethora of bobbers available, from classic round ones to cutting-edge electronic wonders, it’s essential to select the perfect one for your needs. Here’s a brief explanation of some common types:
- Round/traditional – These are spherical or cylindrical in shape. They are typically made of plastic, foam, or cork and come in various sizes. Round ones are easy to attach to the fishing line and provide good visibility when a fish bites.
- Slip bobbers – With its hollow tube design, the line can slide through the bobber. They are adjustable and can be moved up or down the line to set the desired fishing depth.
- Pencil bobbers – These are elongated and cylindrical, resembling a pencil shape. They are often made of plastic or balsa wood. Pencil ones are popular for casting longer distances and are suitable for both still-water and flowing-water fishing.
- Electronic bobbers – Advanced ones like these are equipped with electronic components such as sensors, lights, and sound alarms. They provide additional visual and audio cues when a fish bites, making them especially useful for night fishing or low-light conditions.
- Bubble bobbers – Bubble ones are transparent plastic spheres that can be filled with water to provide weight and stability. They allow easy casting and offer adjustable buoyancy by adding or releasing water. Bubble ones are versatile and suitable for various styles of fishing.
- Slip bloats – Similar to slip ones, slip floats are long, slender floats that slide along the fishing line. They are commonly used for vertical fishing or in situations where a delicate presentation is required, such as fishing with live bait or in finesse type of fishing.
Step 2: How to Attach a Bobber to Fishing Line
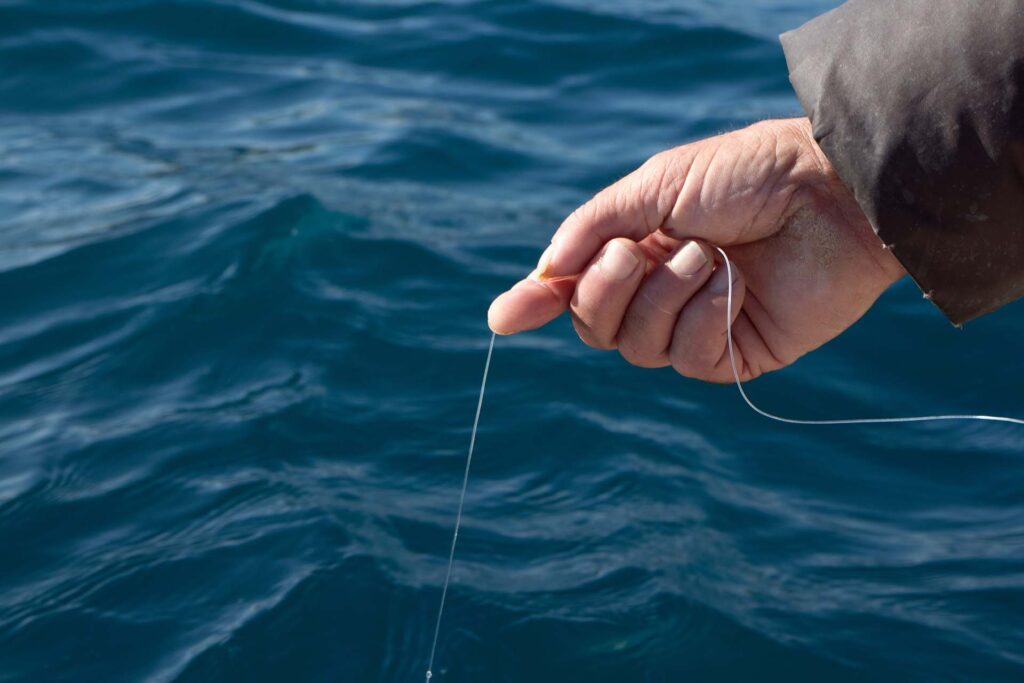
Mastering the art of tying your fishing line to a bobber using a reliable knot is essential for a successful angling adventure. Begin by sliding your chosen bobber onto the line, ensuring it rests at the desired distance from the hook. Now, select a sturdy knot, such as the clinch knot or the improved clinch knot.
With deft fingers, create a loop by passing the tag end of the line through the eye of the bobber and back alongside the standing line. Wrap the tag end around the standing line multiple times, carefully threading it through the loop you created earlier.
Once complete, moisten the knot to ensure a snug and secure hold, and tighten it by pulling the tag end and standing line simultaneously. Trim any excess line, and voila! You’ve successfully tethered your bobber, ready to embark on a thrilling angling escapade with confidence and finesse.
Be Aware of the Importance of Ensuring the Knot Is Tight to Avoid Losing the Bobber While Fishing
Having in your mind the paramount importance of ensuring your knot is tight when attaching the bobber to your line is more than necessary. Picture the disappointment of casting your line only to watch your bobber slip away into the depths, leaving you without a crucial visual indicator.
To prevent this dreaded scenario, double-check the tightness of your knot before casting. Give it a gentle tug to ensure it holds firm. Remember, a loose knot can easily unravel under pressure, resulting in a lost bobber and potential missed opportunities. So, take a moment to ensure your knot is secure and reeling in a triumphant catch.
Step 3: Adjust the Depth of the Bobber
Whether you’re angling in a tranquil lake or a rushing river, understanding how to adapt the position of your bobber can make all the difference. So let’s delve into the intricacies of this essential technique. Discover how to customize the depth of your bobber to match the fishing environment and target species.
Tips on How to Accurately Adjust the Depth of the Bobber for Optimal Fishing Results
Accurately adjusting the depth is a key skill that can greatly enhance your fishing results. Follow these valuable tips to ensure you have precise control over your bait placement:
- Know your target species – Different fish species have distinct feeding habits and preferred depths. Research the behavior and habitat of your target species to determine the ideal depth for your bait.
- Experiment with bobber placement – Start by setting your bobber at a depth where you believe the fish may be feeding. Cast your line and observe the behavior. If there’s no activity or you’re not getting any bites, gradually adjust the bobber’s position by moving it higher or lower on the line until you find the sweet spot.
- Use adjustable bobbers – Consider using slip or bubble ones that allow you to easily change the depth. These types can be moved up or down the line, giving you the flexibility to experiment and find the optimal depth for your specific fishing conditions.
- Pay attention to water conditions – Factors like water depth, temperature, and clarity can influence fish behavior. In clear water, fish may be more cautious and prefer deeper depths, while in murky water, they might stay closer to the surface. Adjust your bobber accordingly to match the prevailing conditions.
- Monitor the bobber closely – Look for any movement, dipping, or sudden disappearance, as these can indicate fish activity. Patience and attentiveness are crucial in detecting subtle bites and ensuring a timely hookset.
- Adapt to changing conditions – As the fishing environment or fish behavior changes throughout the day, be prepared to readjust the bobber depth. Stay adaptable and responsive to maximize your chances of enticing strikes.
By honing your ability to accurately adjust the depth, you’ll be able to present your bait at the right level, enticing more bites and improving your overall fishing success.
Step 4: Add Weight to the Fishing Line (Optional)
Remember, the decision to add weight to your fishing line depends on the specific fishing conditions, target species, and the desired presentation. Experimenting with different weights and techniques will help you determine the optimal setup for each fishing scenario, maximizing your chances of a successful catch. Adding weight to your fishing line can be beneficial in certain situations, offering advantages that improve your fishing success.
| When | When/Why |
|---|---|
| Fishing in deep water | When targeting fish in deep waters |
| Current or windy conditions | In the presence of strong currents or windy conditions |
| Casting distance | If you need to cast your line over a greater distance, adding weight can enhance your casting range |
| Adjusting bait presentation | It allows you to modify the presentation of your bait |
| Fishing deeper structures or cover | When fishing around structures, such as submerged rocks, fallen trees, or underwater vegetation, adding weight helps you get your bait closer to these areas |
What Types of Weights Can Be Used and How to Attach Them?
There are various types of weights that can be used when adding weight to your fishing line. Here are some common types and how to attach them:
Split Shot Weights
Split shot weights are small, round lead or non-toxic weights with a split along one side. To attach them, simply pinch the split shot weight onto the fishing line at the desired location. You can easily add or remove them by pinching and sliding them along the line.
Bullet Weights
Bullet weights are shaped like a bullet or cone, often made of lead or tungsten. To attach them, slide the line through the narrow end of the weight, allowing it to rest on the desired section of the line. You can secure it in place by tying a small knot or using a stopper bead or rubber bobber stop above and below the weight.
Egg Sinkers
Egg sinkers are oval-shaped weights with a hole running through the center. To attach them, slide the line through the hole, and depending on the weight’s design, you can either tie a knot or use a swivel or snap to prevent the weight from sliding down the line.
Carolina Rigging Weights
Carolina rigging weights are specialized weights used in Carolina rig setups. They typically feature a bullet-shaped design with a hole at one end and a swivel attached to the other end. To attach them, slide the line through the hole, tie a swivel onto the line, and secure the weight in place.
Tungsten Flipping Weights
Tungsten flipping weights are dense and compact weights used primarily in flipping and pitching techniques. They usually have a compact bullet-shaped design with a hole running through the center. To attach them, slide the line through the hole and secure it in place using a knot or a stopper bead.
Step 5: Test the Setup
Don’t forget to test your setup regularly to verify that the bobber is securely attached and the weight is properly balanced. Begin by inspecting the connection between the bobber and the line, ensuring it is tight and secure. Give the bobber a gentle tug to confirm that it remains firmly in place. Next, evaluate the balance of the weight on your line. This is especially important when using weights to sink your bait or maintain stability in challenging conditions.
Ensure the weight is positioned correctly and does not cause the line to tilt or affect the natural movement of your bait. Balancing the weight properly helps to achieve an accurate presentation and enhances your chances of enticing bites.
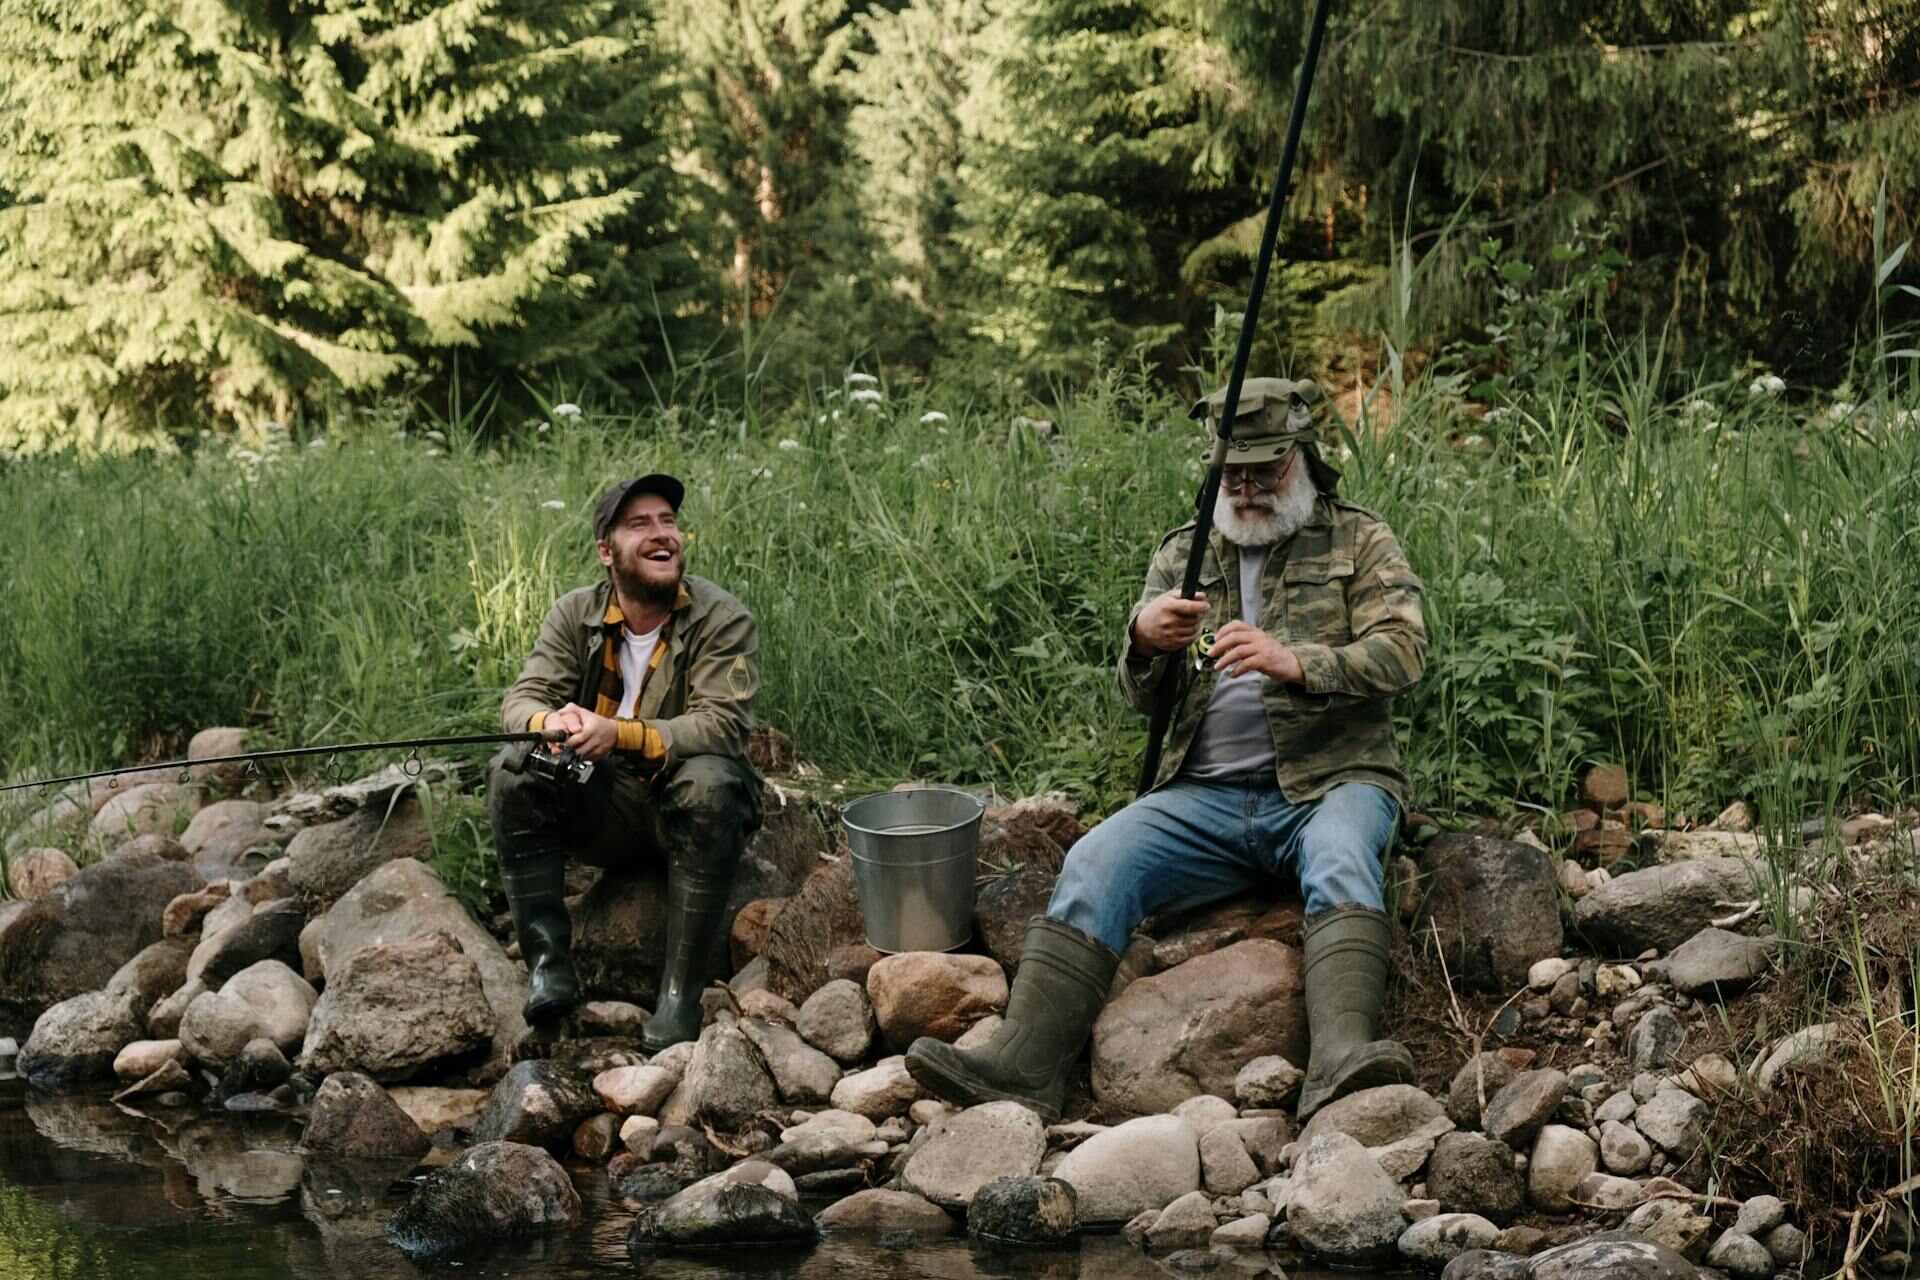
Know How to Attach a Bobber to a Fishing Line and Enjoy Your Fishing Experience
With this kind of knowledge, you now have another skill in your fishing arsenal. Now you can hit the waters and cast like a pro! So don’t be scared to try out new techniques when you go fishing – it’s the best way to stay sharp and make sure your outings are always interesting. Who knows? Maybe mastering the art of the bobber will give us just the edge we need to snag a big one!


Julie Grace
Julie is a passionate angler who proves that fishing is not just a man's world. Armed with her trusty rod and a contagious love for the sport, she's always ready to tackle any fishing challenge head-on. Her finesse and determination make her a force to be reckoned with, and her ability to reel in big catches is nothing short of fin-tastic.