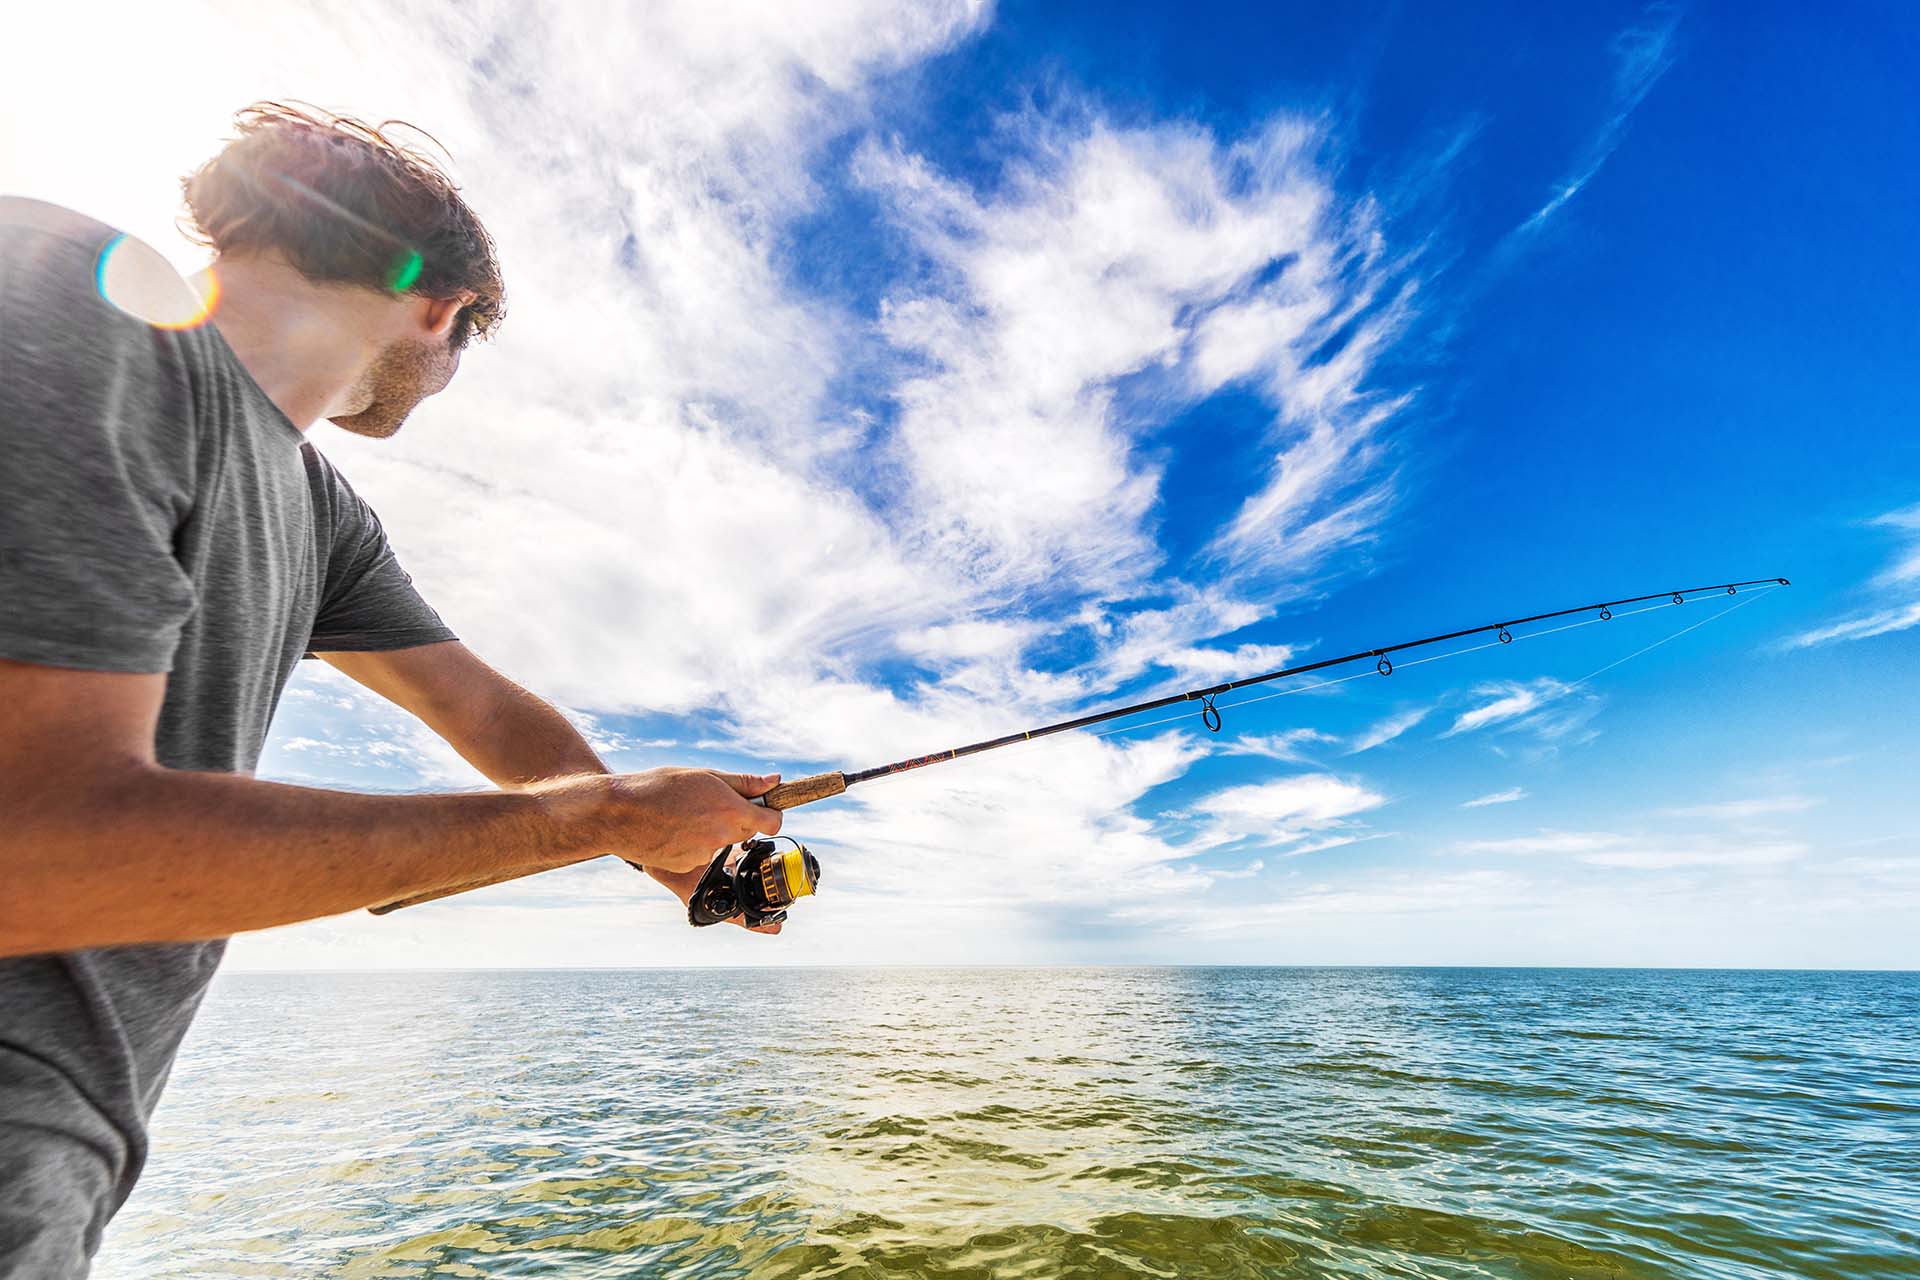
Imagine this – you’re standing on the edge of serene water, surrounded by the calming sounds of nature. The sun casts its warm glow on the surface, teasing the promise of an exciting adventure. But wait, there’s a crucial step missing – how to attach a weight to a fishing line. Don’t fret! This comprehensive guide will walk you through each step, unraveling the mystery and ensuring your angling expedition succeeds.
To adequately do the task, first, you need to select the appropriate weights for your needs. Then, determine the desired location on the line to attach weights and proceed with opening the attachment point. Insert the cord through the attachment point and close it securely. Finish by testing for stability and balance.
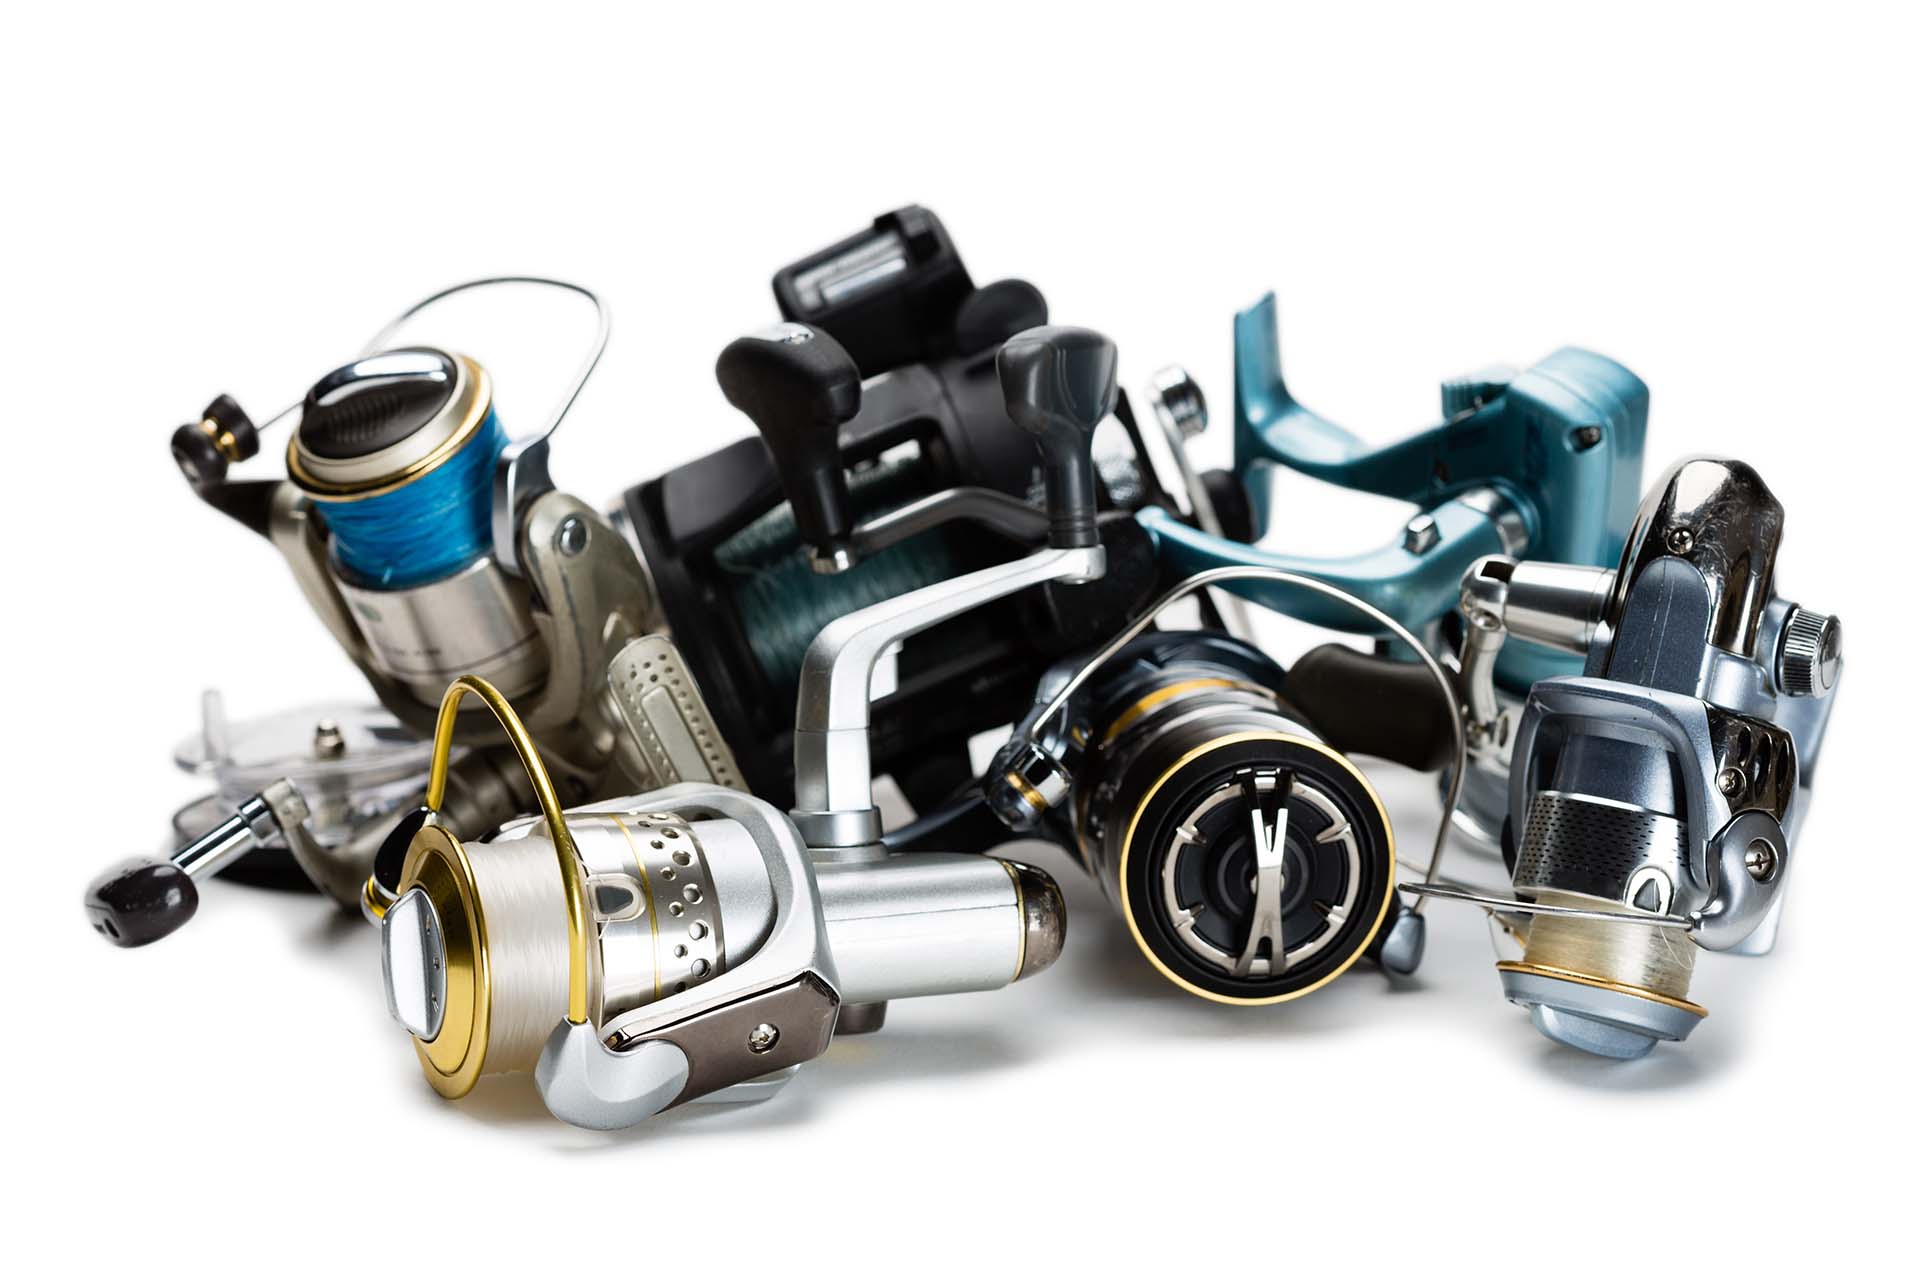
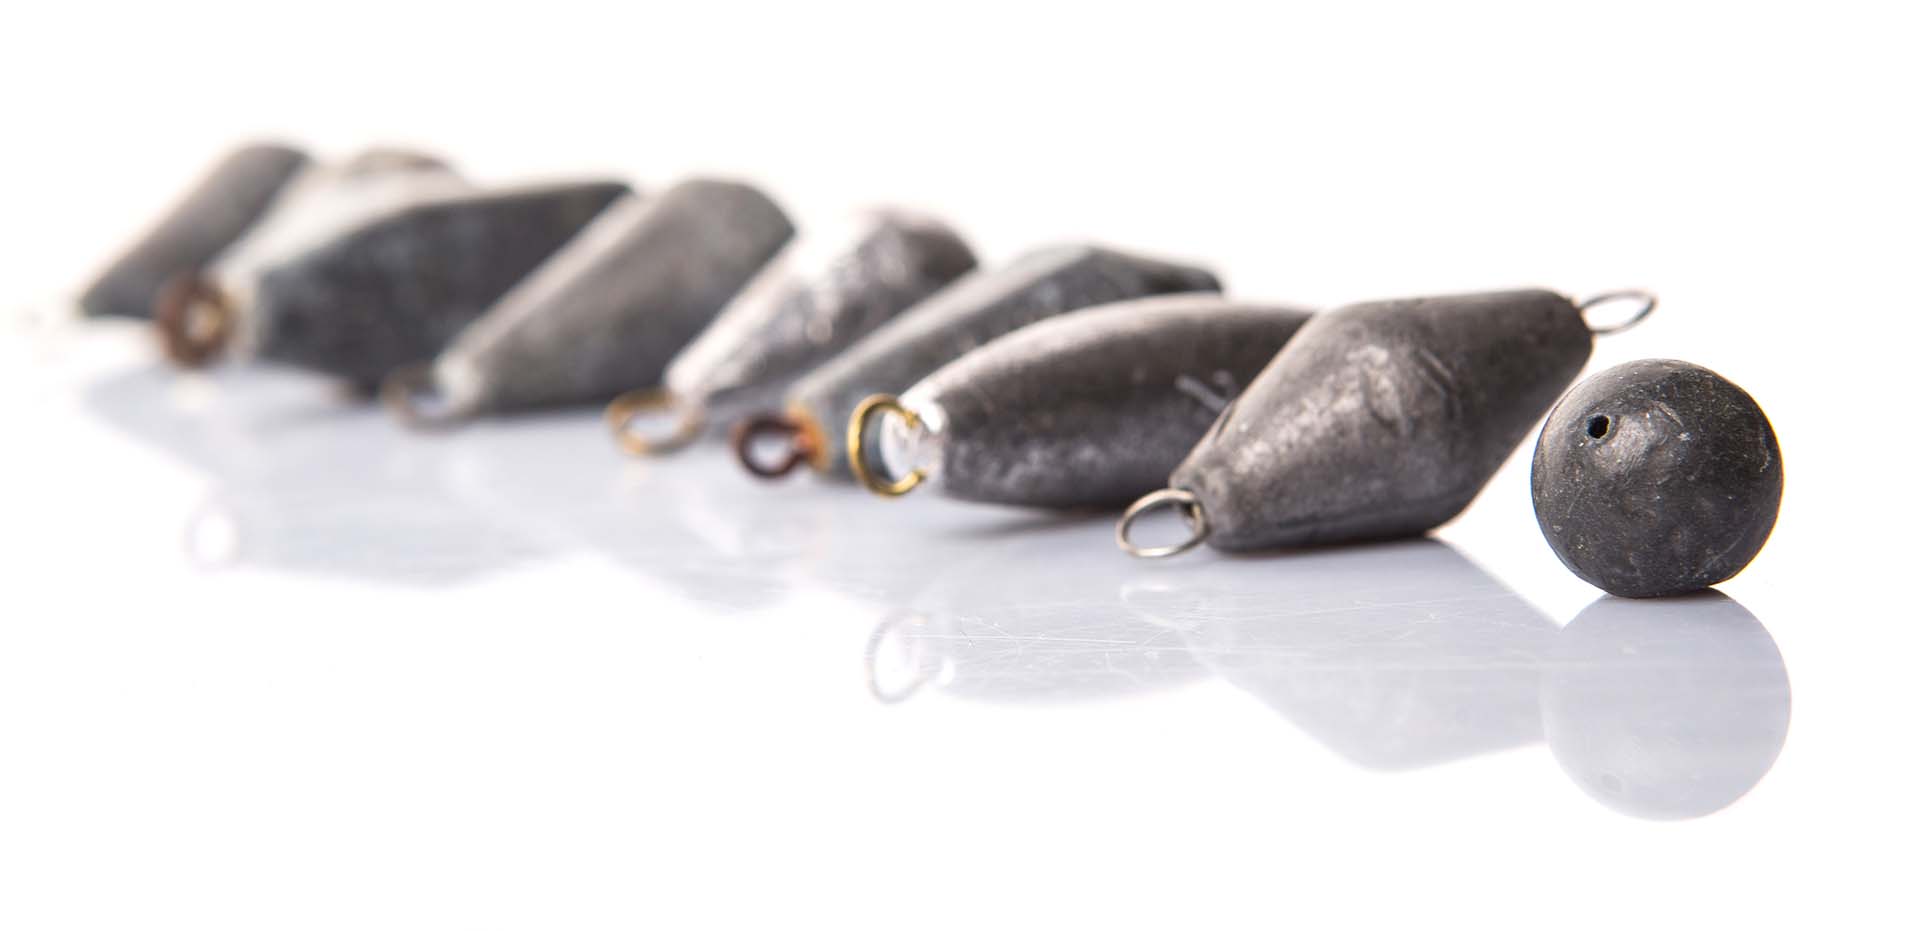
What Kind of Fishing Weights Are There?
Fishing, an age-old practice that combines skill, patience, and a deep connection with nature, has evolved over time to accommodate various styles of angling. As you embark on your angling adventure, it’s crucial to understand the different types of weights at your disposal. These small but mighty companions play a pivotal role in determining how your bait sinks, drifts, and presents itself to the elusive underwater inhabitants.
From split shots to egg sinkers, bullet weights to drop shots, the world of weights offers a plethora of options tailored to specific angling techniques and conditions.
Factors You Should Consider When Choosing the Right Weights?
When it comes to selecting the right weights for your cord, there are several important factors to consider. These factors might influence your success in attracting and catching fish and will help you avoid the question: “Why aren’t the fish biting?” Here are the key factors you should keep in mind:
- Fishing type – The technique you’ll be using plays a significant role in weight selection. Different angling types, such as bottom, trolling, finesse, or boat fishing, require specific weights to achieve the desired results. For example, if you’re bottom angling in deep waters, heavier weights may be necessary to keep your bait anchored in place.
- Targeted fish species – The species of fish you’re targeting also influence your choice. Some common fish species stay close to the water’s surface, while others dwell in deeper depths. Understanding the habits and behavior of your target species will help you determine the appropriate option to reach them effectively.
- Current and water conditions – The strength of the current and the condition of the water are crucial considerations. Strong currents may require heavier weights to prevent your cord from drifting excessively. Similarly, if you’re casting the line in windy conditions or turbulent waters, a slightly heavier option can help maintain control and stability.
- Bait or lure weights – How much your bait or lure is weighing should be balanced. Lighter weights may be necessary to ensure proper casting distance and accuracy if you’re using a lightweight lure. Conversely, heavier baits may require a more substantial option to provide the necessary casting power.
- Depth and distance – The depth at which you’ll be angling and the distance you need to cast are vital factors. Deeper waters typically require heavier weights to help your bait reach the desired depth quickly. Similarly, if you’re aiming for long-distance casts, slightly heavier weights can assist in achieving the desired range.
Remember, choosing the appropriate weights is crucial for effectively presenting your bait and maximizing your chances of a successful angling excursion.
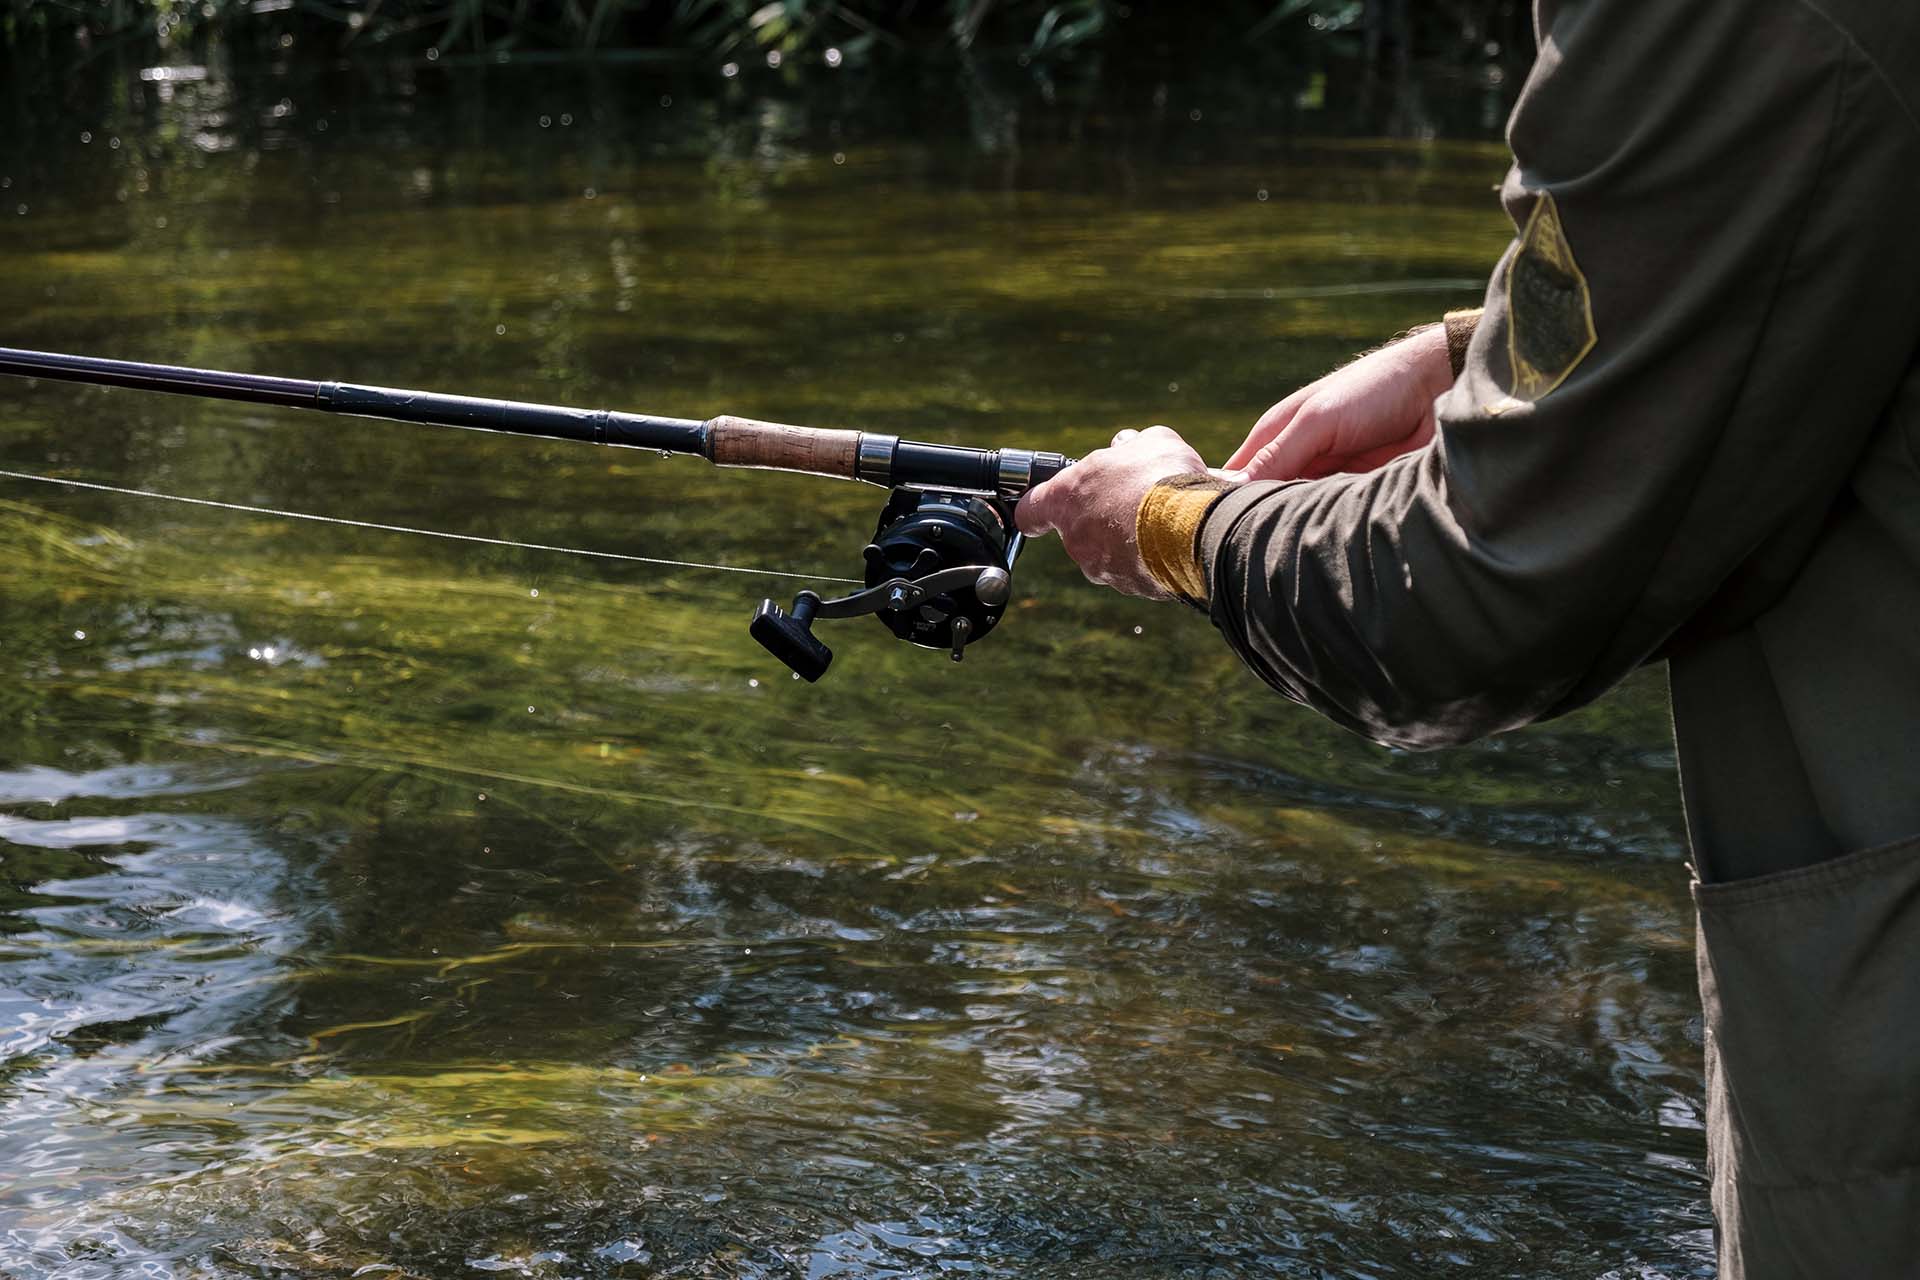
Step-by-Step Guide On How to Attach a Weight to a Fishing Line
As you embark on your casting-the-line adventures, mastering the art of weighting perfectly is essential for achieving optimal results and reeling in the most popular fish to catch in America. From the mighty bass lurking in freshwater lakes to the agile trout darting through pristine mountain streams, understanding the intricacies of weight attachment can make all the difference in your pursuit of these prized aquatic creatures.
Step 1: Select the Appropriate Fishing Weight for Your Needs
Don’t encounter the problem even famous fishermen did, and it’s asking yourself why aren’t the fish biting? Take the time to assess your angling scenario and choose the weights that will optimize your chances of attracting
Step 2: Determine the Desired Location on the Fishing Line to Attach the Weight
It’s essential to determine where on your line you want to attach it. Attaching the weights closer to the bait is preferable if you’re aiming for a natural-looking drift or a suspended presentation. Conversely, if you’re looking to reach greater depths quickly or combat strong currents, attaching weights closer to the end of the cord can provide the necessary sinking power.
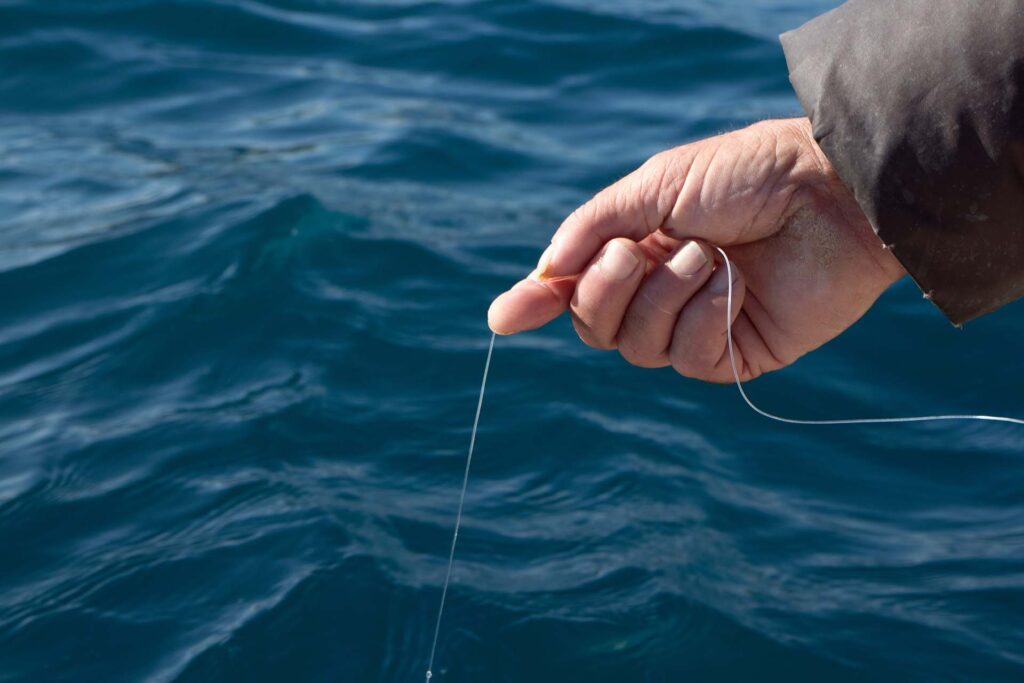
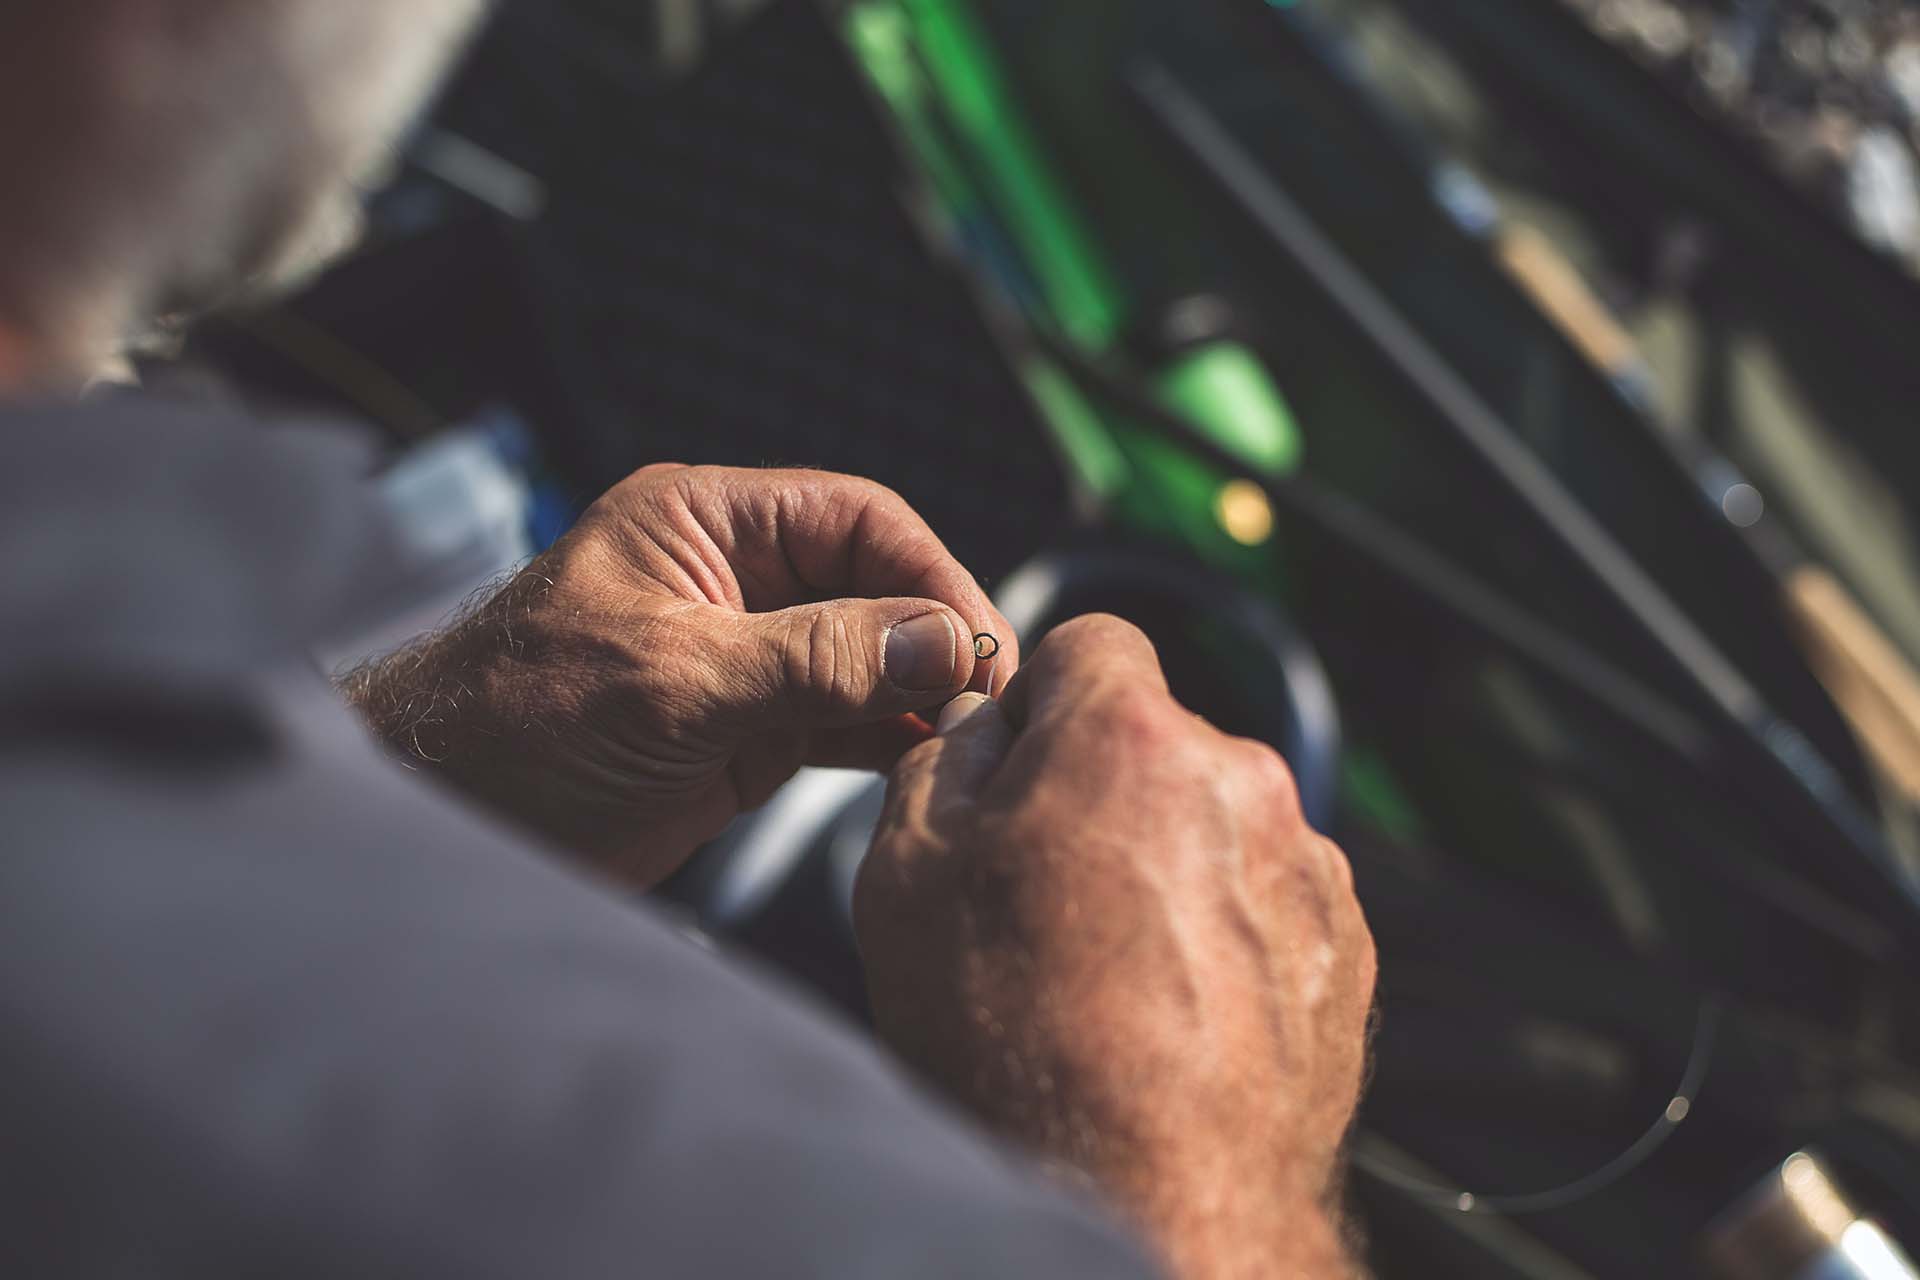
Step 3: Open the Weight Attachment Point
With the selected location in mind, it’s time to prepare the weight attachment point. Depending on the type you’re using, there will be a designated attachment point or eyelet. This attachment point may be in the form of a small hole or an open loop. Use your fingers or a pair of pliers to gently open the attachment point, creating a space to insert the fishing cord.
Step 4: Insert the Fishing Line Through the Weight Attachment Point
Once the attachment point is open, carefully insert the line through it. Make sure to guide the cord through the opening, ensuring a secure connection. Take your time to ensure the cord is threaded properly, avoiding any tangles or twists that could affect your angling presentation.
Step 5: Close the Weight Attachment Point Securely
It’s essential to close it securely. This step varies depending on the type you’re using. If it’s a split shot or a clamp-on, squeeze the attachment point gently using your fingers or pliers until it is tightly closed around the angling monofilament cord.
For weights with an open loop, use your fingers or pliers to bend the loop back into a closed position, ensuring a tight grip on the cord. The goal is to secure the weight firmly in place, preventing it from sliding or moving.
Step 6: Test the Weight Attachment for Stability and Balance
Before casting the lines, it’s crucial to test the weight attachment for stability and balance. Gently tug the cord and observe if it remains securely attached without any slippage or movement. Well-attached weights should provide stability and maintain balance on your line. If you notice any issues, repeat the steps to ensure a proper attachment.
Additional Tips and Some of the Best Practices
In addition to the step-by-step guide, there are some important tips and practices for successful attachment. Incorporating a swivel or leader can prevent the cord twists when using heavier weights. Adjusting weight placement based on angling conditions, such as current strength and water depth, optimizes the bait’s presentation.
Also, regularly checking the attachment for damage ensures a secure connection. Don’t forget to practice casting and retrieving with the weight to gauge its effect on distance and accuracy. Learn from experience, observing fish behavior, and adapting placement and techniques accordingly. Keep a record of successful strategies to refine future attachment approaches.
What Are Some Common Mistakes You Should Avoid?
Even the most experienced anglers can make mistakes that hinder their success while trying to tackle popular freshwater or saltwater fish. Understanding and avoiding these common pitfalls can significantly improve your chances of a rewarding experience. From novice fishermen to seasoned veterans, learning from the missteps of others is invaluable.
I’ll go over the two most common ones in order to have them in mind. That way, you can prepare the lines with confidence, knowing what not to do along the way.
Failing to Secure the Weight Attachment Properly
The first one anglers make when attaching weights to their lines is neglecting to ensure a tight and secure connection between the weight and the cord. A result can lead to disastrous consequences. A loose attachment can result in the weights sliding or detaching altogether during casting or retrieving, causing you to lose valuable angling time and potentially scaring away fish.
To avoid this, always double-check that it’s all closed tightly, whether it’s a split shot, clamp-on, or any other type. Take the time to test the attachment by gently tugging on the cord before casting to ensure it remains in place.
Attaching the Weight Too Close to the Hook
Another common mistake is attaching the weights too close to the hook. While it may seem logical to place the weight directly above or just a short distance from the baited hook, this can often be counterproductive. When it is positioned too close to the hook, it can interfere with the natural movement and presentation of the bait, making it appear unnatural to the fish.
Additionally, it can increase the chances of getting entangled with the hook or the cord, resulting in frustrating tangles. To avoid this mistake, experiment with different distances between the weight and the hook, taking into account the desired technique and the behavior of the target fish species. Finding the right balance will allow your bait to appear more enticing and increase your chances of attracting bites.
Learn How to Attach Weight to Fishing Line and Have an Unforgettable Experience
Mastering the art of this preparation step is an essential skill that can elevate your angling adventures to new heights. Embrace the learning process, stay open to experimentation, and fine-tune your technique.
With each successful attachment, you inch closer to achieving that perfect balance, where your bait glides effortlessly through the water, enticing the most elusive fish. So, cast with confidence, savor the thrill of the chase, and create memories that will last a lifetime on your angling expeditions.
Frequently Asked Questions About How to Attach Weight to Fishing Line
Here are some of the frequently asked questions you should know about.
How Do I Determine the Right Weight Size for My Fishing Line?
To determine the right size, consider angling conditions, target species, and desired presentation. Heavier weights for deeper waters and strong currents, lighter option for finesse angling. Experiment to find the optimal weight for casting, accuracy, and bait presentation.
Can I Use Different Types of Weights Interchangeably?
While weight types have specific purposes, they are generally interchangeable. Split shots, egg sinkers, and bullet weights can be used interchangeably based on angling needs. Consider shape and design, which affect bait movement. Choose the type that suits your style and presentation goals.
What Should I Do if the Weight Keeps Sliding on the Fishing Line?
If the weight keeps sliding, ensure a secure attachment by closing it tightly around the cord. Use a toothpick or rubber band above and below the weight, or add a bead or stopper knot to create a physical barrier. Experiment with these solutions to prevent slippage.
Are There Any Alternative Methods for Weight Attachment?
Alternative methods include using a float or bobber to adjust bait depth. Sliding sinker rigs position the weight on a separate leader cord above the hook. These methods offer versatility and natural bait movement, adapting to changing conditions and experimenting with different presentations.
How Often Should I Check the Weight Attachment for Wear or Damage?
Regularly check the attachment for wear or damage. The best practice is to inspect before each trip or at regular intervals. Look for cracks, deformities, or weakened points in the attachment. Also, examine the cord near the attachment point. Replace or repair as needed for a reliable attachment. Regular checks ensure angling with confidence.


Julie Grace
Julie is a passionate angler who proves that fishing is not just a man's world. Armed with her trusty rod and a contagious love for the sport, she's always ready to tackle any fishing challenge head-on. Her finesse and determination make her a force to be reckoned with, and her ability to reel in big catches is nothing short of fin-tastic.