The age-old task of learning how to gut a fish – it’s certainly not a duty that any angler looks forward to. After all, it can be an incredibly tedious and smelly job to tackle. But fear not! I’m here to make the experience merely unpleasant instead of downright miserable with these 5 simple steps. So get out there, reel them in, then head home for some easy prepping that won’t stink up the house.
To gut a fish, start by placing it on a clean surface and securing it. Take a sharp knife and make a shallow cut from the anus up to the base of the jaw. Be careful not to puncture any organs, and carefully remove them using your fingers or a gutting tool. Rinse the meat thoroughly with water to remove any remaining blood or debris. Finally, pat it dry, and it’s ready for cooking or storage. Remember to always follow proper sanitation practices and dispose of the fish waste appropriately.
Step 1: Gather the Necessary Tools
When you get into fishing, the first thing you do is get equipment to do it. That’s also how it goes when you are preparing your catch for eating or storing. Getting the necessary tools is the first step you need to take if you want to learn how to gut and clean a fish properly. Not only the right equipment at hand ensures that you can perform the task efficiently, but also effectively. Each tool serves a specific function that contributes to the overall process of gutting and cleaning. To gut and clean the catch, you will need the following tools:
- Sharp filet knife – A sharp filet blade is crucial for making precise cuts along the body and opening it up for gutting. It enables you to work with accuracy and minimize damage to the flesh.
- Gutting tool – A gutting tool, such as a gutting hook or specialized blade, is designed to help safely and efficiently remove internal organs. It usually features a curved or hooked blade that simplifies the gutting process.
- Cutting board – A sturdy cutting board provides a stable surface for working on and protects your countertops from knife marks. Choose a cutting board with a non-slip surface to ensure safety during the gutting process.
- Gloves – While not mandatory, wearing gloves is recommended to maintain hygiene and protect your hands from scales, sharp fins, or potential cuts during the gutting and cleaning process. You don’t want to hurt yourself because it will be as unpleasant as removing the hook from your finger.
- Water source – Access to a clean water source, such as a sink or hose, is essential for rinsing after gutting. This helps remove any residual blood, slime, or debris from the body.
- Container for the waste – Prepare a container or bag specifically designated for collecting and disposing of the removed organs and waste. This ensures easy cleanup and proper disposal of waste.
By gathering these necessary tools before starting, you set yourself up for success, ensuring a smoother and more efficient gutting experience while maintaining cleanliness and minimizing the risk of accidents.
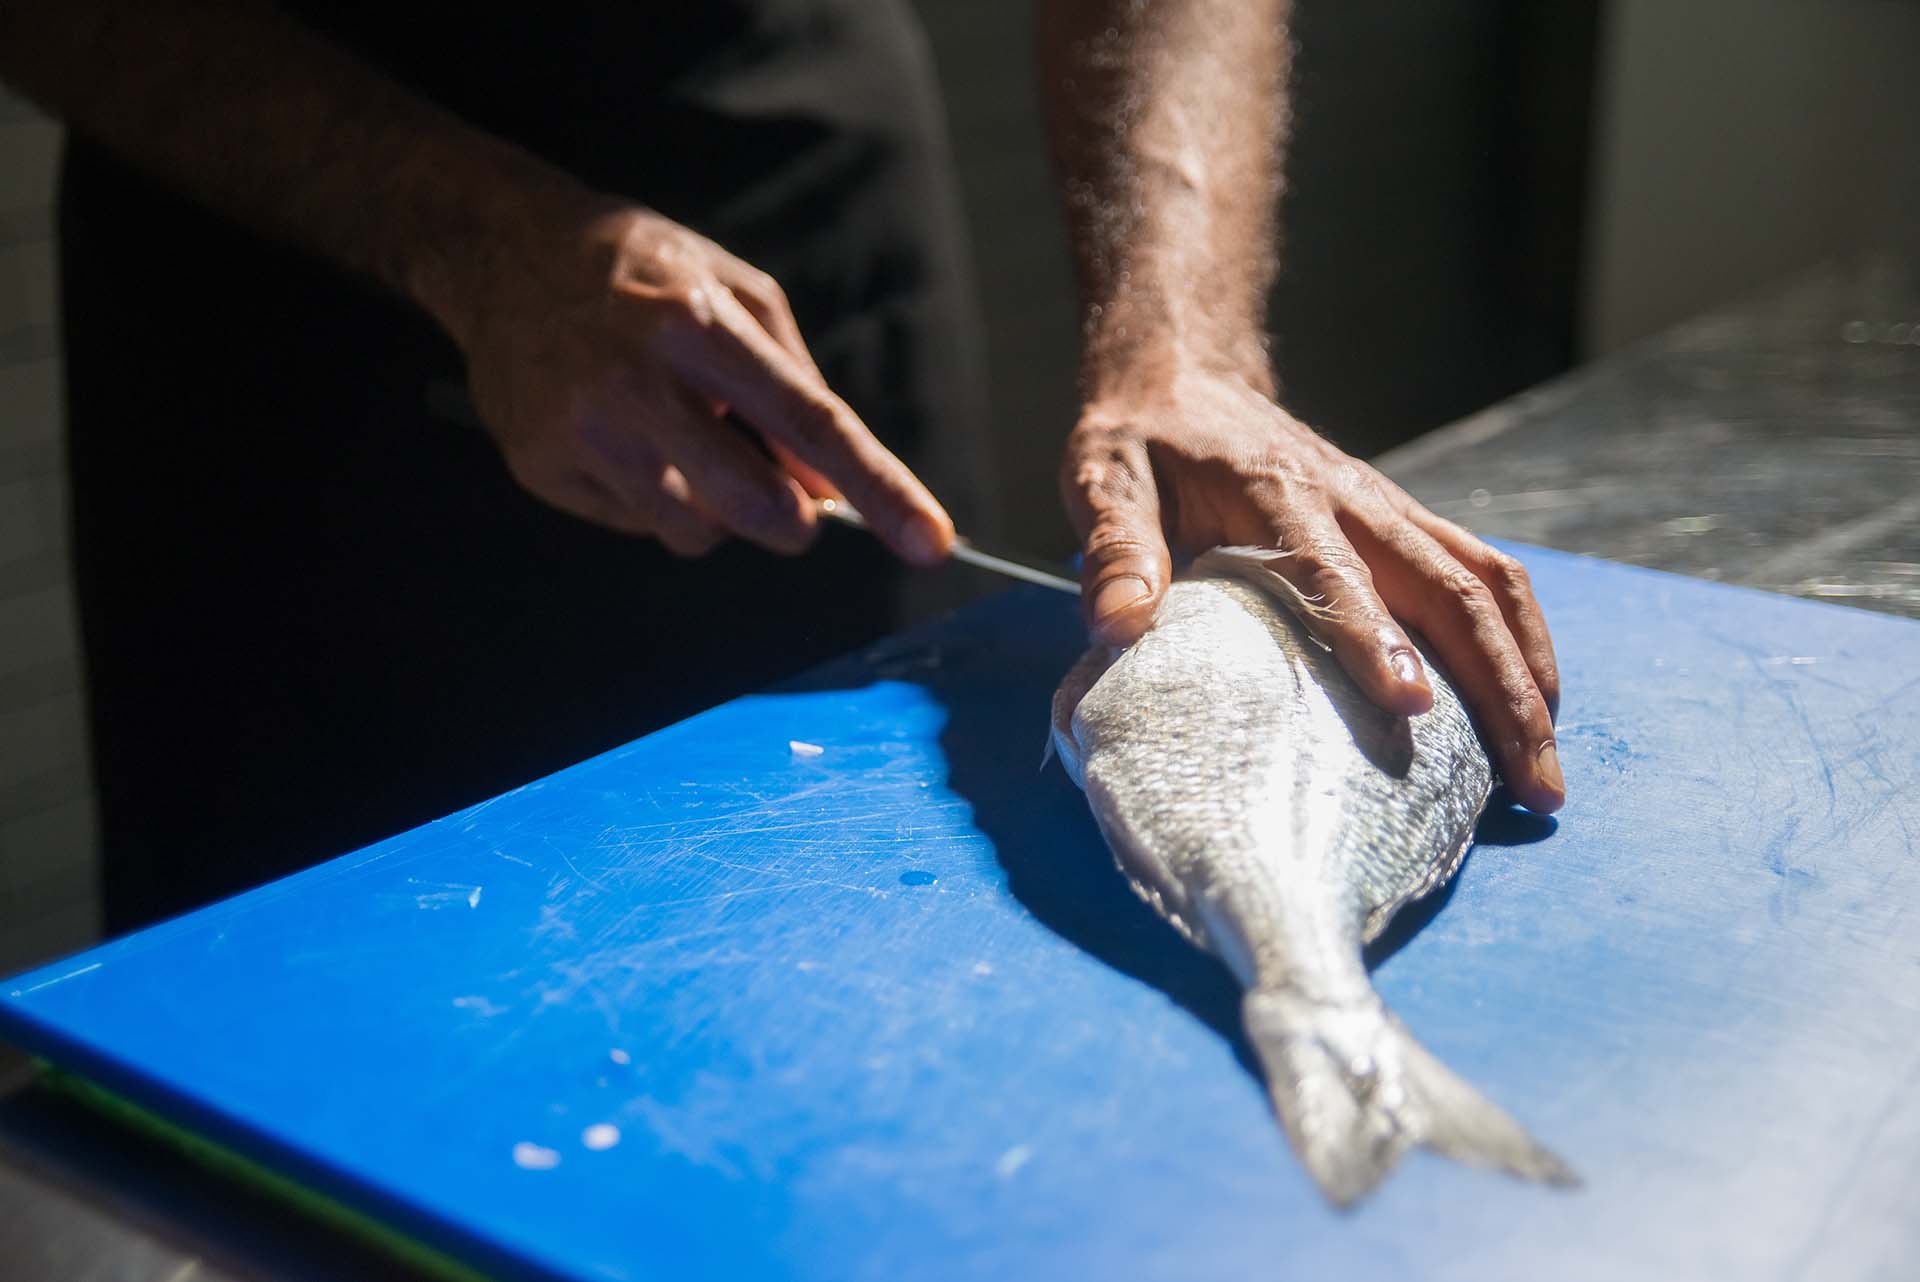
Step 2: Prepare the Fish
The preparation step involves several important tasks before proceeding with the actual gutting. Start by securing your catch properly. How to scale and gut a fish – place it on a clean surface or cutting board. Depending on the size, you may need to hold it firmly or use a fish-holding tool, clamp, or mat to stabilize it. This ensures that it remains in place and doesn’t move around during the gutting process.
Additionally, you may want to consider removing scales during the preparation step. Scaling can be done using a scaling tool, fish scaler, or the backside of a knife by scraping from tail to head, removing the tiny protective scales.
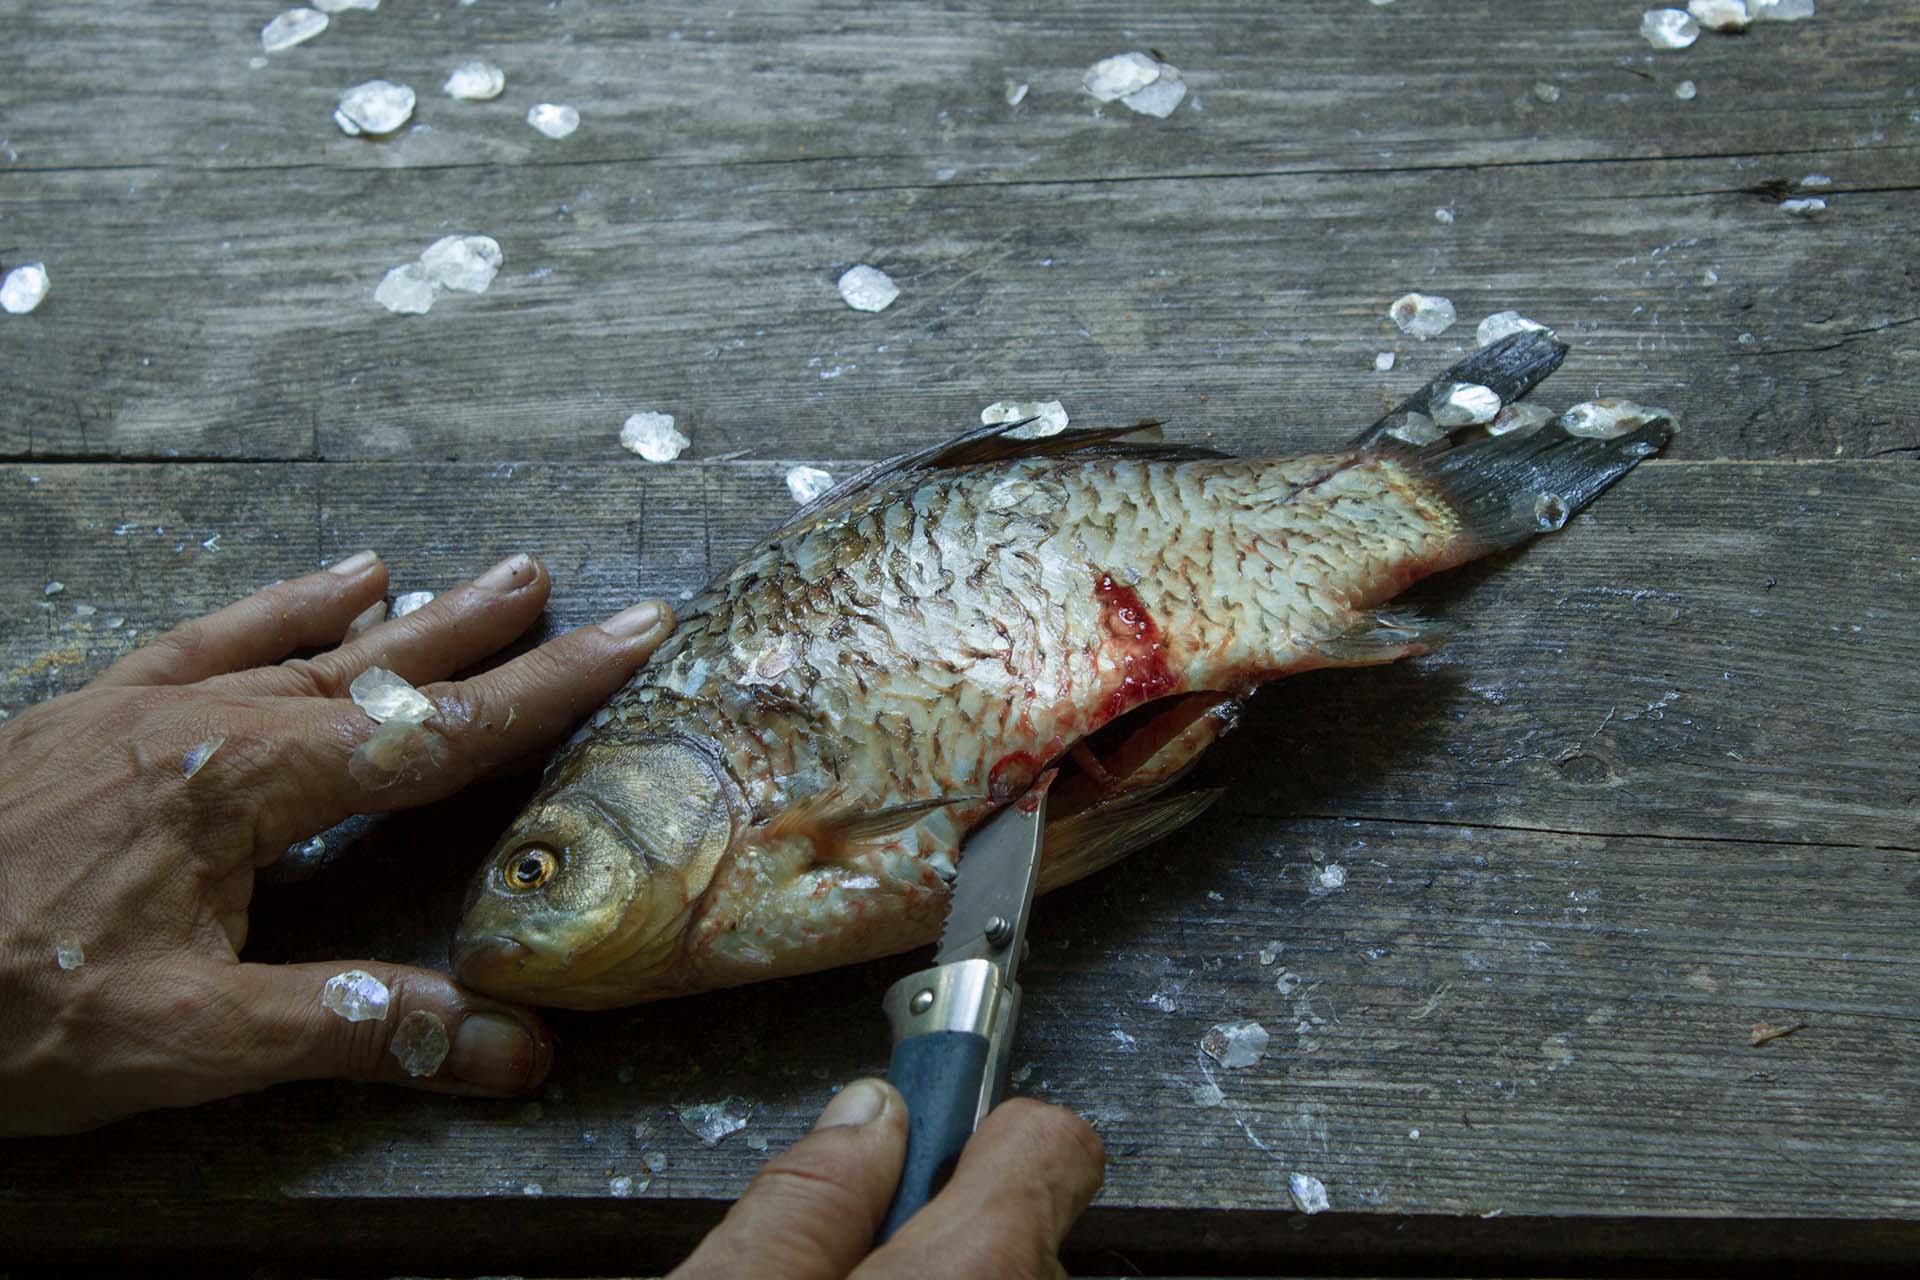
How to Hold the Fish Properly to Make the Process Easier?
Holding the catch properly during the gutting process is essential for ease and safety. Follow these steps to hold your catch effectively:
- Secure the fish – Place it on a clean cutting surface or cutting board. Ensure the surface is stable and won’t slip during the process.
- Hold the head – Grasp the catch firmly by the head with one hand. This provides control and stability while you work.
- Support the body – Use your other hand to support the body. By holding it firmly but gently, you can prevent it from slipping or moving around.
- Use a fish-holding tool – If available, you can use tools like a clamp or a mat to secure the catch in place. These tools provide a stable grip, allowing you to work more comfortably and safely.
Remember to maintain a firm grip without applying excessive force that may damage the catch. By holding the fish properly, you have better control over the gutting process, ensuring cleaner cuts and minimizing the risk of accidents.
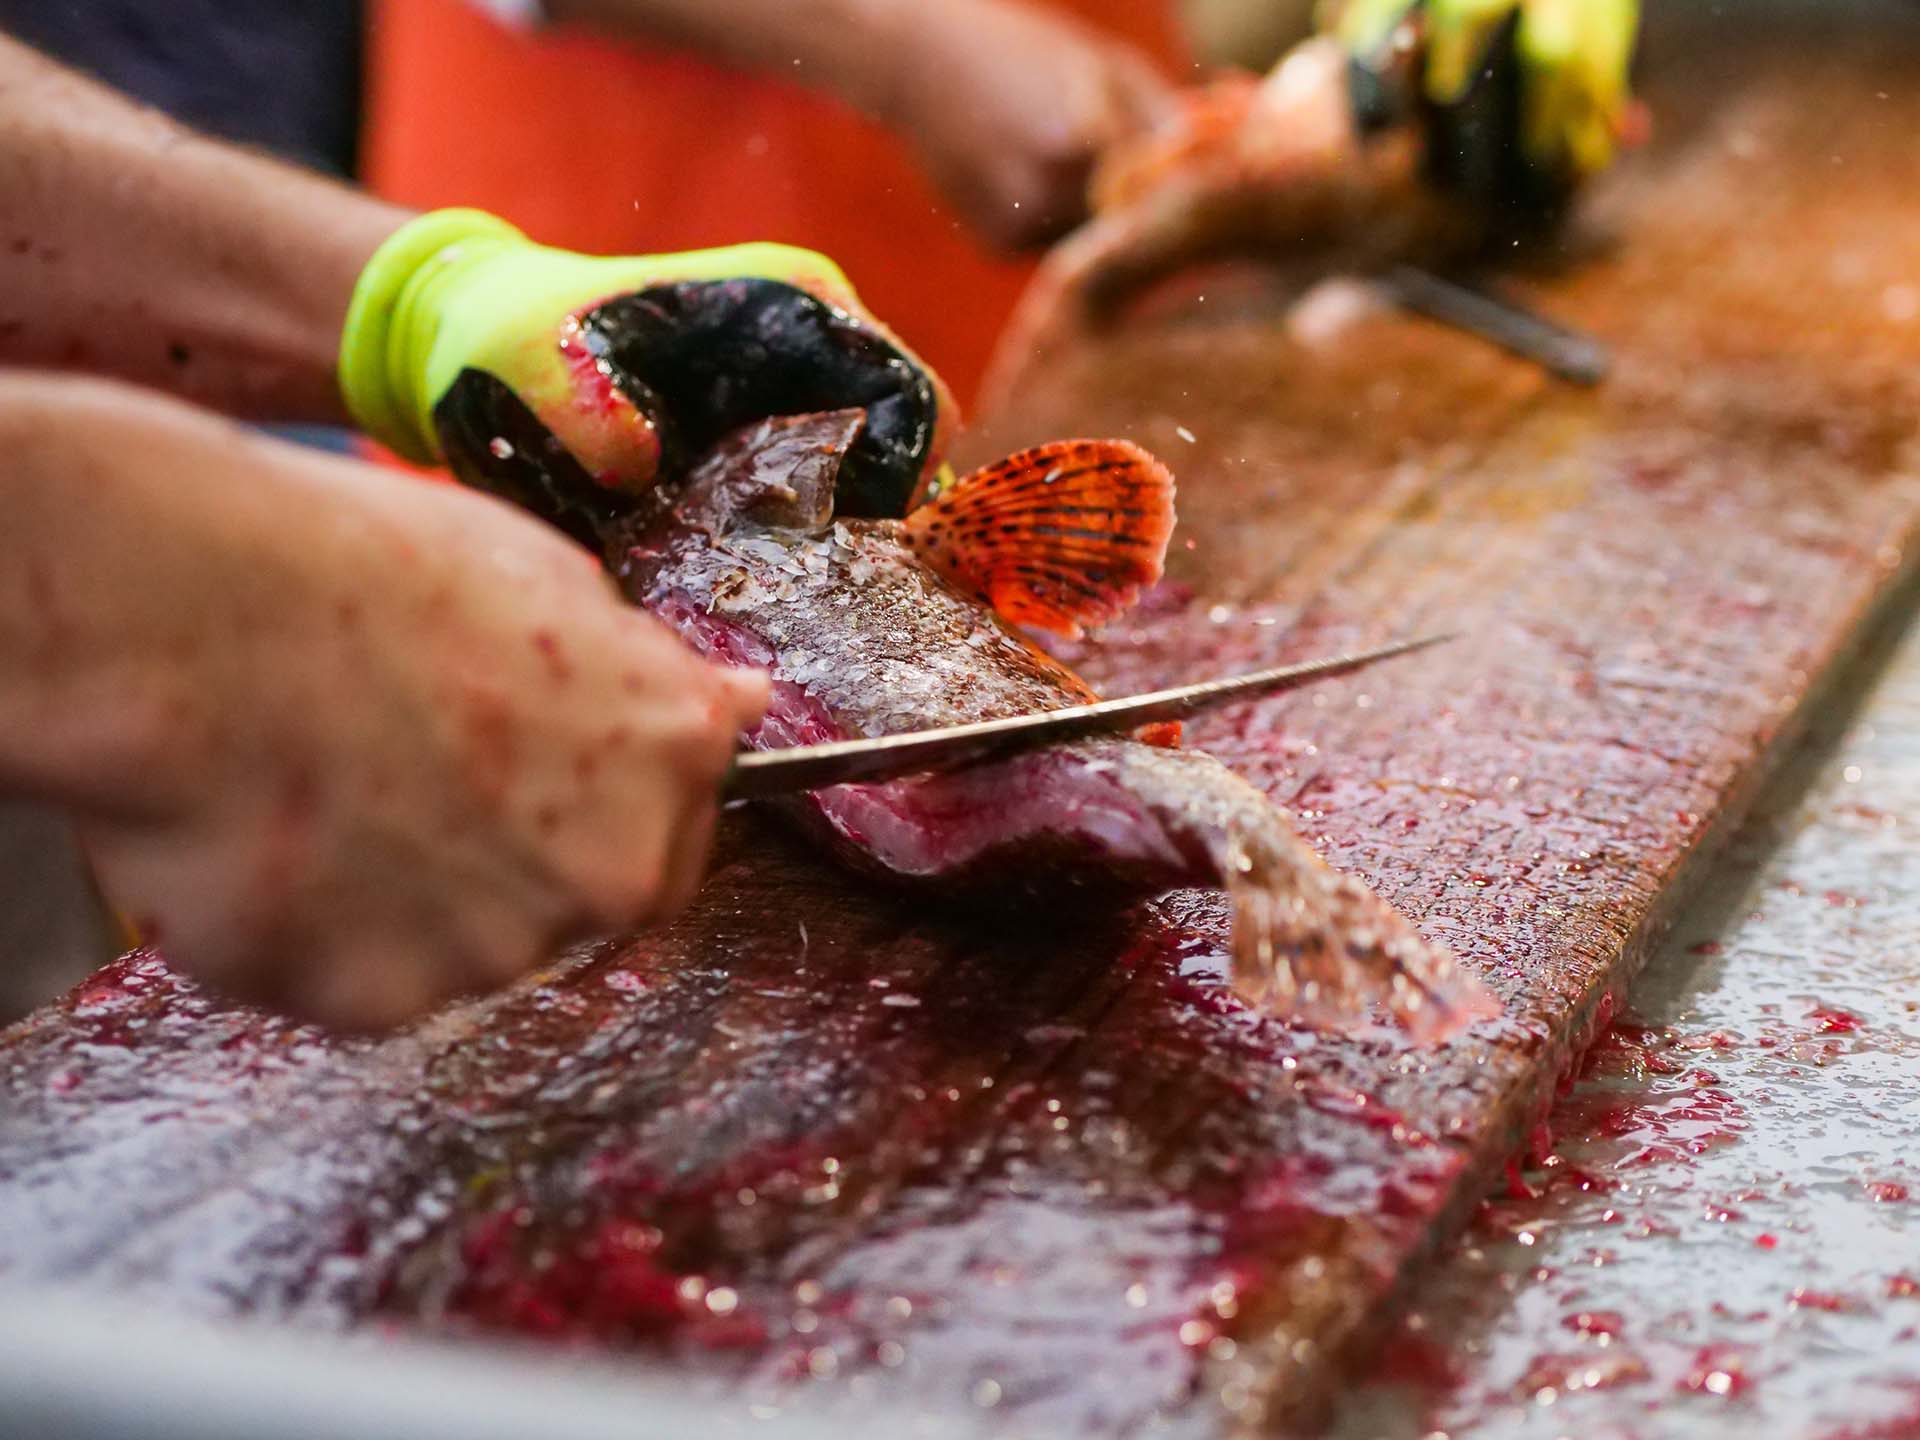
Step 3: Cut the Fish
The next one is opening the fish. With the catch securely held or stabilized on a clean surface, take a sharp filet knife or a dedicated gutting knife. Position the knife at the anus (located near the tail) and make a shallow cut along the belly towards the base of the jaw. Be cautious not to puncture or cut too deeply to avoid damaging the internal organs.
Use smooth and controlled motions while cutting. The goal is to create a clean incision that allows easy access to the fish’s internal cavity without causing unnecessary damage. Adjust the depth of the cut as needed, depending on the size and species. Larger fish may require slightly deeper cuts, while smaller ones may need more precise and shallow incisions.
Step 4: Remove the Internal Organs
Removing the internal organs is a crucial step in preparing them for cooking or storage. By carefully removing the liver, stomach, and intestines, you ensure a clean and desirable culinary experience. In this process, delicate handling is essential to avoid damaging the organs and to maintain the quality.
To carefully remove the internal organs, including the liver, stomach, and intestines, follow these steps:
Locate the Organs
After making the initial incision along the belly, you will see the internal organs inside the fish’s body cavity. The liver is usually located towards the front, while the stomach and intestines are closer to the rear.
Remove the Liver
Start by gently grasping the liver, which is a dark reddish-brown organ. Using your fingers or a gutting tool, carefully separate it from the surrounding tissues and gently lift it away from the body cavity. Be cautious not to rupture or damage the liver, as it can release bitter-tasting bile.
Empty the Stomach
Proceed to the stomach, which is usually found just behind the liver. Use your fingers or a gutting tool to carefully open and empty the stomach contents. You may discover partially digested food or other substances inside. Dispose of the stomach contents in a designated container.
Remove the Intestines
The intestines are located towards the rear of the fish’s body cavity. Gently pull them out by sliding your fingers or a gutting tool along the length of the intestines, gradually detaching them from the surrounding tissues. Be cautious not to puncture or tear the intestines, as this can contaminate the meat.
Clean the Cavity
Once the liver, stomach, and intestines are removed, inspect the body cavity for any remaining organs or debris. Use your fingers or a gutting tool to remove any additional unwanted materials. Rinse the body cavity with clean water to ensure it is thoroughly cleaned.
Throughout the process of removing the internal organs, it is crucial to handle the fish delicately to avoid damaging the organs or puncturing any nearby tissues. Take your time and work carefully, applying gentle pressure as needed.
Step 5: Clean the Fish
Cleaning the catch thoroughly will ensure a fresh and enjoyable culinary experience. In this process, rinsing the fish with water and removing any remaining blood or debris are key tasks. So, after gutting, thoroughly rinse it with clean water to remove any remaining blood, slime, or debris.
Use a gentle stream of water to ensure a comprehensive cleaning without damaging the meat. Inspect the catch for any remaining debris or traces of internal organs, and carefully remove them using your fingers or a gentle scraping motion with a knife. Also, pay close attention to areas such as the cavity, fins, and gills.
Importance of Drying the Fish
Drying after cleaning is essential to prevent bacterial growth. Bacteria thrive in moist environments, and excess moisture on the fish’s surface can lead to the growth of harmful bacteria. By patting the meat dry, you remove the moisture that can support bacterial activity, reducing the risk of spoilage.
Additionally, drying helps achieve better texture and flavor during cooking. Excess moisture can impede the browning and crisping process, resulting in less desirable outcomes. By ensuring the meat is dry, you allow for optimal cooking results. Remember, proper hygiene and cleanliness are vital when handling your catch.
Tips on How to Avoid Breaking Any of the Organs and Spoiling the Meat
To avoid breaking any of the organs and spoiling the meat while removing the internal organs, you should ensure that you are using sharp and appropriate tools, such as a sharp filet knife or a dedicated gutting tool. Dull blades can increase the risk of accidental cuts or punctures that may damage the organs.
Apply gentle and controlled pressure when removing the organs. Avoid using excessive force or aggressive movements that could cause tearing or puncturing of the organs or surrounding tissues. And to do this, it’s important to take your time. Rushing through the process can lead to mistakes and accidents. Take your time and work slowly, paying attention to each step. This allows for better precision and minimizes the chances of damaging the organs or meat.
Learn How to Gut a Fish and Enjoy a Good Meal Afterwards
From gutting to grilling, you now have the tools to tackle a fish dinner like a pro! If you’ve never tasted the sweetness of freshly caught fish, then you’re truly missing out. It’s always exciting to practice skills that will help sustain us in times of need and be useful when producing delicious meals. With a little confidence and the right preparation, anyone can learn how to gut a fish and enjoy their own homemade feast. Bon appétit!


Julie Grace
Julie is a passionate angler who proves that fishing is not just a man's world. Armed with her trusty rod and a contagious love for the sport, she's always ready to tackle any fishing challenge head-on. Her finesse and determination make her a force to be reckoned with, and her ability to reel in big catches is nothing short of fin-tastic.