If you’re a devoted enthusiast of this activity, chances are you already know how to spool a spinning reel – after all, it’s the bread and butter of any good angler. However, if you’re new to the sport or maybe an old pro looking for a refresher course, don’t worry – mastering this fundamental skill is easier than it looks. Here’s the ultimate guide so you’re ready for your next fishing adventure so grab the stick and tackle box – let’s get reeling!
Before Figuring Out How to Spool a Spinning Reel – Choose the Right Line
A beginner fisherman can easily get overwhelmed by just how much there is to learn about this beloved pastime. The situation is only getting more confusing when you take in all of the possible styles of fishing, as well as the corresponding fishing slang and different pieces of equipment, from the fishing rod all the way to the fishing hook.
However, there are a few fundamental skills every angler should master as soon as possible, and that’s learning how to spool line on a spinning reel. But before you get to it, it’s important to familiarize yourself with the one piece of fear that’s holding all of it together – and that’s the fishing line.
The Three Types of Fishing Lines
There are various types of fishing lines available on the market, each with its unique set of properties and benefits. However, most of them can be grouped into three main types – monofilament, fluorocarbon, and braided lines.
Which one you’ll put on the spool and use to tie a fish hook will depend on various factors such as water clarity, species you target and commonly catch, as well as what type of angling you’re interested in. To get a clearer picture, here are the different types of lines, each with its set of benefits and downsides:
| Type of Fishing Line | Pros | Cons |
|---|---|---|
| Monofilament | Flexible, relatively inexpensive, available in a wide range of colors and strengths | Less sensitive than other types and can deteriorate faster |
| Fluorocarbon | Excellent sensitivity fit for the more delicate angling techniques, virtually invisible underwater | Can be stiffer, less castable, and more prone to breaking under impact than other lines |
| Braided | Excellent casting distance and sensitivity, strongest and thinnest of the three types | Less forgiving for beginners as it’s not that stretchy and can be seen in clear water conditions |
It’s Important to Match the Reel to the Line
No matter if you’re interested in regular casting or want to try out special techniques such as fly fishing, it’s important to match the line to the rest of the gear, from the fishing rod to the tippet line. There’s a lot of trial and error when it comes to this task, but matching your line to the fishing reel is a fairly straightforward process. Here are the basics:
- Smaller reels should be matched with lighter lines that have lower diameters, such as 2-6 pound monofilament or fluorocarbon lines,
- Medium-sized reels can be matched with heavier lines in the 9-12 pound range,
- Larger reels can handle heavier lines up to 20 pounds or more.
Know How Much Fishing Line to Put on the Spool
Besides finding the perfect match, knowing the length of line to put on the spool is crucial for a successful fishing trip. The general rule of thumb is to fill the spool to about ⅛ inch from the edge. The exact amount of line needed depends on several factors, from the type of angling you’ll be doing to the size and strength of other equipment in your setup.
Overfilling the spool can lead to line tangles and knots, while underfilling can reduce casting distance and make it more difficult to land a fishy surprise. Because of this effect on the reel’s performance, it’s essential to check your line periodically and add or remove it as needed to ensure you have the right amount for the species you’re targeting.
Prepare the Spool
Maybe you’re interested in trying out your luck in delicate nymph fishing, or you want to go survival mode and cast with DIY fishing hooks and some homemade fish bait. No matter the technique, having the right gear and preparing it properly will help you avoid any unnecessary problems during casting, as well as increase your chances of landing an impressive catch.
The essential part of preparing the spool is creating a secure connection with the line. But before you do that, it’s necessary to clean the spool thoroughly and remove any dirt, debris, or old line. After that, check the spool’s drag system to ensure that it’s functioning correctly and adjust it to the appropriate setting for the conditions you’ll be angling in. Only then can you go ahead and create a secure knot that will get you angling with confidence. Here’s how to do it:
Attach the Line to the Spool
As mentioned, the crucial step in preparing the spool is creating a secure attachment to the line. One of the most common knots to do this is the arbor knot – to tie it, start by passing the end of the line through the spool’s arbor, making sure to leave at least six inches of line. Next, tie an overhand knot with the tag end of the line around the standing line twice. Finally, pull the standing line until the knots are tightened, and trim away any excess line.
Tie the Line Securely
Of course, the fishing line should not only be securely attached to the spool but to the fishing rod and the hook with fish bait. There are various knots that can be used for this, including the improved clinch knot, Palomar knot, and uni knot. Regardless of your chosen technique, it’s essential to make sure that the knot is tight and snug against the hook, as you’ll be able to avoid the unnecessary hassle of the line slipping or coming undone during use.
Prepare the Line for Spooling
The final step in preparing the spool is to slowly spool the line onto the reel, making sure that the line is evenly distributed across it and not twisted or tangled. However, to effectively do this, it’s essential to stretch the line before you spool it in order to reduce line memory and prevent tangles.
Tie one end of the line to a stationary object and walk away from it, holding the line taut. Apply gentle pressure and stretch the line until it feels smooth and straight, and also inspect it for any knots, twists, or abrasions that could weaken the line’s strength or cause it to break. If needed, cut off any damaged sections of the line and tie a new knot to the remaining line. Once you’ve gone through the whole preparation process carefully, it’s time for spooling.
Spooling the Line
Everyone that’s had their fair share of removing hooks from fingers and untangling lines knows just how distressing the whole ordeal can be. That’s why it’s important to know how to spool a spinning reel without the line twist and prepare your gear properly. So, now that you know how to properly attach the line and prepare it for spooling, let’s get to the real deal.
Attaching the Spool to the Spinning Reel
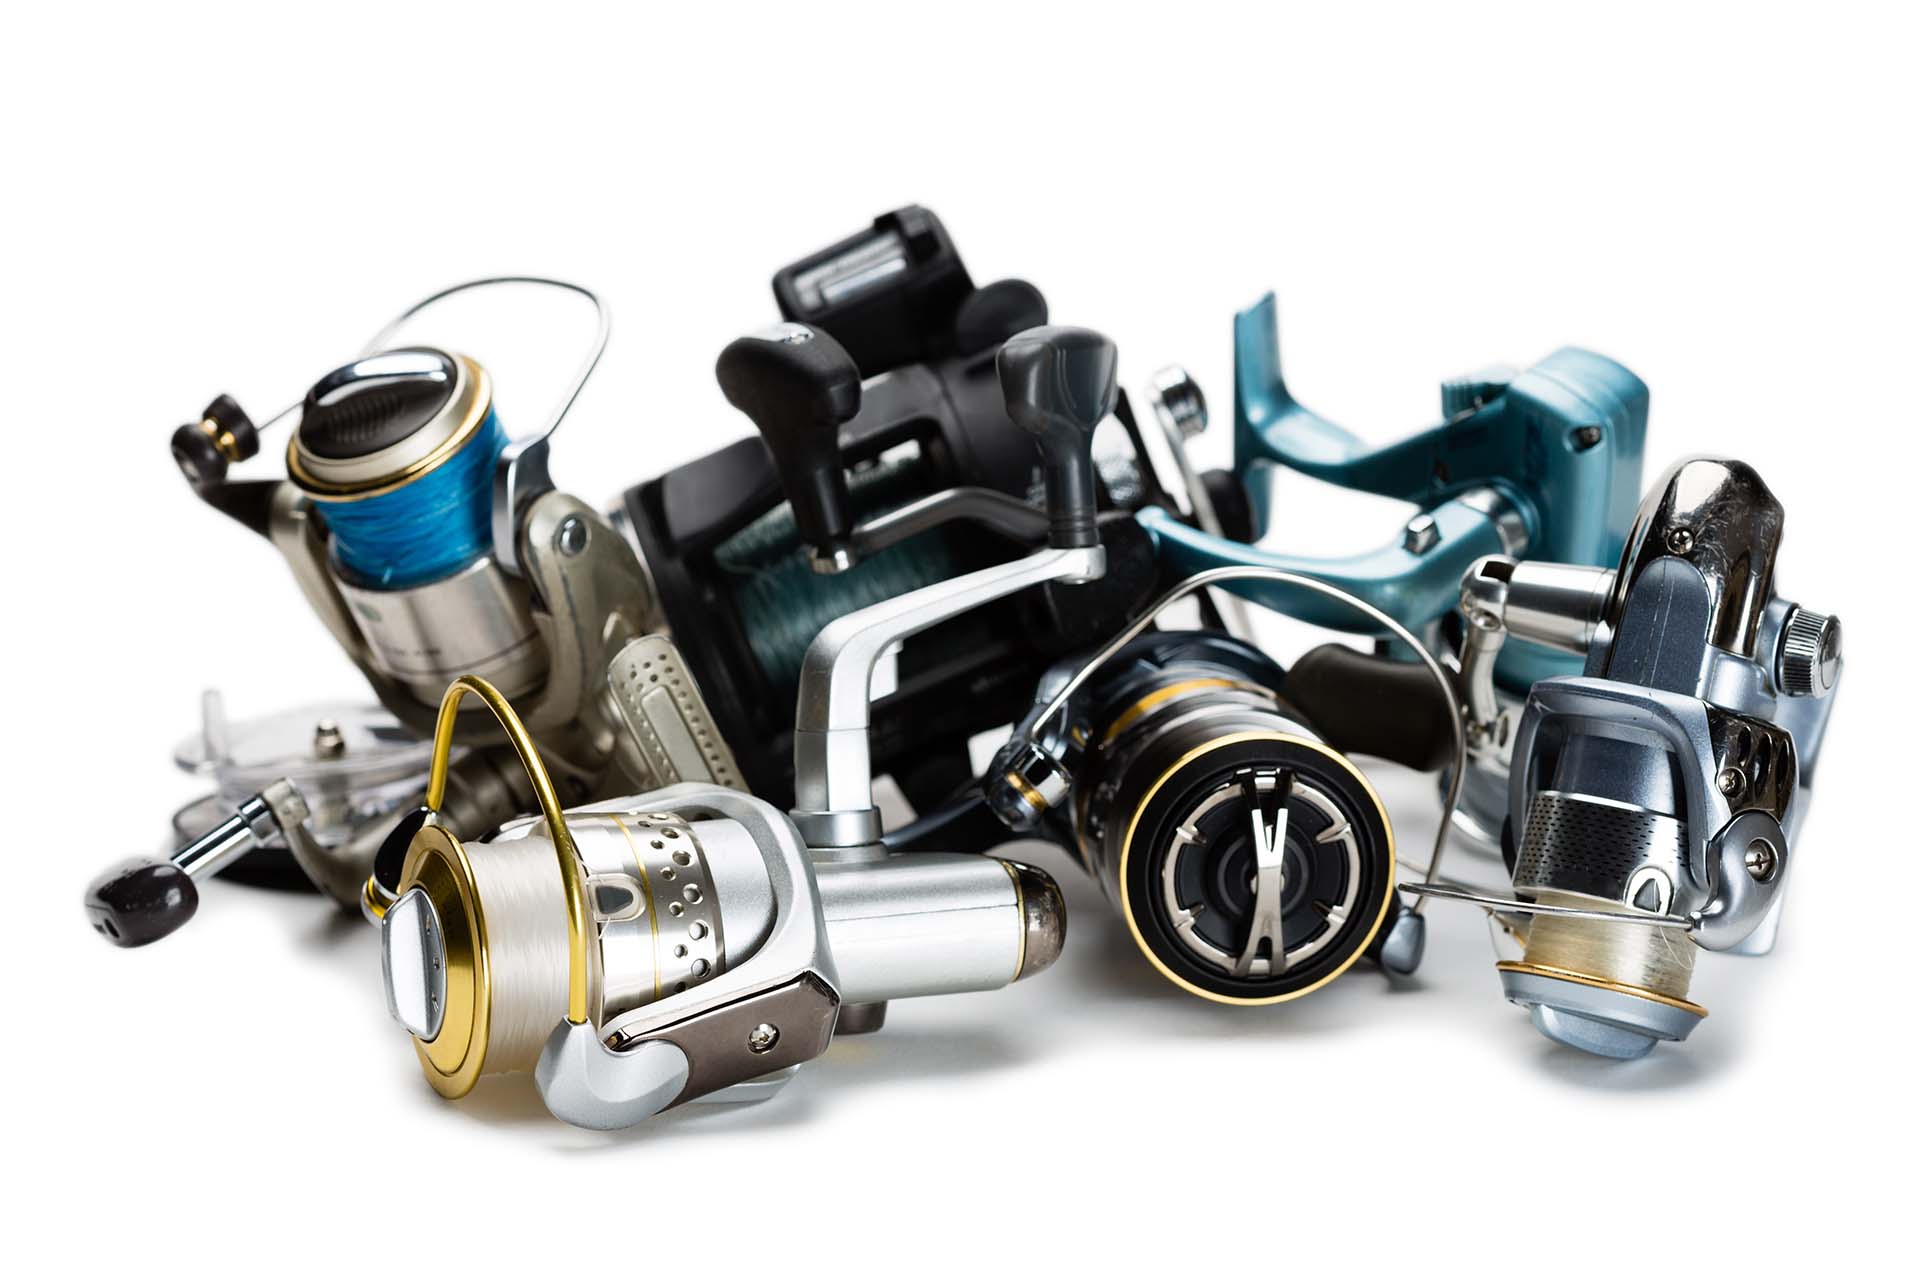
First things first, you need to attach the spool to the spinning reel, and this is a fairly easy task. Here are the necessary steps you need to take:
- Locate the reel’s spool release button,
- Press the button open,
- Slide the spool onto the bail arm,
- Push the spool firmly until it clicks into place,
- Close the bail arm to properly secure the spool.
Holding the Line Taut
Knowing how to hold the line taut properly will also save you a lot of hassle once you get to casting. Start by placing the spool of line on a flat surface with the label facing up and holding the line between your fingers and thumb, applying gentle pressure to keep it taut as you spool it onto the reel.
It’s essential to maintain consistent tension on the line throughout the spooling process, as loose or uneven tension can cause tangles and reduce casting distance. If you’re having any trouble holding the line taut, consider using a specialized line spooler tool such as the Piscifun Fishing Line Spooler. It’s compatible with several reel types, including spinning reels, and will do the job perfectly. With it, line twists will be a thing of the past.
Winding the Line Onto the Spool
Winding the line onto the spool is all about making sure it’s evenly distributed and not twisted or tangled. If you’ve gone through the preparation process carefully, this part should give you no trouble – simply wind it onto the spool by using your fingers to guide the line. Once you’re done, cut off any excess line and attach your hook, lure, or bait at the end.
Don’t Forget to Test the Line
Before you hit the waters and start angling for some heavy hitters, there’s only one more thing left to do, and that’s ensuring that the line is strong, secure, and ready to use. Seasoned veterans can simply pull on the line and test its strength, while the not-so-experienced beginners can use a line-testing tool to figure this out.
Remember, having a tightly secured, strong line with no tangles will ensure that your time spent angling will not be in vain. Even if you plan on removing the hook from a fish to release it back into the water, actually landing one can make the experience that much more exciting, especially for someone that is just getting into this outdoor sport.
Utilize Some of My Maintenance Tips
Taking care of your fishing equipment is crucial for prolonging the lifespan and performance of each piece. Consider it a part of your angling routine that should be done after each session. After all, maintenance plays an important role in ensuring that your equipment performs at its best and provides you with an enjoyable experience for years to come.
Cleaning the Reel After Use
You should wipe down the reel with a damp cloth after each use, as it will remove any dirt, debris, or salt residue that may have accumulated and can potentially cause further damage down the line. Use a toothbrush or a soft-bristled brush to gently clean the moving parts and crevices, being careful not to damage any delicate components.
It’s a good idea to also apply a few drops of oil to the moving parts once they’re thoroughly cleaned. This includes the bail arm, spool, and handle, and these parts should be lubricated regularly to prevent rust and corrosion.
Storing the Reel Properly
Cleaning and lubricating your gear won’t amount to much if you don’t store the reel in a dry and cool place away from direct sunlight and moisture. Also, avoid storing the reel with a tightened drag system, as this can cause the drag washers to compress and lose their effectiveness over time.
Learn How to Spool a Spinning Reel to Improve Your Fishing Experience
As you’ve probably figured out by now, spooning the spinning reel is fairly straightforward and can be easily mastered with just a bit of practice. It’s an essential skill in terms of both performance and maintenance, so getting into the habit of doing it properly will always have its rewards. With that knowledge in hand, beginner anglers everywhere can rest assured that they have what it takes to go out and enjoy their time on the water.


