Experienced fishermen make it look almost too easy, but the truth is that a lot of knowledge goes into the whole ordeal. Each and every one of them started by learning how to tie a fish hook first – it’s one of the most important fisherman’s lessons. So, no matter if you’re a beginner or simply want to refresh some practical knowledge, here’s a step-to-step guide for tightly securing that hook in several ways.
There are countless ways to tie a fish hook, and it takes years of experience to get the hang of most of them and know what to use each knot for. However, every beginner should start with the few most popular methods – the Knotless knot, the Improved Clinch knot, and the Palomar knot. So, let’s get hooked on each of these knots!
Knowing How to Tie a Fish Hook Can Be the Dealbreaker to Landing a Catch
Nothing can quite compare to taking in the beautiful scenery while the sun rises and you’re throwing your line out. And just when you think it couldn’t get any better, you end up with a fishy surprise in the form of a large catch.
It might seem easy, but there is a lot that goes into the whole ordeal. You need to know how to properly handle a fishing rod, how to successfully cast a line, and end up with a catch. But, there’s one thing that is quite literally holding all of these together, and that’s knowing how to properly tie a hook to the fishing line.
So Many Types of Fish Hooks and So Many Possible Ways to Tie Them
Dipping your toes into the waters of fishing can be overwhelming simply because there is just so much to learn. There are countless types of fishing and even special fishing styles depending on the circumstances. Consequently, you’re looking at a wide variety of options when it comes to fishing equipment.
Before you get to know different ways to tie the knot, it’s important to familiarize yourself with the most common types of fishing hooks. Here’s a brief overview of them with what they’re used for:
| Type of Hook | Commonly Used For |
|---|---|
| Bait Holder Hook | Any type of fish - bait is hooked by using barbs along the shank |
| Worm Hook | Fishing with plastic worms - the bend near the hook's eye holds it in place |
| Jig Hook | Fly fishing - using a lightweight lure and casting with fluid movements |
| Circle Hook | Catch-and-release practice - the bent point prevents deep-hooking the fish |
| Weedless Hook | Fishing bass in lakes and ponds - without pulling out heavy vegetation |
| Treble Hook | Best for topwater lures - the triple points maximize the chances of hooking a catch |
| Siwash Hook | Poppers or spinnerbait - very easy and safe to remove |
| Octopus Hook | For the natural presentation of small baits to catch bigger fish |
| Aberdeen Hook | Mostly used for salmon - the long shank can securely hook the bait without injuring it |
| Kahle Hook | Active fishing practices - bigger baits and stronger fish |
Tying the Fish Hook Is One of the First Lessons Every Beginner Needs to Master
As mentioned, a beginner fisher can get overwhelmed pretty easily if they’re just starting to dip their toes in the fishing waters. That’s why it’s important to know where to begin, and learning a few tying-the-knot techniques can be a great starter.
However, while it might seem simple, there is actually a wide range of options on how to do it. Each method has a different purpose – from connecting the fish hook to a line to joining different fishing lines together, most commonly used for fly fishing. But don’t worry! You don’t have to master everything right away. Start by learning the few most popular fishing knots, and you’ll be hooking a fish successfully in no time.
A Few Additional Tips for Beginner Fishers
The first three fishing knots I’ll go over are the most commonly used ones every beginner should get acquainted with. Besides learning how to make these line-to-hook knots, also known as lure knots, it’s important to know a few things beforehand.
The most obvious tip would be to make sure any knot you’re tying is perfectly tightened. It’s also important to lubricate the knots with either water or saliva because that reduces friction which can weaken the fishing line and ensures that everything is properly tightened. The last thing you need to keep in mind is that no matter what knot you’re making, the finishing touch is trimming or cutting the tag ends.

A Knotless Knot Is One of the Easiest Ways to Secure a Fish Hook
Mastering a Knotless knot is a great way to start your fishing experience, as it’s a simple and quick solution that still produces a solid bond. When done correctly and additionally moisturized, this knot can be extremely strong and serve you well in landing a catch.
How to Tie a Knotless Knot – A Step-By-Step Guide
With a little bit of patience and time, you’ll surely be able to master this type of knot. Here are the steps you need to follow:
- Cut off the leader line to a desired length and make a loop at the end of it – this will be used for securing the bait,
- Slip the other end of the fishing line through the hook’s eye from front to back, following the shank and estimating the length according to it,
- While holding the shank, wrap the fishing line around it 7 or 8 times towards the end of the hook and the fishing line – make sure it’s properly aligned and that there are no overlapping,
- Take the opposite end of the leader line and slowly slip it from the back to the front of the hook’s eye,
- Add moisture to the knot and, while firmly holding the hook, pull the opposite end of the fishing line to complete the knot.
There’s a Somewhat Similar but More Advanced Technique Called the Snell Knot
The Snell knot is widely regarded as one of the strongest ways to connect the hook to the fishing line. While the technique is somewhat similar to tying a Knotless knot, the Snell knot is most commonly used for eyeless hooks and more advanced fishing styles. For example, it’s perfect for attaching a tippet or leader to the lightweight lure while saltwater fly fishing.
The Improved Clinch Knot Is a Very Durable Way to Connect the Hook and the Fishing Line
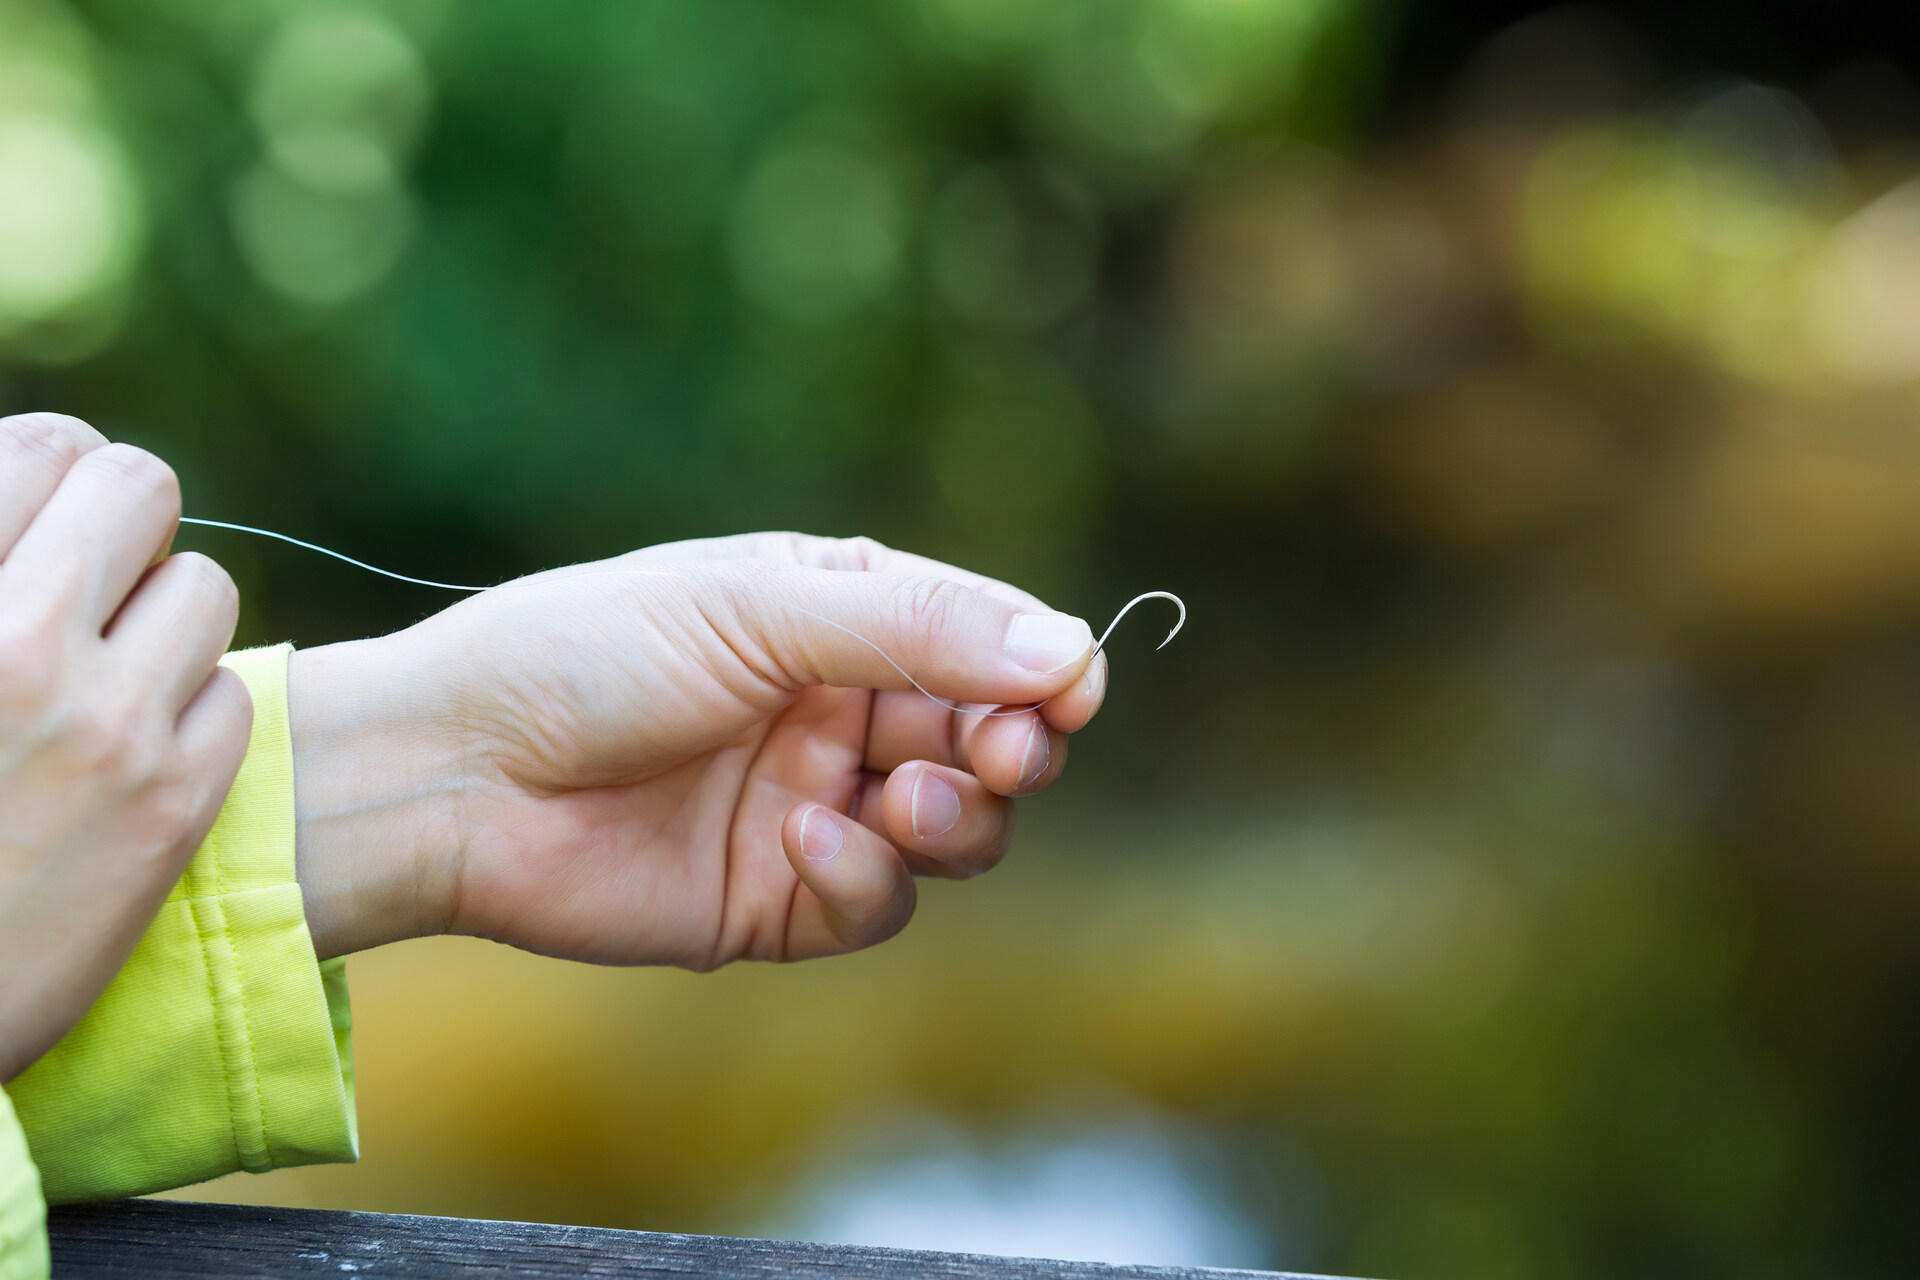
The Improved Clinch knot is regarded as one of the most important techniques every fisherman should know, as it’s an extremely durable way to tie a knot. It’s commonly used for securing baits, hooks, as well as swivels. Fairly simple, easy to master, and so durable it can battle even with the strongest fish – these are only a few reasons why this knot is so popular.
How to Tie the Improved Clinch Knot – A Step-By-Step Guide
Here are the steps you need to master in order to perfect the Improved Clinch knot:
- Pass the tag end of your fishing line through the eye of the hook and wrap it around the line about 6 to 7 times toward the reel,
- Insert the loose end of the line through the loop nearest to the eye of the hook, and then bring it back around inside the loose section – this is what makes the knot,
- Add moisture by wetting the line with your mouth, and then pull both ends until tightened,
- Trim or cut away any excess line.
- I know what you’re thinking – how is this a knot that beginners could master? I assure you – it only sounds complicated, but it’s actually quite easy to perfect. See for yourself:
The Palomar Knot Is a Strong Way to Tie the Hook and Can Be Used for a Variety of Different Fishing Techniques
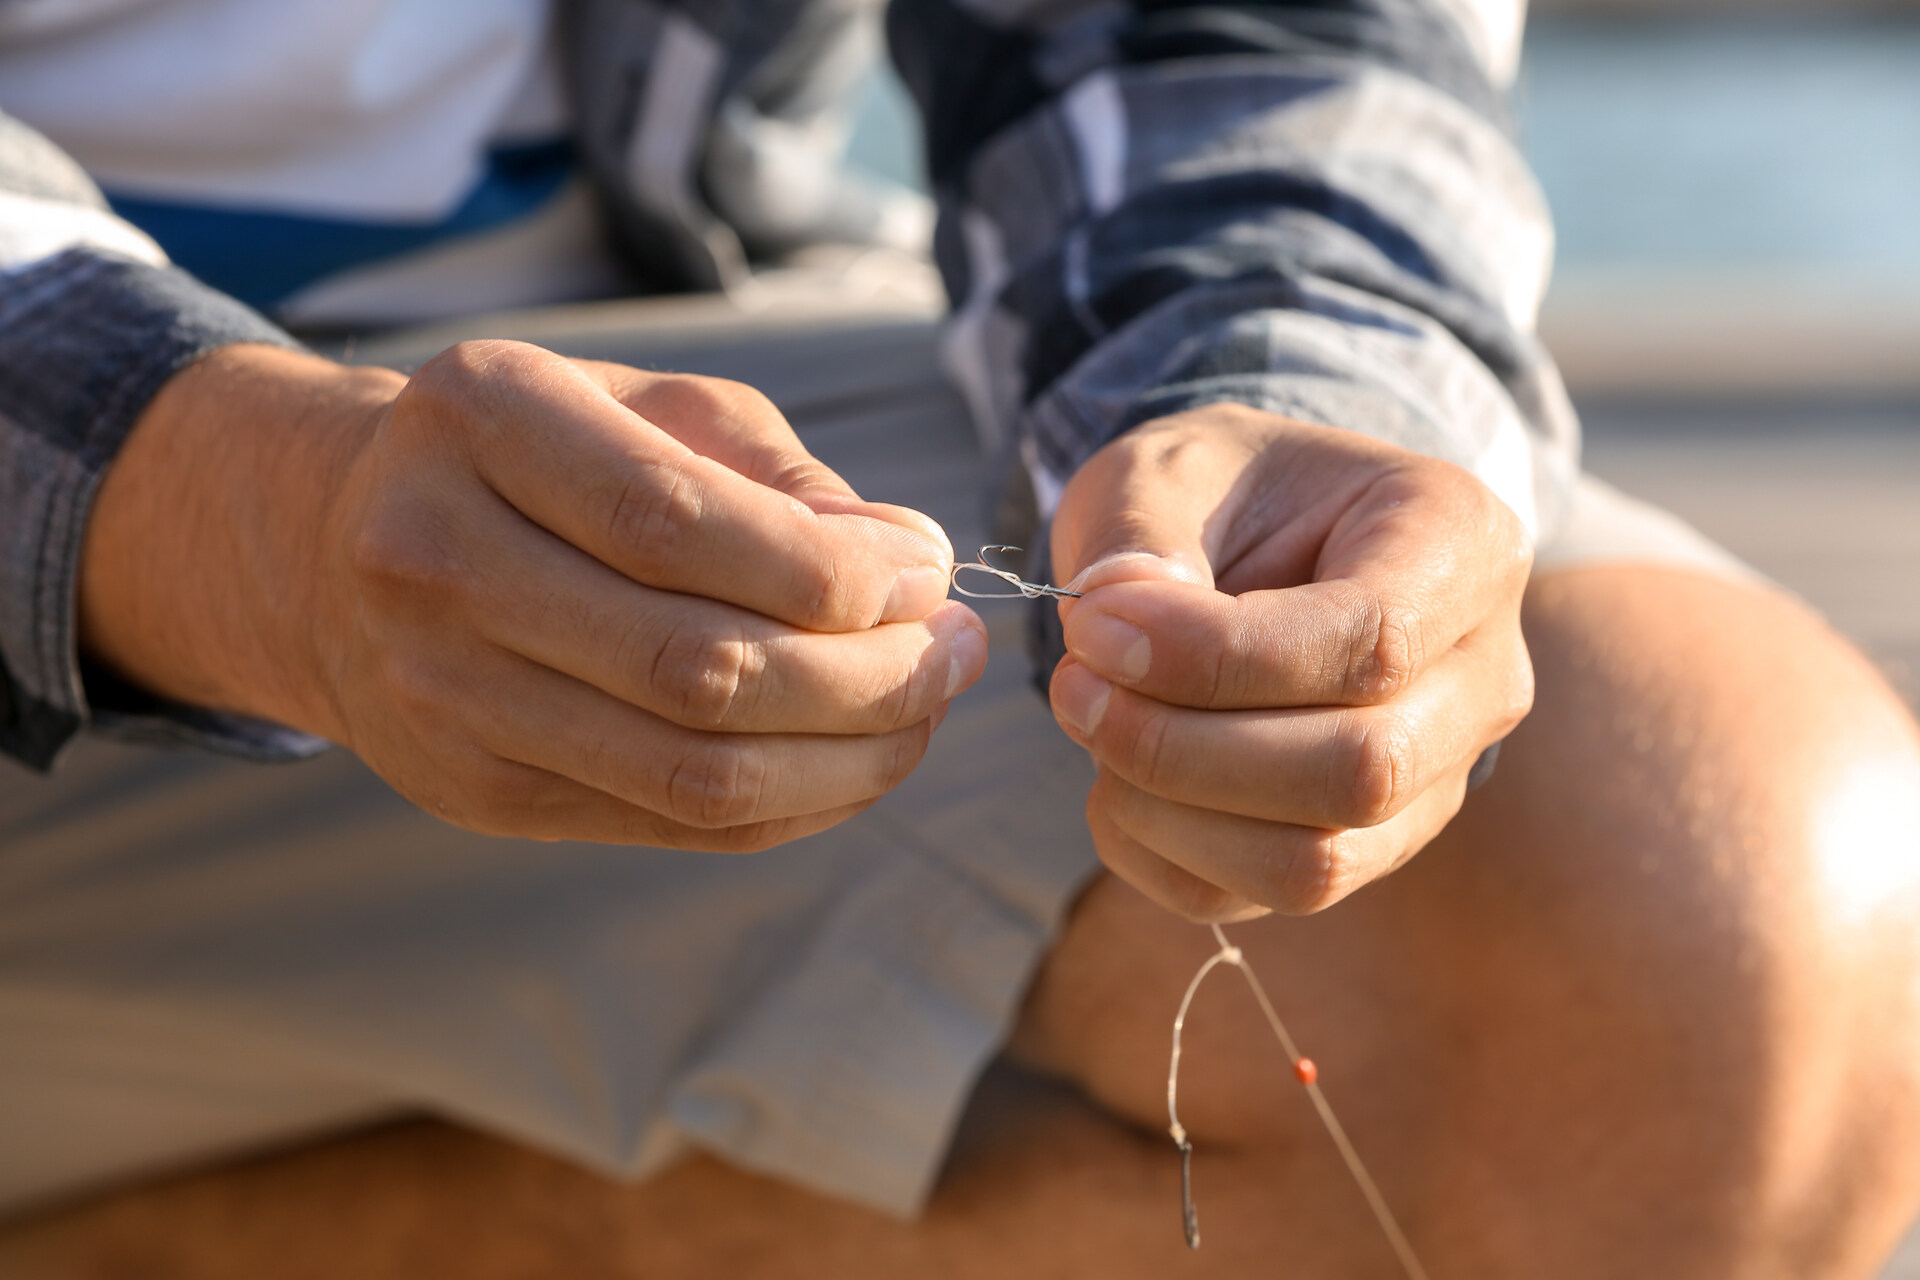
Similarly to the Knotless knot and the Improved Clinch knot, the Palomar knot is used primarily to secure the hook and not for sinkers or lures. It seems tricky at first glance, but with a little bit of skill and effort, you can end up with a strong and near-perfect knot under your belt.
How to Tie the Palomar Knot – A Step-By-Step Guide
The Palomar knot can be used for light filament, fluorocarbon, and braided fishing lines. It’s the knot with one of the widest ranges of possibilities – it’s a great option for specific techniques such as nymph fly fishing, and it handles bigger fish such as tuna just as well.
Here are the steps you need to follow to create the Palomar knot:
- Double about six inches of fishing line and thread the created loop through the eye of the hook,
- With the doubled line, create a loose overhand knot and make sure that the fish hook is hanging at the line’s bottom,
- Take the doubled line and carefully slide it under the point of the hook and then back up, above the hook’s eye,
- Moisturize the line and gently pull it while holding onto the hook,
- Once completely tightened, trim the excess line if needed.
A Few Additional Ways to Tie a Fish Hook
You’ve already mastered the three techniques described above and you’re interested in broadening your knowledge? Congratulations! You’re o-fish-ally becoming a fishing enthusiast. Here are a few new challenges for you:
The Uni Knot
The Uni knot is a dependable and strong technique that some fishermen find easier to master than the Improved Clinch knot. It’s used for heavy filament and heavy braided lines and does well for sea and fly fishing, as well as catching tuna.
Thread the fishing line through the hook’s eye and double it parallel to each other. Lay the tag end over the doubled line to create a loop, and wrap it around 6 or 7 times. Moisturize the line, tighten the ends, and slide the knot all the way to the hook’s eye. There’s also the Double Uni knot, but it’s used for connecting two fishing lines.
The Davy Knot
The Davy knot is one of the easiest ways to attach a lightweight lure, such as the artificial fly, while still being able to preserve most of the fishing line strength. This makes it the perfect go-to knot for any fly-fishing enthusiast.
Thread the tippet through the hook’s eye and create a loose overhand knot. Then, take the end of the fishing line back over to the loop and continue the same action once more. Tighten the knot simply by pulling at the end of the fishing line.
The Baja Knot
The Baja knot works great for most baits – artificial flies, lures, and hooks can be attached with this method. Also, it’s a great method for making loop-to-loop attachments. It works exceptionally well with heavier monofilament fishing lines and most leader materials.
Create the first loop a few inches from the end of the fishing line and slide the hook onto its base. Let the hook hang freely while you make a slightly smaller second loop and then a third by repeating the same process. Adjust this loop, so it’s between the larger first loop and the smaller second loop. To finish the knot, slide the hook to the top of the larger loop and secure it with pliers.
Never Stop Learning – There’s Always a New Knot to Master!
Now that you know how to tie a few knots, it’s time to make use of that knowledge and test it out. You’ll remove quite a few hooks and reattach them in the process, but don’t let that discourage you – it’s a necessary learning curve. And once you master the few basic knots, it’s onto the more advanced ones. The fish will hook by themselves. Good luck!


