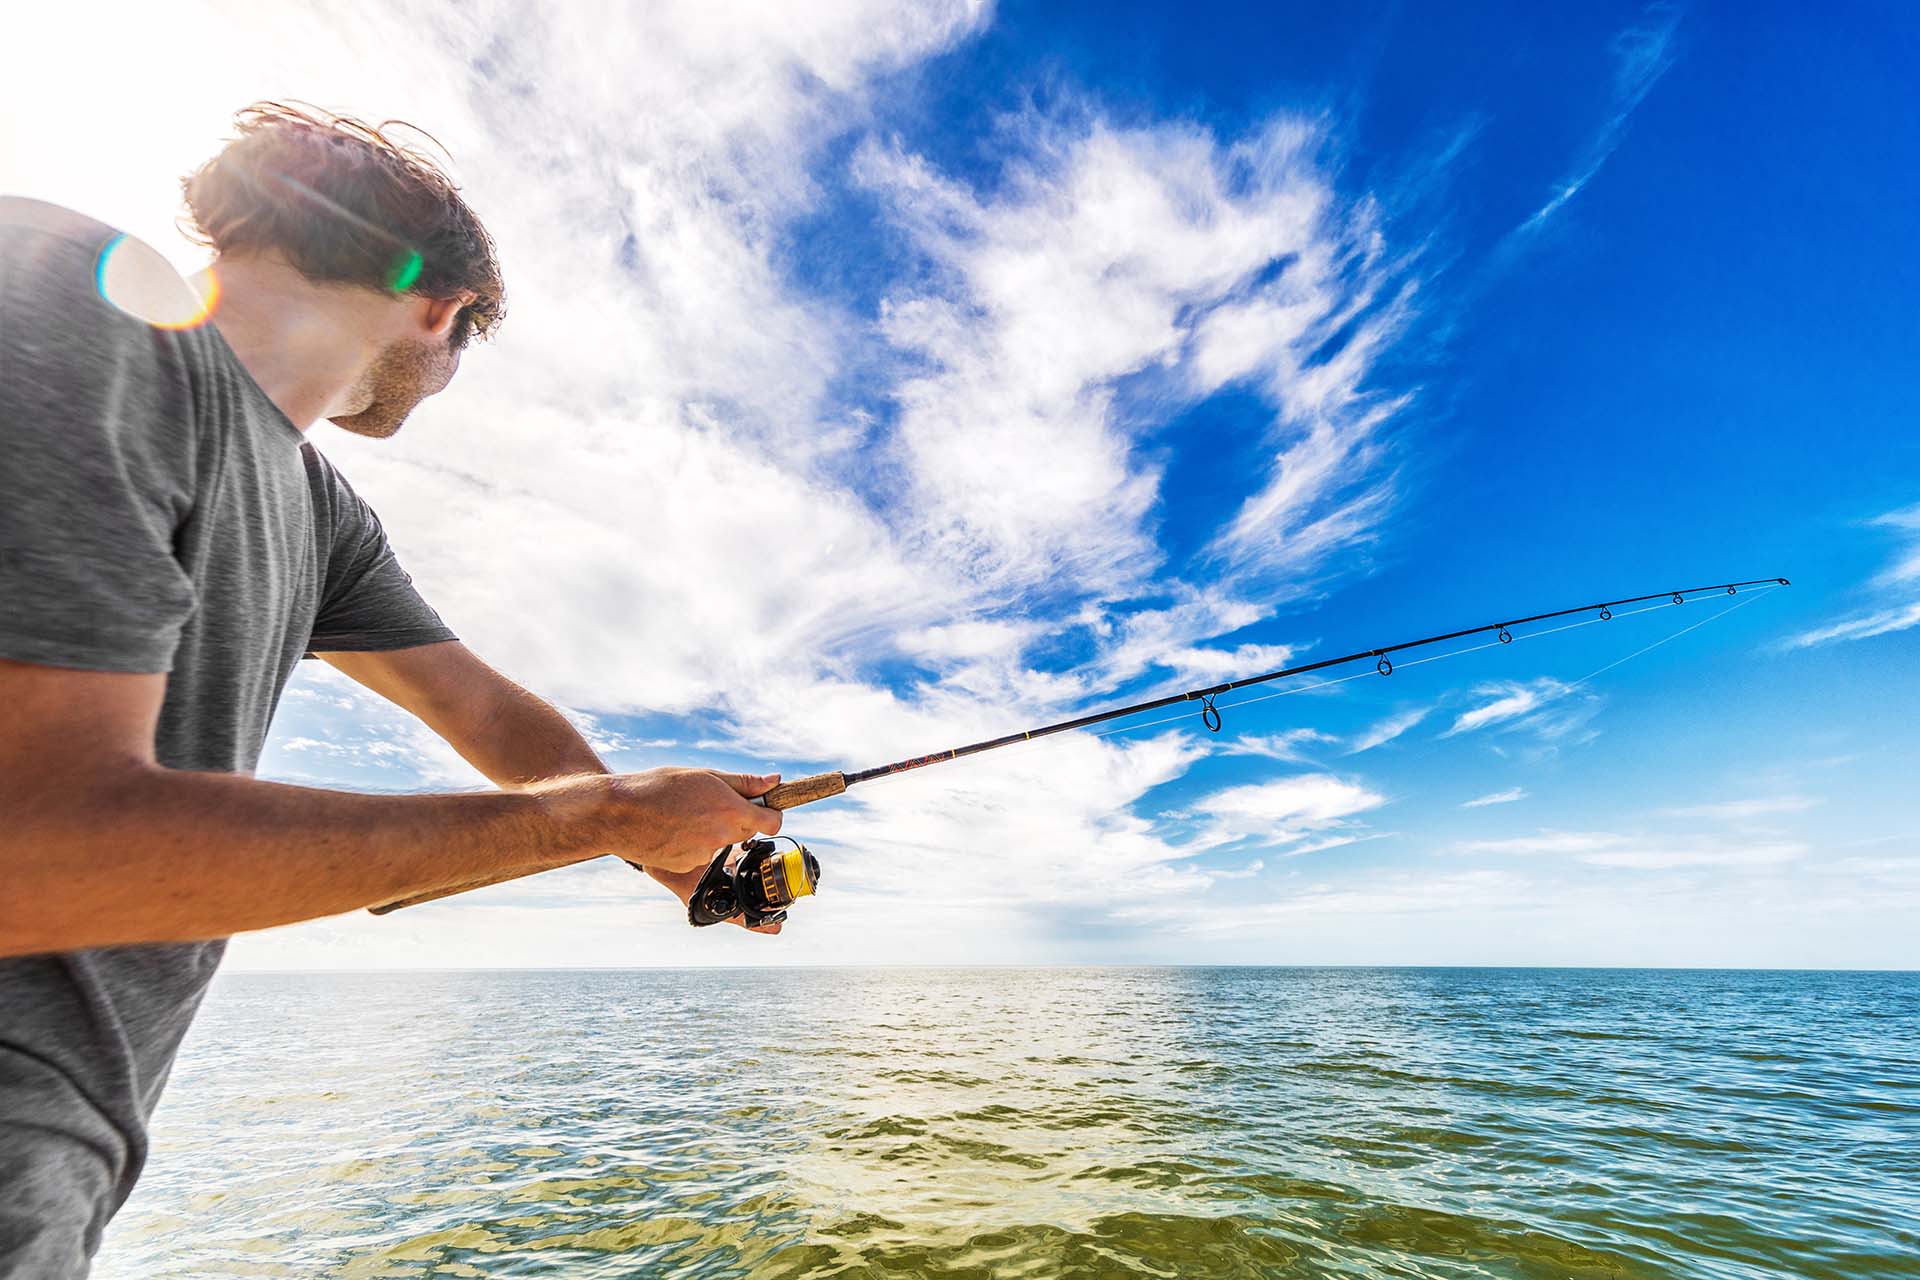
Looking to transform your peaceful pontoon into a fish-detecting superhero? Figuring out how to install a fish finder on a pontoon boat is the key to upping your fishing game. With a few important tips and a dash of DIY spirit, let’s navigate these waters together.
How to Install a Fish Finder on a Pontoon Boat
To install a fish finder on a pontoon boat, start by mounting the display unit in a visible, accessible spot. Next, install the transducer on the stern, ensuring it’s submerged and facing downwards for accurate readings. Connect the fish finder to a power source, typically the boat’s electrical system, and run the transducer cable to the display. Finally, set up the fish finder’s software, calibrate settings, and test for functionality.
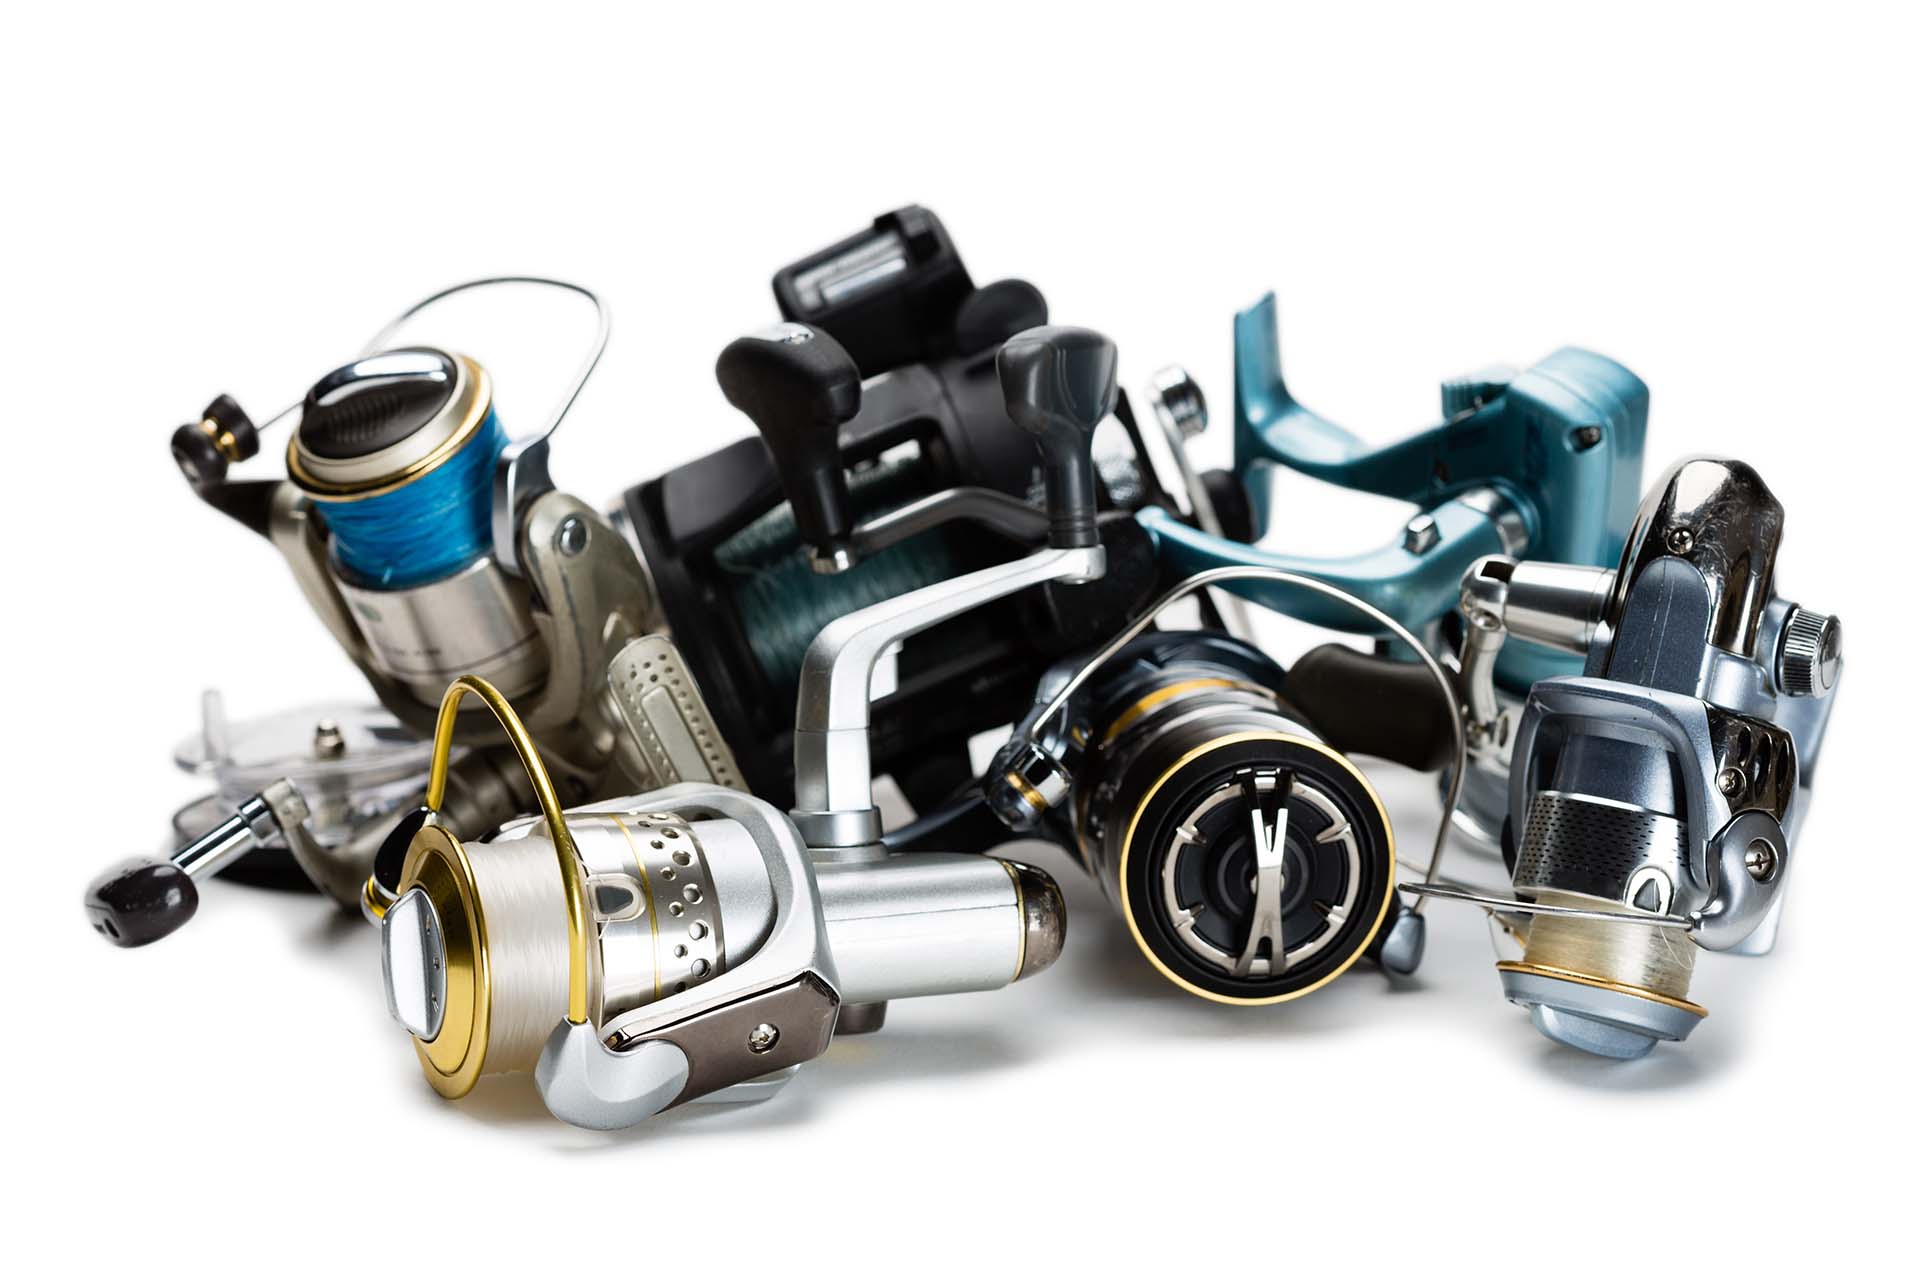
First Things First – Reeling in the Right Type of Fish Finder
Ever wondered what can make your fishing trips even more successful? Enter the fish finder! This nifty gadget is like having an aquatic detective on board, using sonar technology for fishing to give you a sneak peek of what’s beneath the waves.
But hold on to your fishing rods! Not all of these devices are created equal, especially when it comes to fishing boats like pontoons. Let’s dive into some of the most popular options:
| Standard Sonar | This is the most classic type that offers a straightforward view of fish and terrain below your boat |
| GPS Combo | Combines sonar with GPS navigation, perfect for marking your favorite fishing spots |
| Side-Imaging | Provides a detailed view of a wide area around your boat, ideal for shallow waters |
| Down-Imaging | Offers a high-resolution view directly beneath your boat, great for deep-water fishing |
| Portable Fish Finder | Versatile and easy to move, these are great for anglers who fish from different boats |
Key Features to Consider When Choosing Marine Navigation Tools
Finding the perfect fit is like choosing a fishing buddy – it’s all about compatibility and understanding your needs. It’s not just about finding your target fish species – it’s about enhancing your entire experience. Here are some key features to mull over:
- Screen resolution and size,
- Frequency ranges for the level of detail in images,
- Power output,
- GPS integration for navigating,
- Water resistance and durability.
A Few of My Personal Favorites You Should Take a Glance At
If you’re demanding the ultimate fish finder screen setup for your vessel, the Lowrance HDS-Live Fish Finder is the absolute best money can buy. The multi-touch screens provide detailed images of what’s happening below the surface, making it a trusty companion on your fishing boat.
But if you’re not in the mood for breaking the wallet, the Garmin Striker 4 is a pretty good portable option. Its powerful sonar can penetrate deep waters with ease, offering more than enough detail for your fishing adventures.
Preparation Is Key – Gathering the Necessary Tools and Materials
Before we dive into the installation process and the ins and outs of waterproof wiring in boats, let’s talk about preparation, the key to a streamlined experience. The good news is that some pontoon boat electronics are a breeze to set up – they’re either portable or come with all the necessary installation tools.
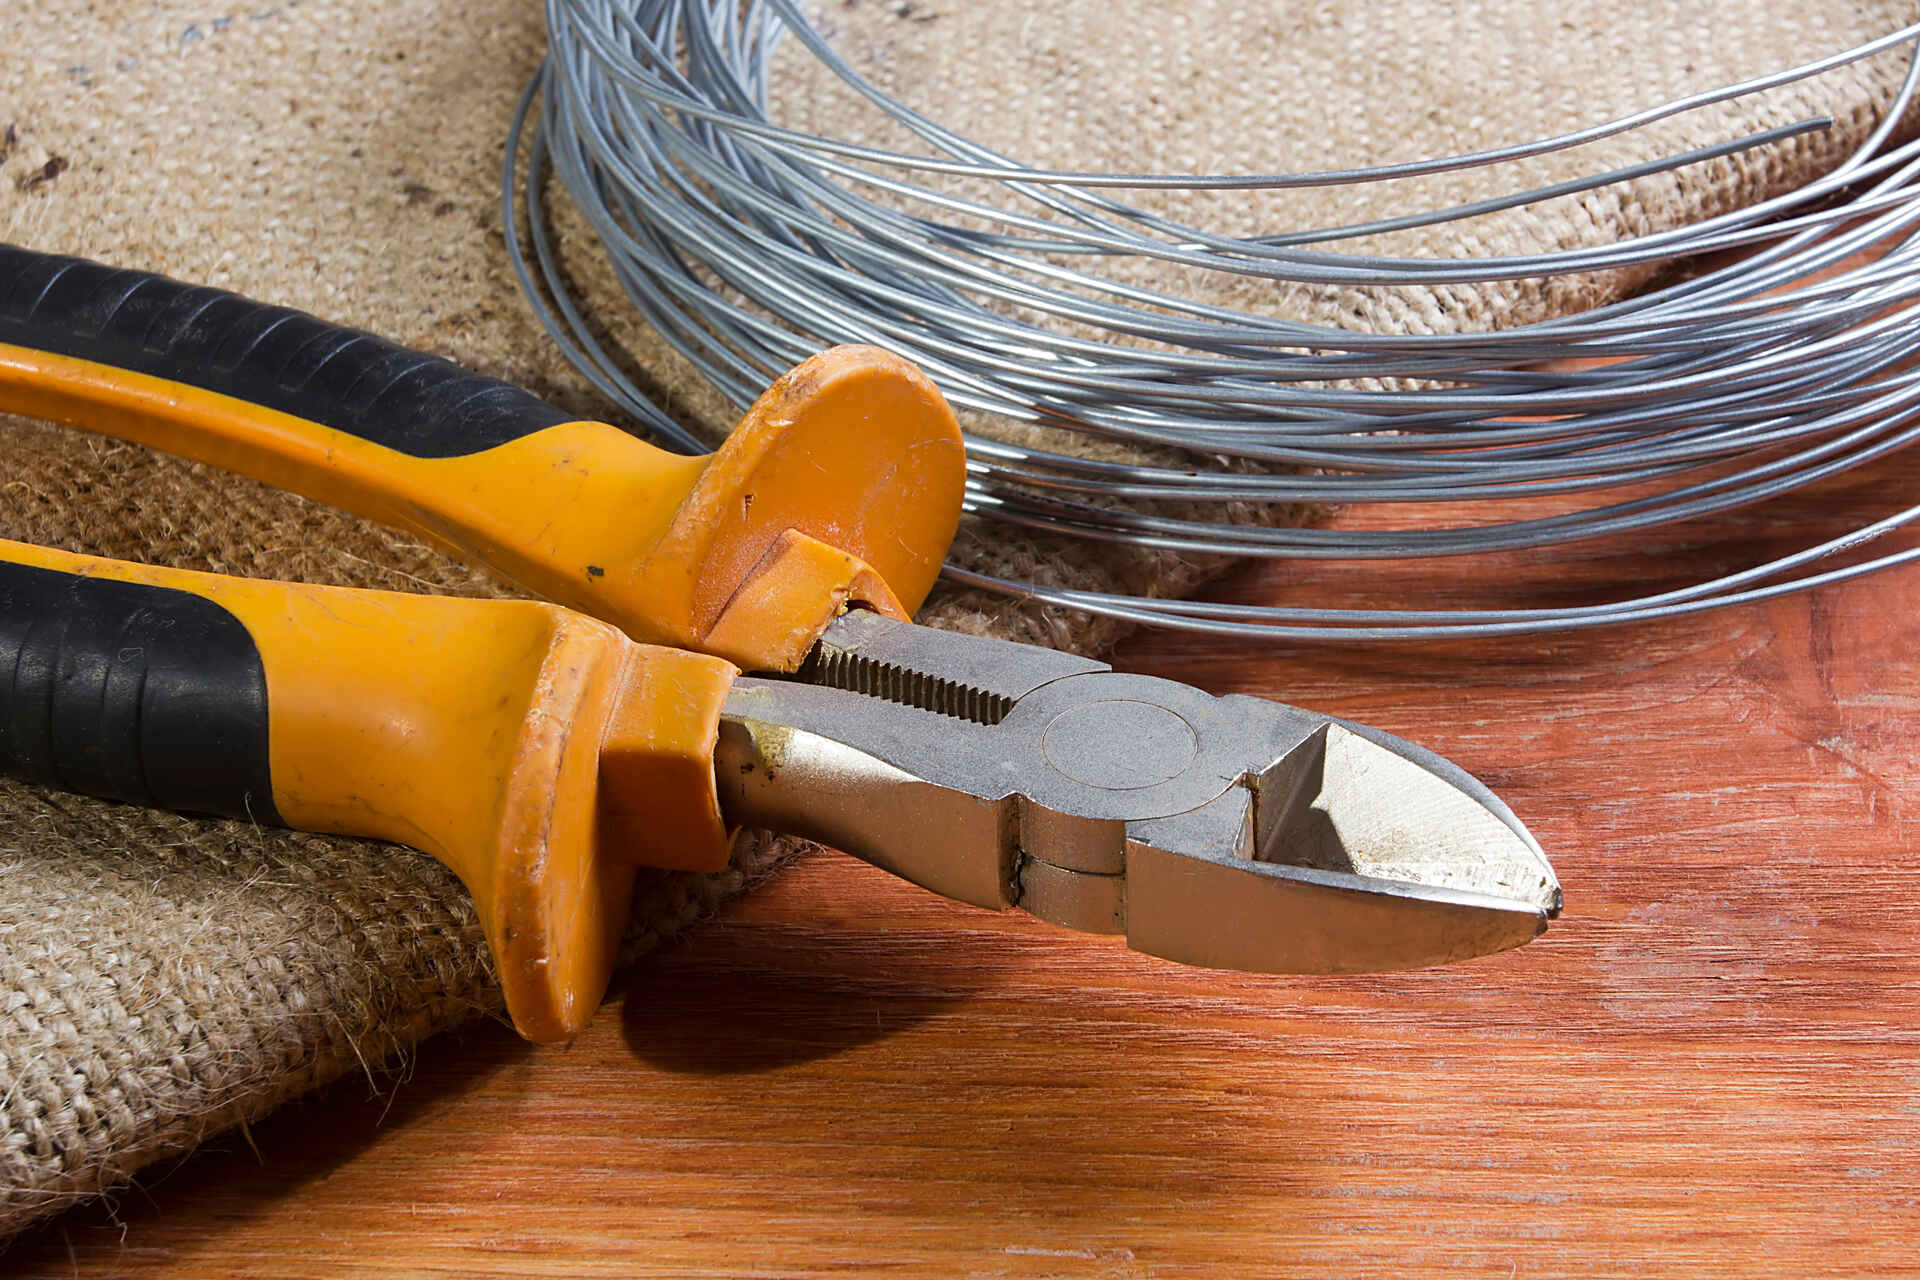
However, for those devices that require a bit more hands-on approach, you’ll need to gather some additional tools. Here’s a handy list of tools you might need:
- Screwdriver set,
- Drill and drill bits,
- Wire strippers and crimpers,
- Mounting hardware,
- Multimeter.
Safety Precautions Shouldn’t Be Overlooked
Now, let’s switch gears to safety. Just like wearing a life jacket is non-negotiable when on the water, taking safety precautions during installation is paramount. Remember, you’re dealing with boat electrical systems.
Always ensure that all power sources are turned off before starting the installation. If you’re drilling holes, double-check for any hidden wires or components. And most importantly, if you’re ever in doubt, consult a professional.
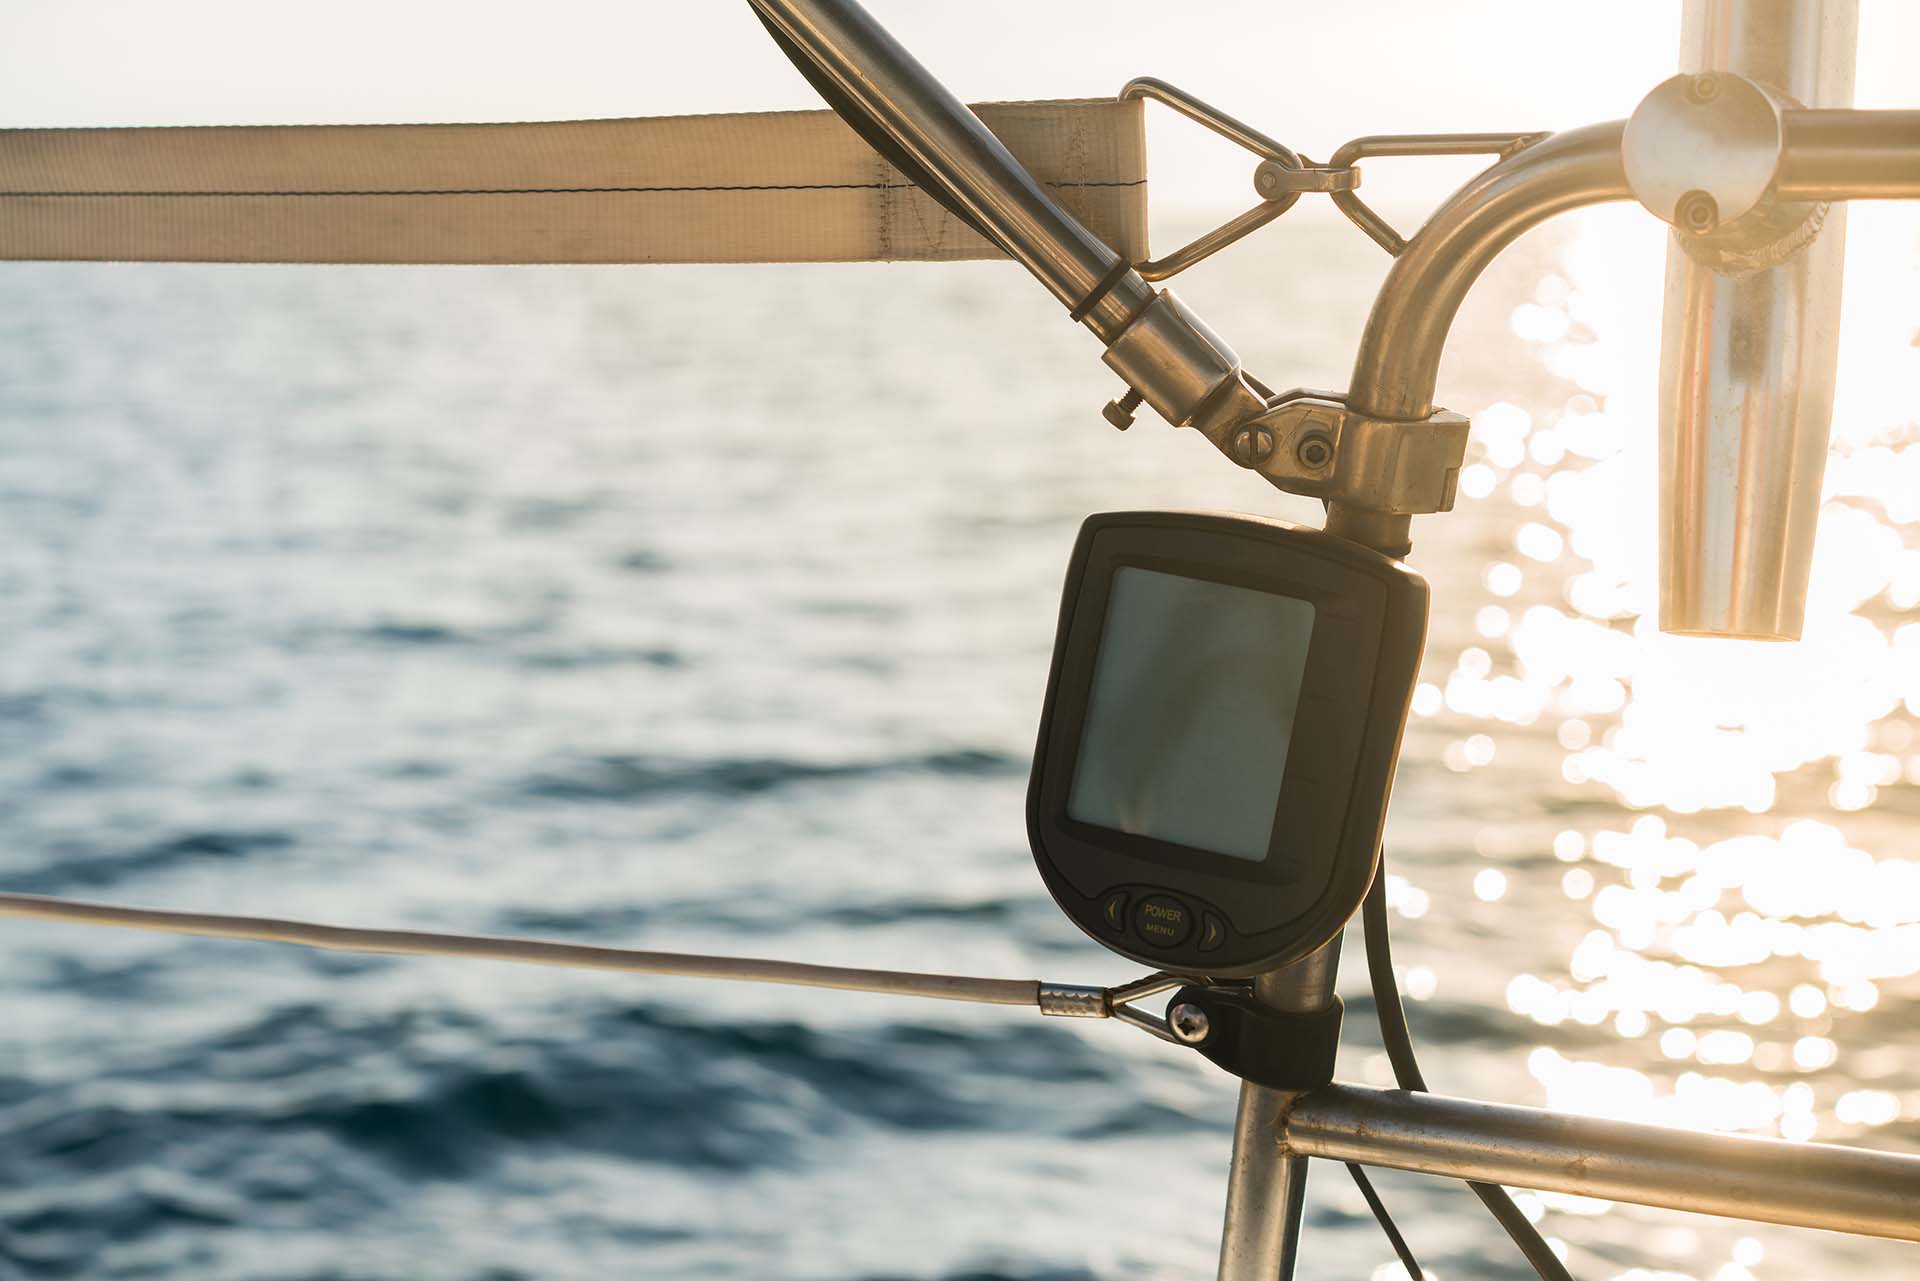
#1 Mounting the Fish Finder
Alright, it’s time to roll up your sleeves and start the installation process with one crucial step – mounting the display unit. It’s like setting up your command center. You want it to be in a spot that’s easily visible and accessible, without interfering with your fishing adventures.
Let’s walk through the first step of installing a fish finder:
- Find the spot you want your display to be,
- Ensure the chosen spot doesn’t interfere with boat operation,
- Mark the spot where you’ll attach the mount,
- If your mount requires it, carefully drill holes,
- Before attaching the mount, apply marine sealant to the holes to prevent water ingress,
- Attach the mounting bracket using screws, ensuring it is tight and secure,
- Slot the display into the mount and secure it as per the manufacturer’s instructions.
The Most Efficient Fish Finder Mounting Solutions
When it comes to choosing the right location, you should look for that sweet spot that offers the best visibility and ease of use. I would recommend near the helm or dashboard of your pontoon, as it allows for easy glances while maneuvering or fishing.
Another excellent option is an adjustable mount that can be swiveled or tilted for the best viewing angle. Remember, the goal is to integrate your chosen fishing technology into your boating experience, enhancing it without causing any inconvenience.

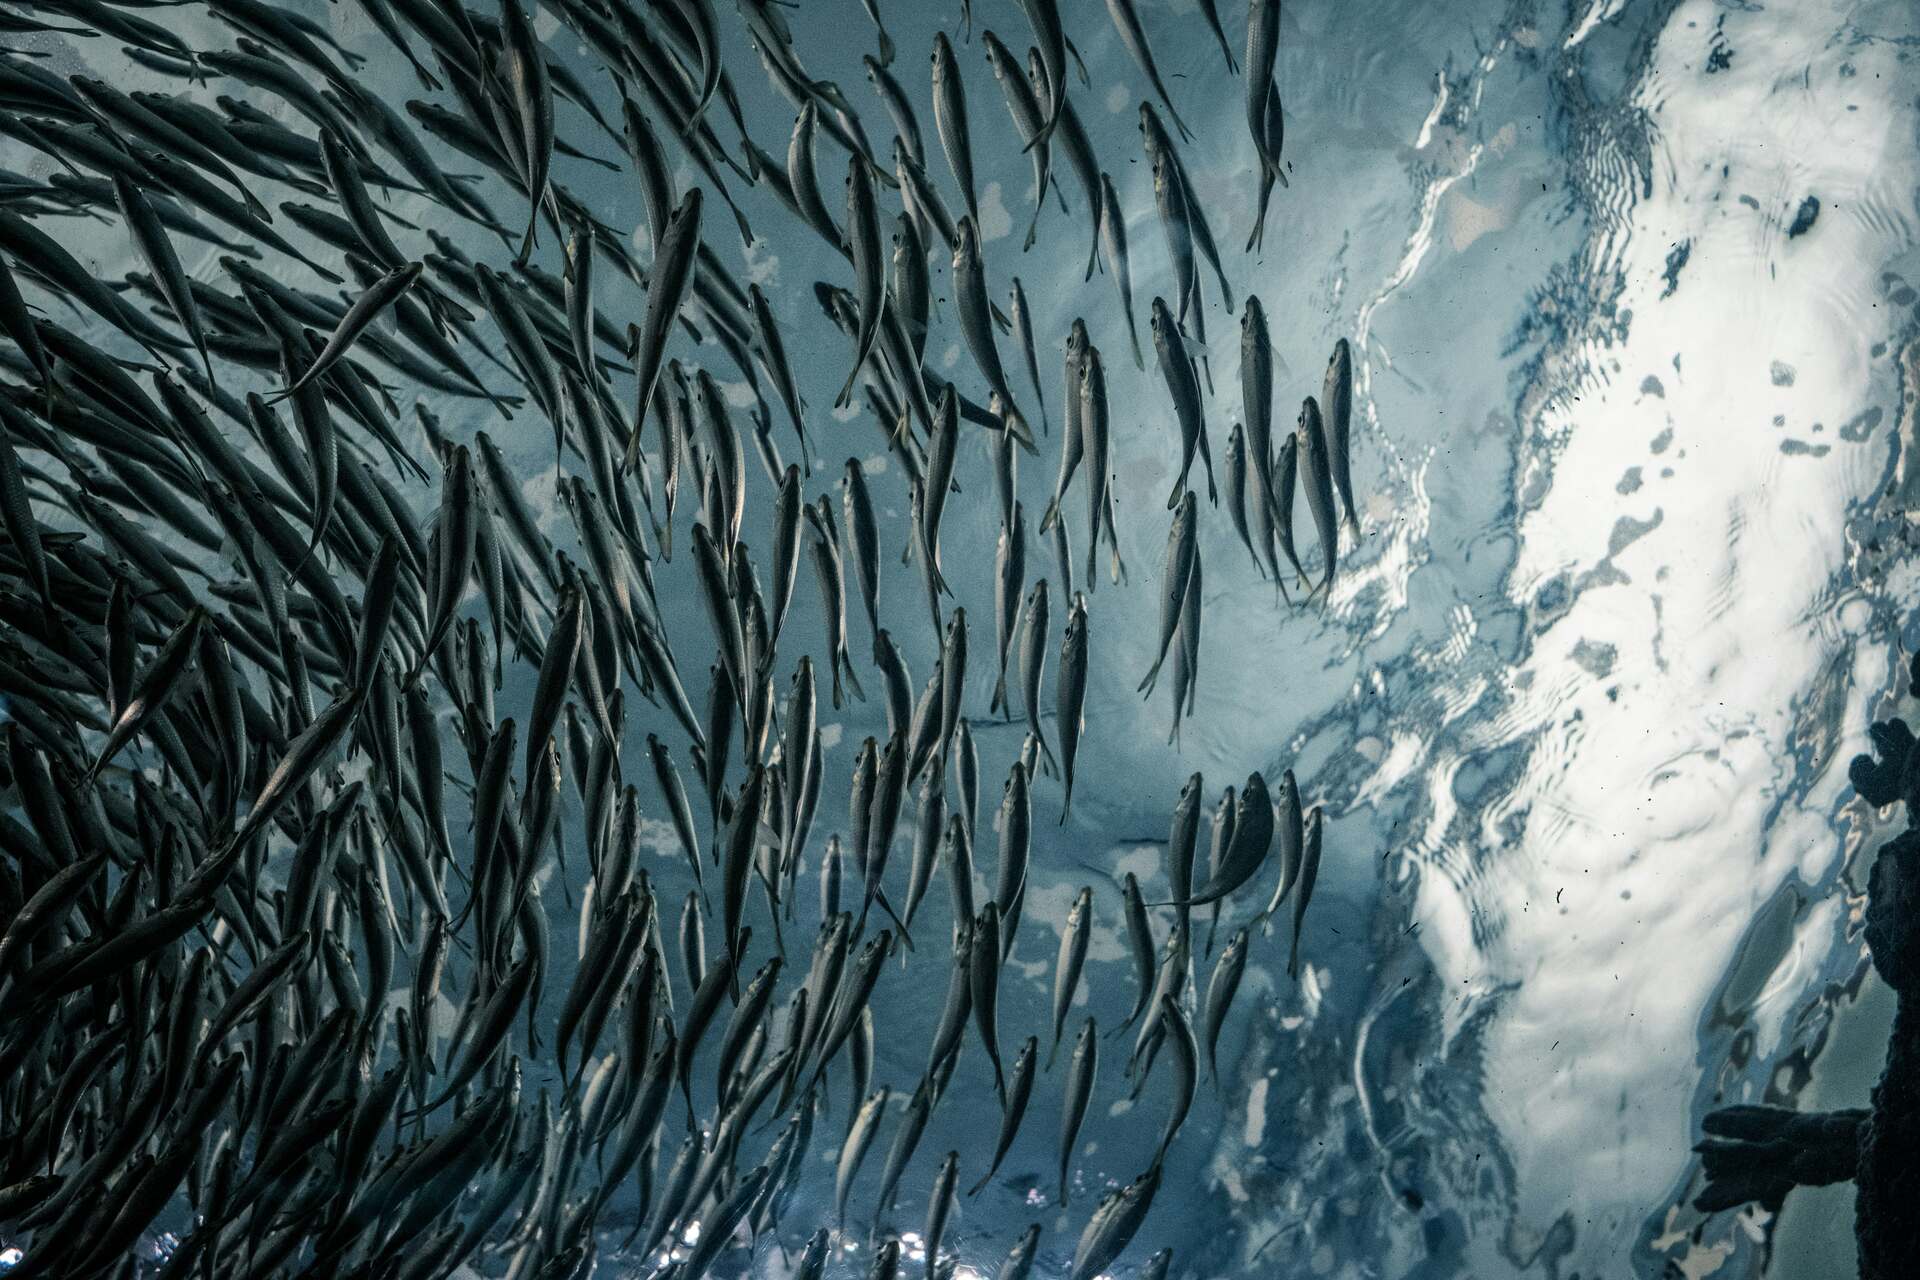
#2 Transducer Installation for Accurate Readings
Diving deeper into our installation adventure, let’s focus on the transducer – the unsung hero of your device. It’s the eyes of the operation, sending and receiving sonar signals that tell you what’s happening beneath the waves. It’s the transducer’s job to convert those electronic pulses into sound waves and back again, painting a picture of the underwater world on your display.
Now, for the magic to happen, placing the transducer correctly is crucial. It should be mounted in a location where it remains submerged in water, usually on the back of the pontoon. Here’s how to mount it for the most accurate readings:
- Choose a spot with minimal water turbulence and away from the propeller,
- The transducer should face straight down or towards the rear, depending on the model,
- Attach the mounting bracket at the chosen spot, ensuring it’s securely fastened and level,
- Slide the transducer into the bracket according to the manufacturer’s instructions,
- Once mounted, adjust the angle of the transducer for the best sonar return.
#3 Taking Care of Wiring and Power Connections
After mounting your device and its transducer, the next step in our nautical narrative is to connect these gadgets to a power source. This is where your fish finder comes alive! Start by identifying the power cable from your chosen device and connecting it to an electronic circuit or directly to the battery.
It’s important to ensure a secure and stable connection to avoid any power disruptions. Also, be mindful of the wiring route – it should be neat and away from areas where it can get tangled or damaged.
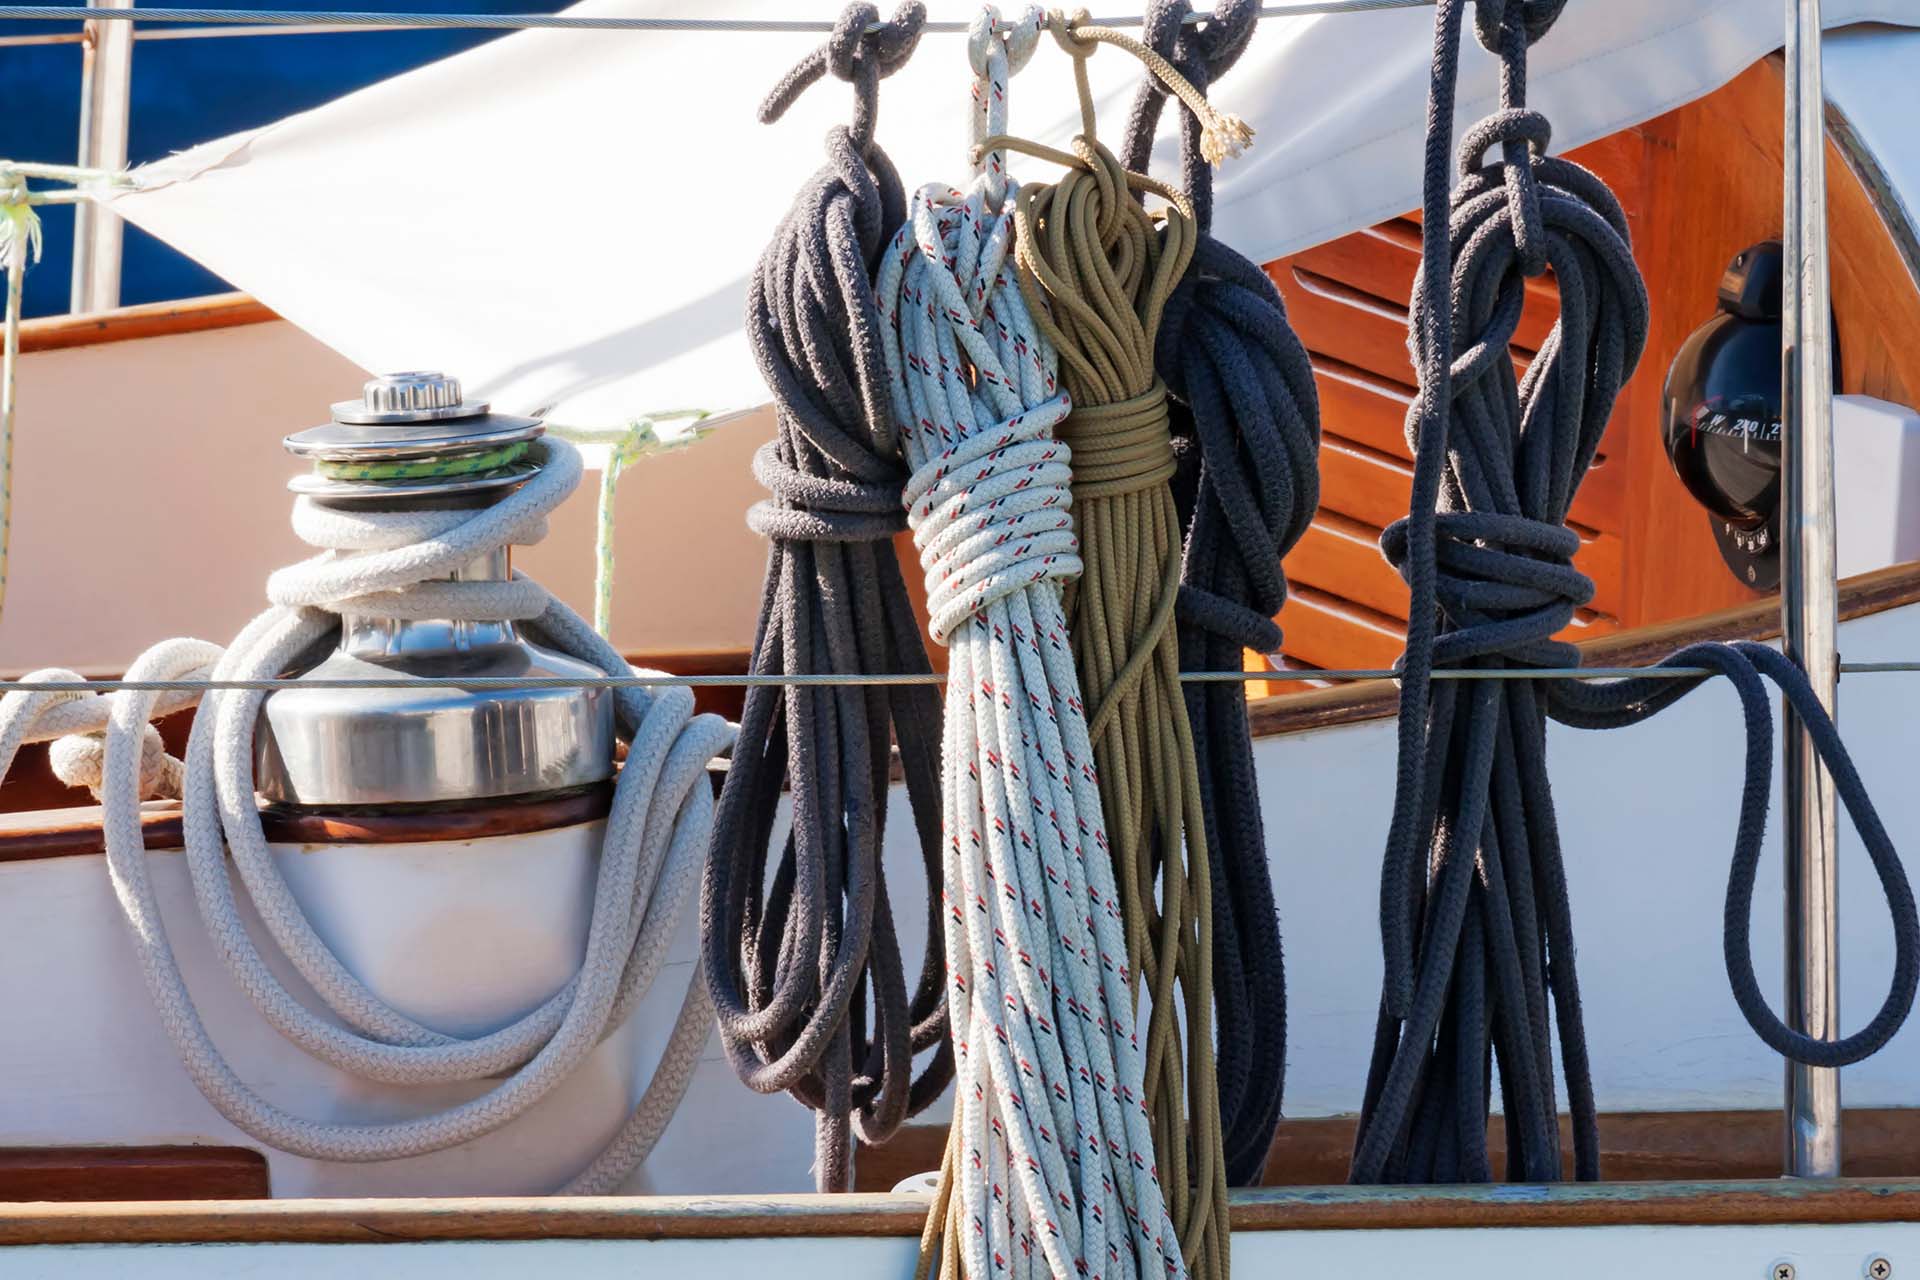
You Should Also Run the Transducer Cable to the Display
The transducer should also be connected to the display. This cable is the lifeline between the two, transmitting all the crucial underwater information. Carefully route the cable from the transducer to the fish finder, avoiding any sharp bends or areas where it might get pinched. Ensure the cable is well-secured along its route, using cable clips or ties to keep it in place.
#4 Final Setup and Testing for Great Adventures Ahead
Now that the physical installation is complete, it’s time to do some digital wizardry – the software setup. This is where your fish finder transforms from a piece of sophisticated hardware into a fully functional marine GPS.
Here’s a general guideline for setting up the software:
- Turn on your fish finder to start the setup process,
- Follow the on-screen instructions to set up the device,
- Adjust settings like depth range, fish alarms, and display preferences,
- If available, update your fish finder’s software to the latest version,
- Ensure the GPS is working correctly and is accurately tracking your location.
Once the software is set up, it’s time to test your installation. It’s like a dress rehearsal before the big show – ensuring everything is in perfect harmony. After all, the last thing you’d want is to find yourself in the midst of action only to figure out something’s wrong with the device. So, keep an eye out for any unusual readings or error messages, and verify that all functions are working as expected.
Troubleshooting Common Issues After Installation
Even the best-arranged fishing lines can get tangled. Likewise, after installing your gadget, you might encounter a few hiccups. But don’t worry, most issues have simple solutions. Here’s a quick guide to troubleshooting:
- Unclear or no readings – check if the transducer is properly mounted and submerged in water,
- Intermittent power – verify all power connections are secure and the battery is fully charged,
- GPS not working – ensure that the device has a clear view of the sky for GPS signal and reset the settings if necessary,
- Display issues – adjust the display settings for brightness and contrast, and restart the device if the screen is unresponsive,
- Software glitches – perform a factory reset if the device is behaving erratically and reconfigure the settings.
Keeping It Shipshape – Navigating the Seas of Fish Finder Maintenance
Setting up your gadget is one thing, but knowing how to maintain it is key to ensuring every fishing expedition is as successful as the first. Think of it as regular tune-ups for your trusty aquatic sidekick. First and foremost, cleanliness is key. Saltwater, dirt, and even sun exposure can be harsh on your device. Gently wipe down the display after each use with a soft, damp cloth, and periodically check the transducer for any marine growth or debris.
Beyond cleanliness, keeping an eye on the wiring and connections is crucial. Saltwater environments are notoriously tough on electronics, so inspect the cables and connectors for any signs of wear or corrosion. On top of that, regularly updating the software ensures you’re not just sailing with technology, but sailing ahead of it.


Maya Brown
Maya's love for fishing runs deep, and she's always ready to cast her line and dive into new angling adventures. As a skilled caster, she has mastered the art of precision and finesse, making even the trickiest casts look like a breeze. Maya's passion for fishing is contagious, and her witty puns are as sharp as her hooks, making her a favorite among the angling community.